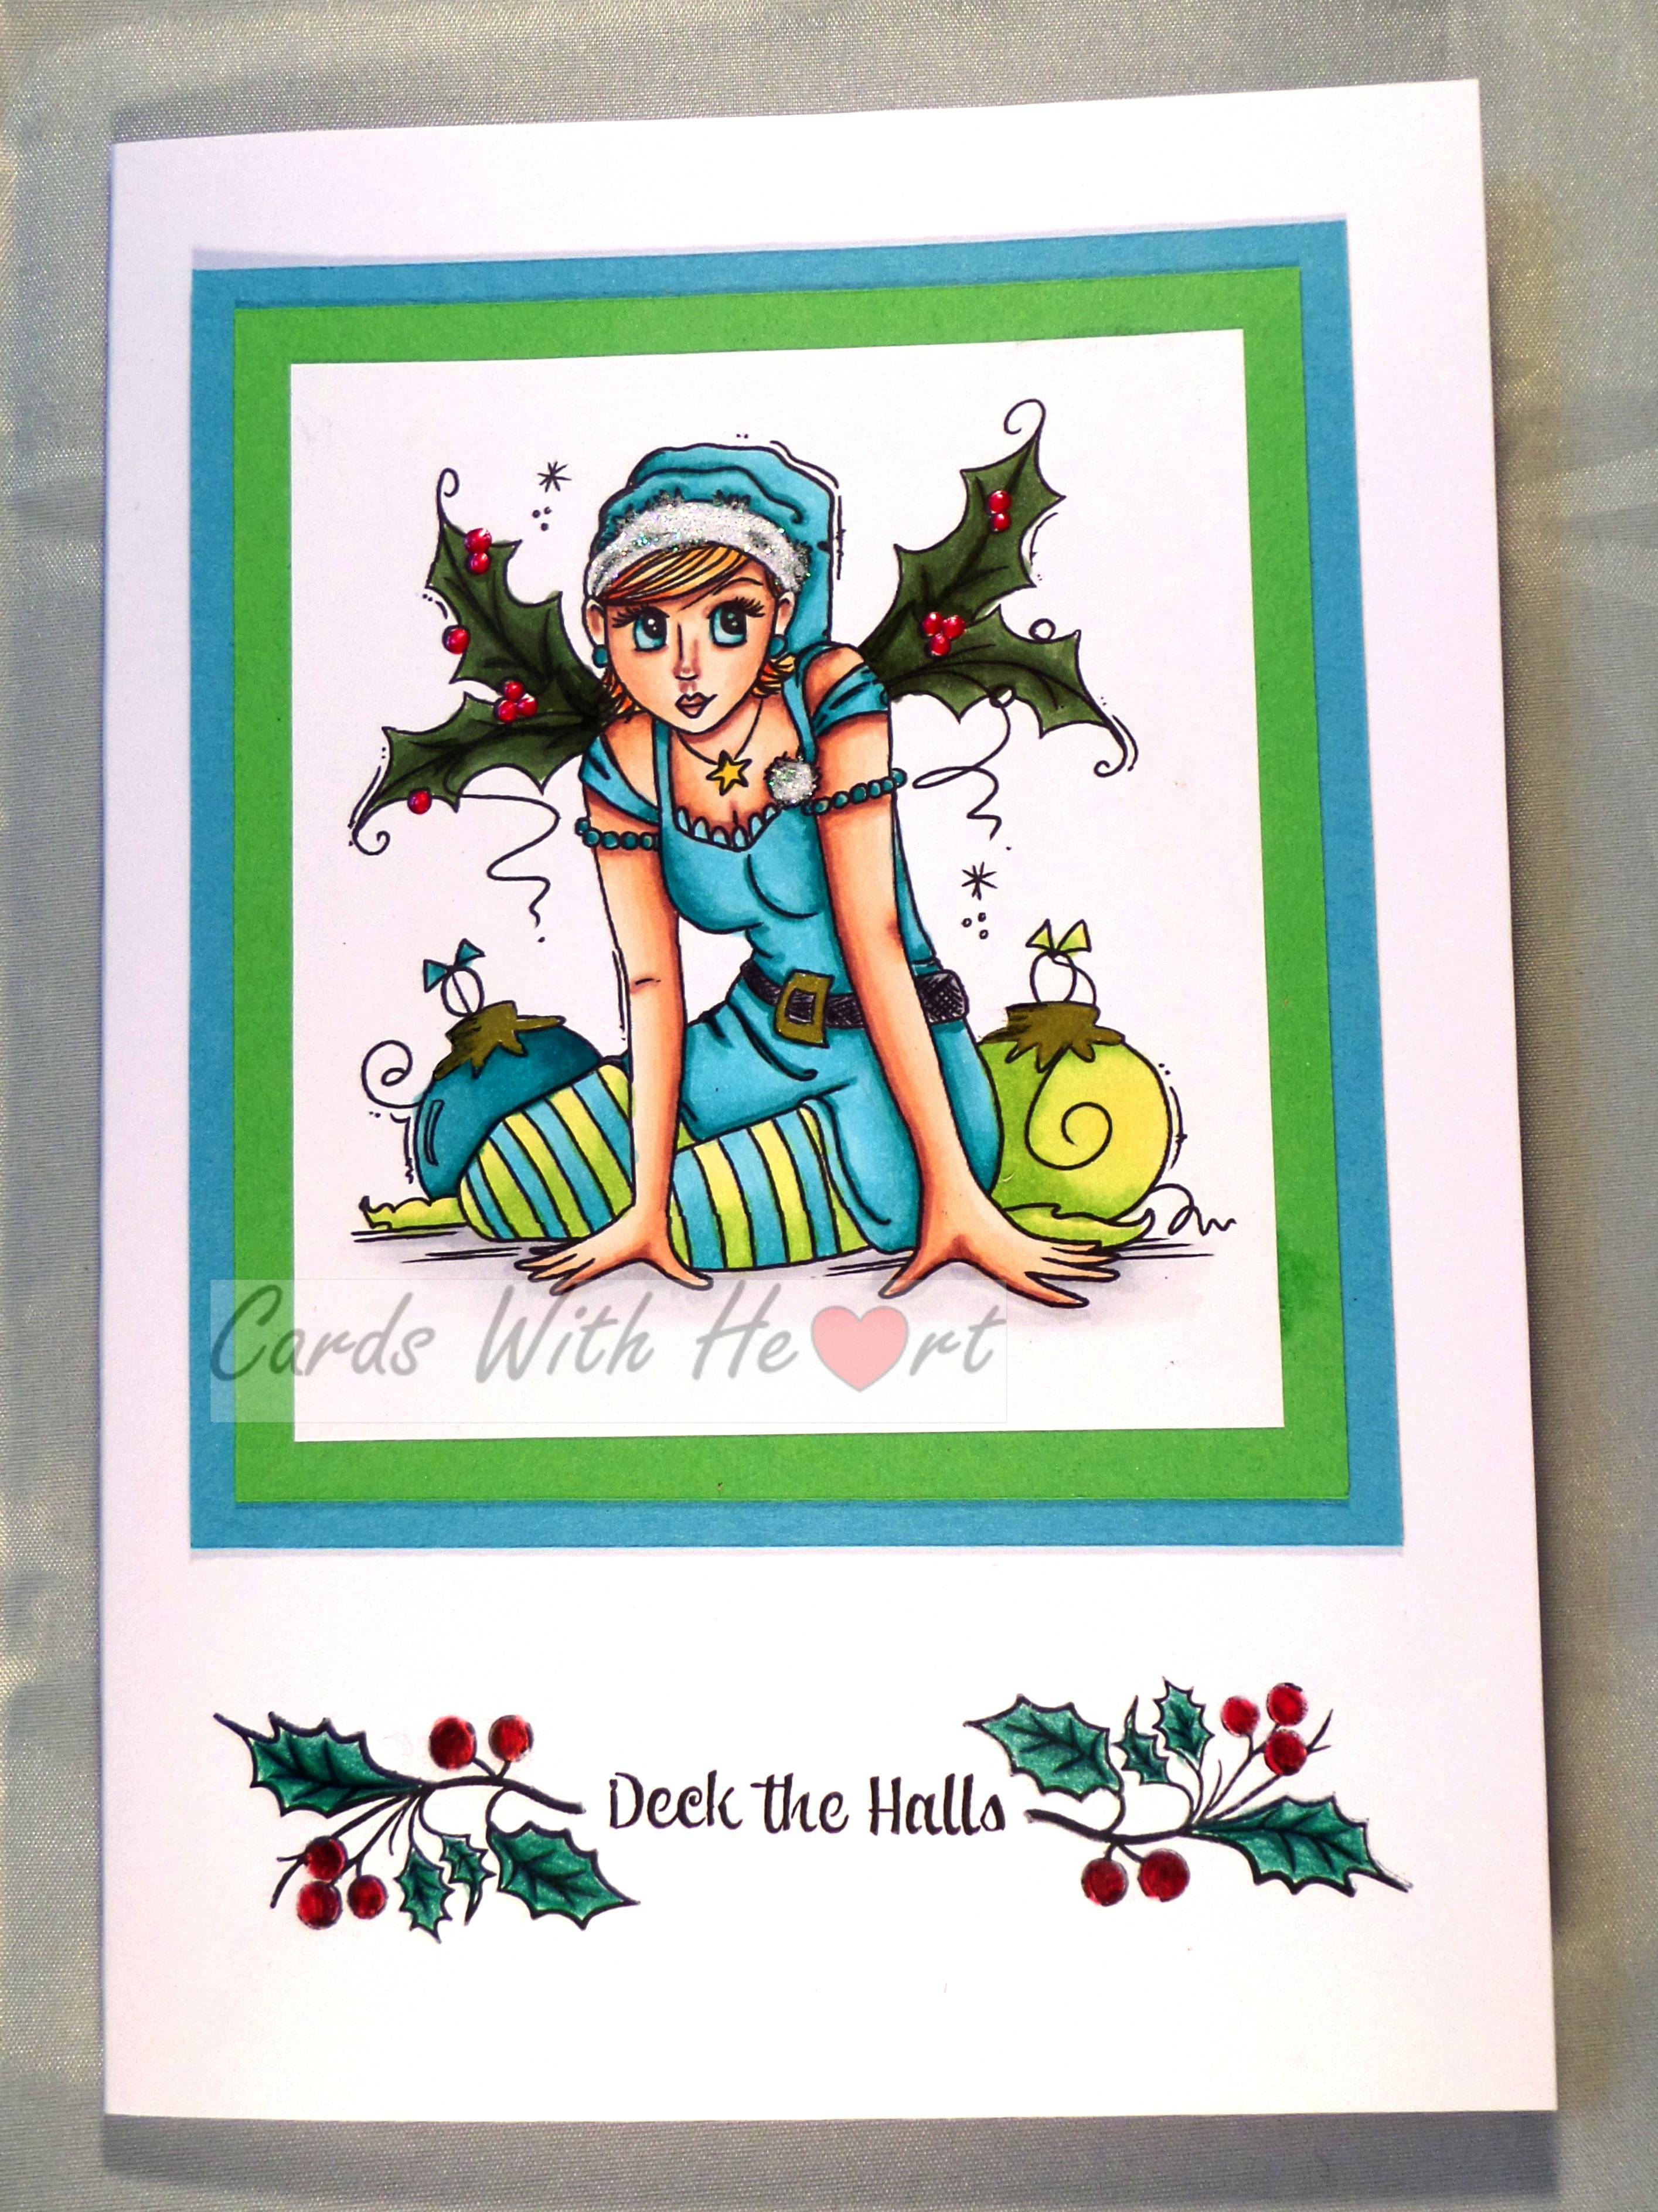
Thursday 30 July 2015

To have and to hold

Traditionally there are always more weddings in the summer months than during the winter ones. Having just made a card for a Ruby Anniversary I found myself reaching for the same digi set to make a wedding card.

Materials used:SAM_1822(watermarked)
Deedee's Digi Stamps sets - Two Hearts and
Framed Comfort
Britannia rose dies and leaf die
heart shaped dies
shimmer white paper
Copic pens
white printer card
centura pearl card
white A5 card blank
memento rose bud ink pad
silver pen
spray and shine
clear wink of stella


Method:
I printed out the frame from the Framed Comfort set with the words from the Two Hearts set and the names of the couple and the date in the middle. I cut around the outside of the frame to make the topper. Using the silver pen I traced over the design of the frame and then went over the top with the Wink of Stella pen. I cut a piece of centura pearl card slightly smaller than my card blank and embossed some heart shapes on it using the heart dies. I then blended the memento rose bud ink over the card. It left a very subtle watermark effect which does not really show up very clearly in the photo.SAMSUNG CAMERA PICTURES

Using the Britannia dies and the shimmer white paper I cut out the rose petals andleaves and coloured them with Copic pens before making up the flowers. When the flowers had set I sprayed them and the leaves with spray and shine.

Finally I attached the topper to the card blank and arranged the flowers and leaves along the bottom edge of the frame.

This is the first card commission I have had for a while and I am happy to report that my customer was very pleased. She had given me a good idea of what she wanted so I guess I was following a recipe for it.

Thank you for dropping by. Take care.

Pippa

I would like to enter my card into:
Simon Says Anything Goes
Crafty Gals Corner Challenge #30: Anything Goes
ATSM Challenge #155 - Photo (flowers; colours white and pink)
Word Art Wednesday Challenge #194 - Anything Goes/Family Friendly
DSC #140 - Anything Goes!

PS This will be the last post for a while as I am off on my summer holidays. Hoping that the weather warms up a bit and the sun comes back for good!

Wednesday 29 July 2015

Two hearts as one for a long time.

Today I would like to share a card I made for friends celebrating their ruby wedding anniversary.

Materials used:SAM_1819(watermarked)
Deedee's Digi Stamps - Two Hearts
blending card
Copic pens
silver pen
Wink of Stella Clear
Spray and Sparkle Iridescent
red card
silver rose embossed card
silver peel off stickers
heart dies
A5 white card blank


Method:
I printed out the entwined hearts image and coloured it with the Copics and the silver pen. I fussy cut the image making the inside area of the hearts slightly bigger by reducing the heart shape edges then sprayed the flowers with the Spray and Sparkle. I added some Wink of Stella to the heart frames.

I trimmed the red and silver card to the correct size for layering then used the heart dies to cut some hearts from the silver card. I printed out a sheet of backing paper from the set and attached my cut out image onto it. When the glue had dried I cut it out. I attached the red and silver card to the card base and attached the topper then placed my peel offs in the heart shaped apertures.

Thank you for dropping in. Take care.

Pippa

I would like to enter my card into:
Simon Says Stamp - Anything Goes
Crafty Gals Corner Challenge #30: Anything Goes
Word Art Wednesday #194 Anything Goes
Create and Inspire Challenge 26 - Anything Goes
Inspiration Destination Challenge Blog: Anything Goes Challenge No. 44
Through the Craft Room Door Challenge
Crafty Creations Challenges: Challenge #294 - Four (I have put in 4 red hearts and there is a 4 in 40!)

Monday 27 July 2015

Give a Crafter a Cookie

I may just be able to sneak in a couple of challenge entries before we go away. Fortunately the image for the Art By Miran progressive challenge will also fit the Give a Crafter a Cookie challenge. It's so much easier when you can combine challenges!

Materials used:SAM_1812(watermarked)
Art By Miran - Digi Girl 226 (only available from Facebook page)
stamping card
lilac and purple card
white A5 card blank
Britannia flower dies and leaves die
Shimmer White paper
Copic pens
gems
acrylic happy birthday stamp
black archival ink pad


Method:
I printed out the image and coloured it in with the Copic pens then trimmed it to size and matted and layered it onto the lilac and purple card leaving a narrow border each time. I attached my topper to the card front.

Using the dies and the shimmer white paper I cut out five flowers and three leaf sprigs. I used copics to colour them before making them up into flowers and attaching them to my card base. I stamped the sentiment on the front with black archival ink and finally added a gem to the centre of each flower.

This is july16
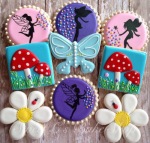
the inspiration picture for the Give a Crafter a Cookie challenge. I picked out fairy, butterfly and flowers to inspire my entry and also the pink and purple (though a lighter shade).

Thank you for dropping by. Take care.

Pippa

I would like to enter my card into:
Art By Miran Facebook Progressive Challenge
Give a Crafter a Cookie Challenge #23
Art By Miran Progressive Challenge
Digitally 'Sweet' Challenges #140 - Anything Goes

Saturday 25 July 2015

Mmmm Cherries

While my youngest daughter was at university and had long summer breaks she got a job at a local cherry farm. I may be biased but Somerset cherries are the best cherries ever and those from Whitehouse Farm are the best of the best! That leads me into my card for this post, my entry for the Imagine That Design of the Month Challenge with July's image featuring lots of cherries.

Materials used:SAM_1816(watermarked)
Imagine That Digi of the Month - Treat Stand
Bugaboo Stamps - Make It Snappy Blank
White blending card
Copic pens
designer papers Papermania - Happy Days
A5 white card blank


Method:
I made the blank frame the size I wanted and added the cake stand and sentiment to it. Having printed it out I used the copics to colour it in. I drew in the tablecloth with a black pen. The frame border I coloured in to match, as closely as a could, the backgroundSAM_1817(watermarked) 
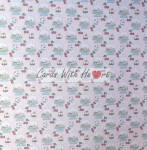
colour of the cherry designer paper. I cut out my image and matted and layered it onto the designer papers before attaching it to my card blank.

I used a coloured image from the set to make the paper for the card insert.

After a day of non-stop rain yesterday I am happy to say that today there is blue in the sky and the sun has made an appearance. Hopefully summer has returned to stay a while.

Thanks for visiting. Take care.

Pippa

I would like to enter my card into:
Imagine That July Digi of the Month Challenge - Treat Stand
Brown Sugar Challenge Blog #156 - Anything goes

Friday 24 July 2015

Outlawz Progressive Challenge

Card makers are often heard to say that making cards for the men and boys is tricky. Most of the images trending at the moment are very feminine characters with the big eyes - not to everyone's taste and especially not suitable for the males of the world! So when this month's Outlawz Progressive Challenge freebie arrived it made a refreshing change.

SAM_1813(watermarked)

Materials used:
Freebie from Outlawz Progressive Challenge - Farmer Fred (I think)
white stamping card
Happy Birthday acrylic stamp
black archival ink pad
core'dinations card stock
designer papers - Papermania: Happy Days
circle die
Adirondack ink pads: stonewashed, meadow
blending brushes
Copic pens


Method:
I printed out the image and coloured it with the pens. I used the Adirondack inks and blending brushes to put in the sky and grass background, then trimmed the image down to the size I wanted and matted it onto some mustard yellow core'dinations card. I stamped out the Happy Birthday sentiment with black ink and cut out the two semi-circles in the middle before attaching to a snippet of the yellow card and cutting with a circle die. I covered the front of a white A5 card blank with two of the designer papers and attached my topper with 3d foam pads. Finally I stuck the greeting onto the card.

The weather here has turned dramatically from the sunshine we have been enjoying for some days now to torrential rain. Although the garden desperately needs water and the pond even more so I do wish it would confine itself to overnight rain! It is so dark that we are having to put lights on - in July! On the other hand the weather does mean that we will not be going anywhere so more time to sort out my craft room between warming cups of tea!

Thanks for dropping in. Take care.

Pippa

I would like to enter my card into:
The Outlawz Challenges - Progressive Freebie
Week 29 -Crafting Challenge at Polkadoodles - 2 or more Patterned Papers
Through the Craft Room Door - Anything goes

Thursday 23 July 2015

Taking it easy

There is a strange mix in the themes of recent challenges with Christmas in July sitting happily beside summer fun. The progressive freebie image from From the Heart is of Birdbrain relaxing in a swimming ring with something nice to drink.

Materials used:
Inner Tube BirdbrainSAM_1810(watermarked)
Fancy labels die set
Copic pens
A5 white card blank
dark red and green card
X-press it blending card
black peel off greeting


Method:
I printed out the image and coloured it with the pens then matted and layered it onto red and green card die cut with the labels die. I attached my topper to the card base and added the peel off greeting.

I am trying to finish all the progressive challenges for this month in the next few days before we go off on holiday for a couple of weeks. At the same time I am attempting to sort out and down size my craft room in the on going preparations for when my husband retires next year and we have to vacate the spacious vicarage and return to our little cottage. Being ruthless and getting rid of things that have not been used for ages is quite hard but very therapeutic. Earlier in the year I took a box of crafting items to a craft retreat and managed to pass a lot on to loving homes and raise some money for the British Heart Foundation at the same time. The intention is to repeat the process next year so the gathering together is going to be an on going process.

Thanks for dropping in. Take care.

Pippa

I would like to enter my card into:
From the Heart Progressive Challenge - July

Tuesday 21 July 2015

End of the School Year

It's been a long year but we made it! An emotional end this time because after 14 years in Reception I am on the move to work with the older children from September. It's not a choice I would have made for myself but recent health issues have meant it is better for the school if I am in a less active place.

I usually give the children a little gift at the end of the summer term and this year I decided to make a bookmarker each for them all. So I made 14, 7 for the boys and 7 for the girls and put their names on the back.

The Path of Positivity challenge this time around has the theme of 'Sharing'. I have been thinking about what to do for a while, the problem was not lack of ideas but having too many. When I decided to make the bookmarkers I knew that had to be my entry for POP. One of the joys of working in Reception is being able to share a love of books with them. When they first come into school we do not give them a reading book but allow them to choose one from the class to take home and 'share' with mummy or daddy. In fact most of the time we talk about sharing books rather than reading a story.

Because of health problems I had when I was born I spent a lot of time alone and unable to go outside to play so I learned to read very young and have been the stereotypical bookworm ever since. While I was a guide I even ran a library for the village children. I trained as a librarian but life's circumstances took me into working in schools.

So next year will be different with new challenges but I hope there will still be opportunities to share a love of books with the older children along the way.

Materials used: SAM_1788(watermarked)
Deedee's Digis set - Little Readers
Clarity Stamps - Letter Box Kit
Stamping card
Copic pens
Archival Black ink pad


SAM_1789(watermarked)

Method:
I printed out the images and wording using a template on Word so that I could fit two bookmarkers to an A4 sheet of card. I used the Copics to colour the images in then cut them apart and scored the fold line. I then used the letterbox kit to write the children's names on the backof the bookmarkers. Finally I folded them in halves and glued them down.

SAM_1790(watermarked)

It took a while to do the colouring and the stamping but I think it was worth it. I hope the children like them and that they are encouraged to use them in the ongoing discovery of books.

Thanks for sticking it out with my ramblings today. Take care.

Pippa

I would like to enter my card into:
The Path of Positivity Challenge #28 - Sharing
Anything But a Card Challenges No. 49 "Anything Goes"
Ike's World Challenges #42 - Anything but a Square
Through the Craftroom Door - Anything goes
Word Art Wednesday: Challenge #192

Saturday 18 July 2015

Catch the Bug #7

Well I made it, the last challenge! It's Freebie Friday with a present, you pick a present and add the elements in it. There was some issue with the image not coming up as a freebie on the website so the deadline has been extended for 24 hours, every cloud has a silver lining!

Materials used:SAM_1806(watermarked)
Bugaboo Digi Stamp - Rudolph-Rudolph
Docrafts Christmas greetings stamp
black archival ink pad
Copic pens
Papermania Christmas DP - 3 designs
gold trim cream ribbon
gold brads
eyelet
A5 white card blank
stamping card


Method:
I printed out my image and coloured it with Copics. I cut a large tag shape from white card and covered it with designer paper before setting an eyelet in it at the top. I matted and layered Rudolph onto another design of paper having run a black pen around the edges of both. I attached a strip of the third paper to the left side of the card blank and covered the join with a length of ribbon and added a small piece of the same ribbon to the tag. I set a brad in both left hand side corners and stamped the Christmas greeting in the top right corner of the card. Finally I attached my tag using 3d foam pads.

I really enjoyed the challenge of trying to get 7 projects made in just a week but feel I may need a little rest now! Apart from everything else my study is in need of a good clear up with the remains of the crafting frenzy scattered everywhere and my end of school year clear out from school dumped in the corner waiting to be sorted ready for September. I also have a little collection of lovely goodies to enjoy from the children I have taught over the past year- some of which look very yummy!

Thanks for dropping in. Take care.

Pippa

I would like to enter my card into:
Catch the Bug CIJ – Friday – Freebie Friday/Pick a Present!
Morgans Artworld Challenge #3 Christmas in July
Week 29 -Crafting Challenge at Polkadoodles - 2 or more Patterned Papers

Friday 17 July 2015

Catch the Bug #6

Almost there! The sixth challenge in the series is Oldie but Goody with a photo inspiration. Being a new comer to Catch the bug challenges I am not certain what an oldie but goodie is, but I do recognise a snowman when I see one! Having made cards up to now I decided to go with something a bit different and made a gift tag. I hope the image I chose is an oldie, it is certainly a goodie.

MaterialsSAM_1805(watermarked) used:
Bugaboo stamps - Snowman Block
white stamping card
Copic pens
silver metallic pen
Wink of Stella - clear
snippet of green Christmas ribbon
silver eylet


Method:
I printed out two copies of the image and coloured them in with the Copics and the silver pen. I added the Wink of Stella to the silver frame for a little more sparkle. I fussy cut one whole image and just the snowman from the other image. The whole image was glued to some thicker white card and cut out with a small border around it. I put a silver eyelet in the top and threaded through some green ribbon. Finally I attached the second snowman over the top with 3d foam pads.

So six down and one to go. I think I may just make it if the time difference works in my favour! I always get so confused about what the different time zones are compared to the Uk but I think I still have until tomorrow mid-day to finish the last one. As it is getting late here now I may not manage to start it until the morning so it is going to be tight timing. Still I am going to give it a shot, fingers crossed!

Thanks for dropping in. Take care.

Pippa

I would like to enter my tag into:
Catch the Bug CIJ – Thursday – Photo Challenge
Pennys challenge 236 - Anything goes
Crafty Gals Corner Challenge #28: Christmas in July
Morgan's Artworld Challenge #3 Christmas in July

Catch the Bug #5

The race is on! Will I manage all the challenges before it closes I wonder. Here is number 5 with the theme Humour me Wednesday and bingo added in.

Maerials used:SAM_1804(watermarked)
Bugaboo Stamps - Snowball penguins
Fancy labels die set
White enamel accents
Copic pens
Let it snow . . . acrylic stamp
snowflake background paper
A5 white card blank
stamping card


Method:
I printed out my image and coloured it in with the Copics before cutting it with the die. I cut a mat from the snowflake paper with a slightly larger die. From the scrap left over I used the acrylic greeting stamp and made a matted banner. I layered up my elements and attached them to the front of the card. Finally I added white enamel accents to the round snow dots in the sky on the image.

So confession time, I made my card and then realised I had completely forgotten about the bingo part of the challenge. Fortunately all was not lost because the central diagonal line had two elements I had used - a Bugaboo Image and Snowflakes (on the backing paper) so I just needed to think of something to fulfil the players choice, good old enamel accents to the rescue. I just hope it counts!

Thanks for dropping in. Take care.

Pippa
I would like to enter my card into:
Catch the Bug CIJ – Wednesday- Humor Me Wednesday/Bingo

Thursday 16 July 2015

Catch the Bug #4

Back again with my fourth card, still got some catching up to do and not sure I will be able to do all of them before the deadline. This time there is a recipe to follow: 3 embellishments, 2 designer papers, 1 ribbon/twine.

Materials used:SAM_1801(watermarked)
Bugaboo Stamps - Christmas 25
Copic pens
2 scraps of designer paper from stash
sheet of Christmas tartan card
tartan ribbon from stash
black candi
silver metal snowflake
Happy Christmas stamp
black archival ink pad
A5 white card blank
circle dies
Cosmic Shimmer Diamond Sprinkles


Method:
I printed out my image, coloured it in with the Copics and cut it with a circle die. I also cut two pieces of designer paper with larger dies and stuck them together offsetting them. I cut the corners off the card blank to make it into a giant tag shape and covered the front with the patterned card. I attached a length of ribbon around the card front and attached my topper on top. I attached the snowflake with it's brad and the black candi. Finally I stamped my greeting at the bottom of the card.

The eagle-eyed among you will have no doubt noticed the error in that I cannot count and ended up with 4 embellishments. By the time I noticed it was too late to alter it and too late to start again so I hope it does not disqualify it from entry. Fingers crossed! The card can actually be used as a greetings card or as a tag for a very large present.

Thank you for visiting. Take care.

Pippa

I would like to enter my card into:
Catch the Bug CIJ – Tuesday – Recipe Challenge!
Addicted to stamps Challenge #153 - Holiday
Inspiration Destination Anything Goes Challenge No. 42
The Paper Shelter Challenge 212 - Use some circles

Catch the Bug #3

I've just got time to post this before heading off to school (last day tomorrow - yeah!) The theme for day three is a colour palette. I am hoping that I have seen the right colours because computer screens all show colours slightly differently. I decided to go with turquoise and lime green.

Materials used:SAM_1800(watermarked)
Bugaboo stamp - Fairy Christmas
Spellbinders Heirloom Ornament clear stamp set: sentiment and holly sprig
white A5 card blank
green card
blue card
Copic pens
Poychromo pencils
Gold metallic promarker
Red liquid pearls
Black archival ink pad
Memento Tuxedo Black ink pad
Glamour Dust


Method:
I printed out my image and coloured it with Copics before trimming to size. I then matted and layered it onto the green and blue card before attaching to the card blank. I stamped my sentiment and the holly sprigs at the bottom of the card and coloured it in with the pencils. Finally I added some Glamour Dust to her hat and liquid pearls for the holly berries.

I am enjoying the challenge of getting a whole week of cards done, it's a pity work is getting in the way. Next week would have been much better for me because I shall be on holiday. Also I tend to make religious Christmas cards so the images I have used so far are very different from my usual ones.

Thanks for dropping in. Take care.

Pippa


I would like to enter my card into:
Catch the Bug CIJ Monday - Colour Challenge
Beccy's Place - Christmas in July

Wednesday 15 July 2015

Catch the Bug #2

Here we go with the second challenge at Catch the Bug. This time there is a sketch to follow. I have never attempted a sketch before and, to be honest, found it quite difficult. I have ended up with a very white card in the process!

Materials used:SAM_1797(watermarked)
Bugaboo stamps - Let it snow tag
stamping card
Crafter's Companion Snowflake Flutter embossing folder
snowflake die
circle die
Centura pearl card stock from stash
Copic pens
purple gift wrapping ribbon
Papermania stick on pearls


Method:
I printed out two copies of my image at the size I needed and coloured them in with Copics. I used the circle die to cut out one image and fussy cut the snowman from the second image. I used the embossing folder to emboss a piece of Centura Pearl card stock and trimmed it to size. From the trimmed off piece I cut two snowflakes. I attached my embossed panel, the main image and the snowflakes to an A5 white card blank. I used attached a piece of purple gift wrapping ribbon to the snowman's hat and stuck some pearls along it. I then attached the snowman to the main image using 3d glue gel.

I apologise for the poor quality of the photo, the card is white not pink!

I did warn you about multiple postings (3 today!) but I am sure that after Friday Iwill all go back to my usual intermittent routine! Thanks for dropping in. Take care.

Pippa

I would like to enter my card into:
Catch the Bug Christmas in July – Sunday – Day 2- Sketch Challenge!
Polkadoodles Challenge Week 27 - Add Some Embossing...
The Paper Shelter Challenge 212 - Use some circles

Catch the Bug #1

Over at the Catch the Bug Challenge they are celebrating Christmas in July with a week of challenges. Each day has a different theme and there are prizes too! There are a few days left to enter so why not go and have a look. If you need some incentive there is a 50% off sale until the end of the month across the whole Bugaboo store.

The theme for Day 1 (Saturday) is - Jingle all the way.

SAM_1798(watermarked)

Materials used:
Bugaboo Stamps - Make it snappy seasons greetings
white stamping card
green embossed card from stash
black card
Copic pens
Happy Christmas acrylic stamp
black archival ink pad


Method:
I printed out 2 copies of the image at the size I wanted and coloured them in with Copic pens. From the second image I cut the bells and bow and the greeting panel. I stamped Happy Christmas onto the panel. I matted and layered the main image onto the green embossed panel and the black card before attaching to an A5 card blank. Finally I attached the bells and greetings with 3d glue gel.

That is one day down, 6 to go so it is fairly certain that I will be posting more than once a day to get them all done!

Thanks for dropping in. Take care.

Pippa

I would like to enter my card into:
Catch the Bug Christmas in July -Saturday Challenge- Theme Jingle all the way!
TTCRD challenge, July 14-July 20 - Anything goes
Addicted to Stamps and More Challenge #153 - Holiday

Monday 13 July 2015

Deedee's DOM

This month Deedee's Digi of the month is an ice cream truck and some bear customers! I went to town with it this time having a go at another pop-up card.

Materials used:SAM_1792(watermarked)
Deedee's Digis Set - Ice cream truck
It's a happy kind of day acrylic stamp
blending card
A5 white card blank
A5 printer card
red card
grey card
bright yellow card
pale green card
blue designer paper
orange designer paper
Copic pens
Stampendous pop-up die set
circle die set
scalloped circle punch
Die'sire Nouveau Stamping Frame die


Method:
I printed out my main image, the two bears and the sentiment at the size I wanted and coloured them in with the Copics. I trimmed the ice cream truck image to size, matted and layered it onto red and grey card and attached it to the card front. Using black ink I stamped the sentiment in the top left corner. I fussy cut the two bears and cut out the sentiment with a circle die. I made a scalloped edged mat from the yellow card using the punch.

SAM_1793(watermarked)Using the printer card and the pop-up die I cut the tabs out twice to attached my bears on. I covered the top half with blue paper (to resemble sky) and the bottom half with orange floral paper (for the ground) and stuck it all on the inside of the card. I shaped the bears slightly by hand and attached them to the tabs inside the card. I attached the sentiment in between the bears (I had sunshine in mind when I did it!). Finally I die cut the nouveau stamping frame from the green card for the sender to write their greeting on.

Thank you for popping by. Take care.

Pippa

I would like to enter my card into:
Digi Galore Challenge July - Summery/Bright
Give a crafter a cookie challenge #22
Digitally Sweet - Anything goes
Stamping Sensations July Challenge - Feature a Creature
Not Just Cards Challenge 22 July

Sunday 12 July 2015

Deedee's Digi's to the rescue again!

After four years our wonderful church youth worker is moving on to pastures new. I was commissioned to make a card for everyone to sign to thank her and wish her well in her next position. After a complete blank on what to do I eventually had a brainwave! One of the youth groups is called Gazebo Grapes and Deedee had just the set I needed. By now there was not enough time to colour in the image so I used the already coloured in version.

SAM_1783(watermarked)

Materials used:
Deedee's Digi Set - Fruit of the vine
printing paper and card
15cm x 15cm white card blank
yellow card
Adirondack ink pad - Lemonade
Distressing tool
glossy accents


Method:
I made up my base design with the green grapes image and sized it to fit my card blank. I also added some red grape images the same size in the spare area of my sheet then printed it out. I trimmed the main image down, distressed around the edges almost into the middle with the lemonade ink and matted it onto the yellow card before attaching to the card base. I covered the grapes with glossy accents and left it to dry. I fussy cut the red grape images and when the base image was dry attached the red grapes between the green grapes using 3d glue gel. When the glue was set I put glossy accents on the red grapes. This time I did it in stages to try to get the individual grapes to stand out more. (I am not sure why but at this point some of my grapes went white!)

I made an insert for the card using a graphics programme to made a backing paper with the green and red grape images on it. (I forgot to photograph the inside before it went off to the church to be signed.)

Whenever I see that verse from John 15 I want to sing 'I am the vine, you are the branches', I love that hymn/song in all it's different renditions. This one is a particularly tuneful one if you are interested: https://www.youtube.com/watch?v=LF4J7CCximo

I did say that I was hoping to get some quality time in my craft room this weekend and I have managed to finish a couple of projects so will be sharing them during the coming week. Thank you for stopping by. Take care.

Pippa

I would like to enter my card into:
Word Art Wednesday - #191 Anything Goes
Your Scrapbook Place - July: Anything Goes
Outlawz Greeting Card Challenge - Inspired by a movie or song.
Digitally Sweet Challenges - 140: Anything goes
Not Just Cards Challenge - Anything Goes
Ants in my pantry digital challenge 7 - Anything Goes

Wednesday 8 July 2015

Where did the days go?

I have just realised it is over a week since I last posted. I'd love to say that I have lots of projects finished and ready to share with you but that would not be quite true.  I do have a lot of projects but most of them are still in my head and the ones I have started are not ready to share!

I do have one thing I can share. I have been working on Create and Learn  Classes from Kit and Clowder. It sends me way out of my comfort zone for both the pencils and the markers but I am enjoying the challenge. My final pieces are no where near perfect but I do learn so much just giving them a go. So in the absence of any actual finished projects here are some pictures of the images I have been working on.

SAM_1782(watermared) SAM_1759(watermarked)

Both of these have been coloured with Polychromos.

If you are looking to learn more about colouring or improve your skills, have a look at the Kit and Clowder site. Alyce Keegan runs the 'company' and is a fantastic teacher. The advantage of doing a paid for course is that you get all the wonderful tips and help with feedback on your work. You can either go for a large techniques class or a smaller project class.

Thanks for dropping in. Hopefully there will be a finished project to tell you about over the weekend. Take care.

Pippa