Monday 28 August 2017

The Icing on the Cake

Just about time to get my entry for the Scrapper's Delights Challenge in. Last minute yet again!

SAMSUNG CAMERA PICTURES

Materials used:Scrapper's Delights - Honey Chef
Scrapper's Delights - Kitchen Scene
acrylic greeting stamp from Creative Stamping Magazine
black archival ink pad
X-Press It card
red card
black card
Copic pens


Arrange the images how you want them and print on X-Press It card. Colour in with Copics and trim to size. Stamp the greeting at the top.

Mat and layer image onto red and black card then attach to a 15cm square card blank.

Scrapper's Delights have recently released a batch of cooking themed stamps including some templates for receipe cards. The images would be great in a planner or a set of receipe cards. With Christmas running towards us I have a few ideas in my head. Now I just need to find the time!

Thanks for dropping in. Take care.

Pippa

Entering the following challenges:
Scrapper's Delights #69 - August 
Scrapper's Delights Facebook Progressive Challenge - August
Creative Moments #125 - Anything Goes
Simply Papercrafts #50 - Anything Goes
Jo's Scrap Shack FFC #203 - Anything Goes
Creative Fingers #135 - Anything Goes
PIP Challenge #1735 - Anything Goes

Sunday 27 August 2017

A bit of inspiration for Stella's sketch

As a full team member at Bugaboo Digi Stamps I have an assigned number for samples and my number fell today. Being new to the team I did not notice that the Stella Says Sketch challenge is not weekly and made a sample anyway.
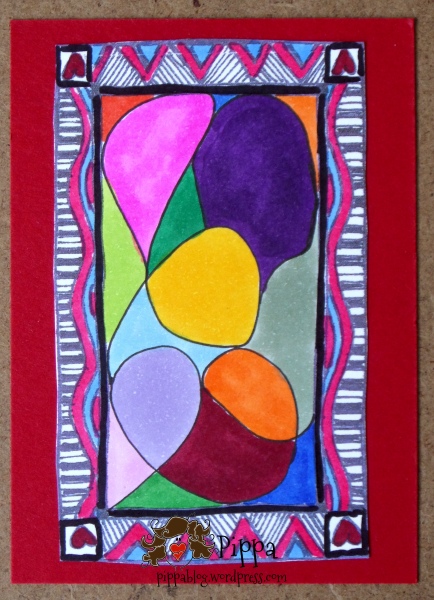
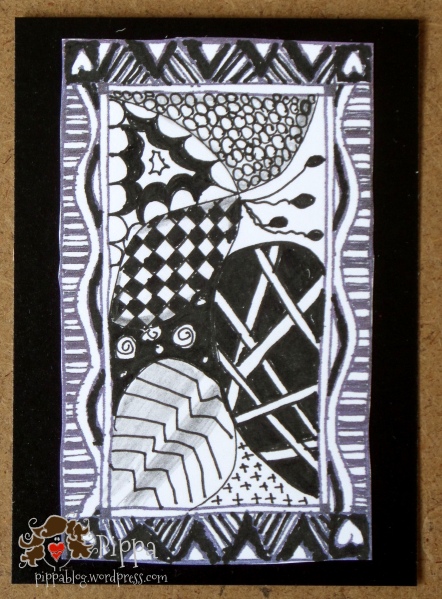
This is the sketch:


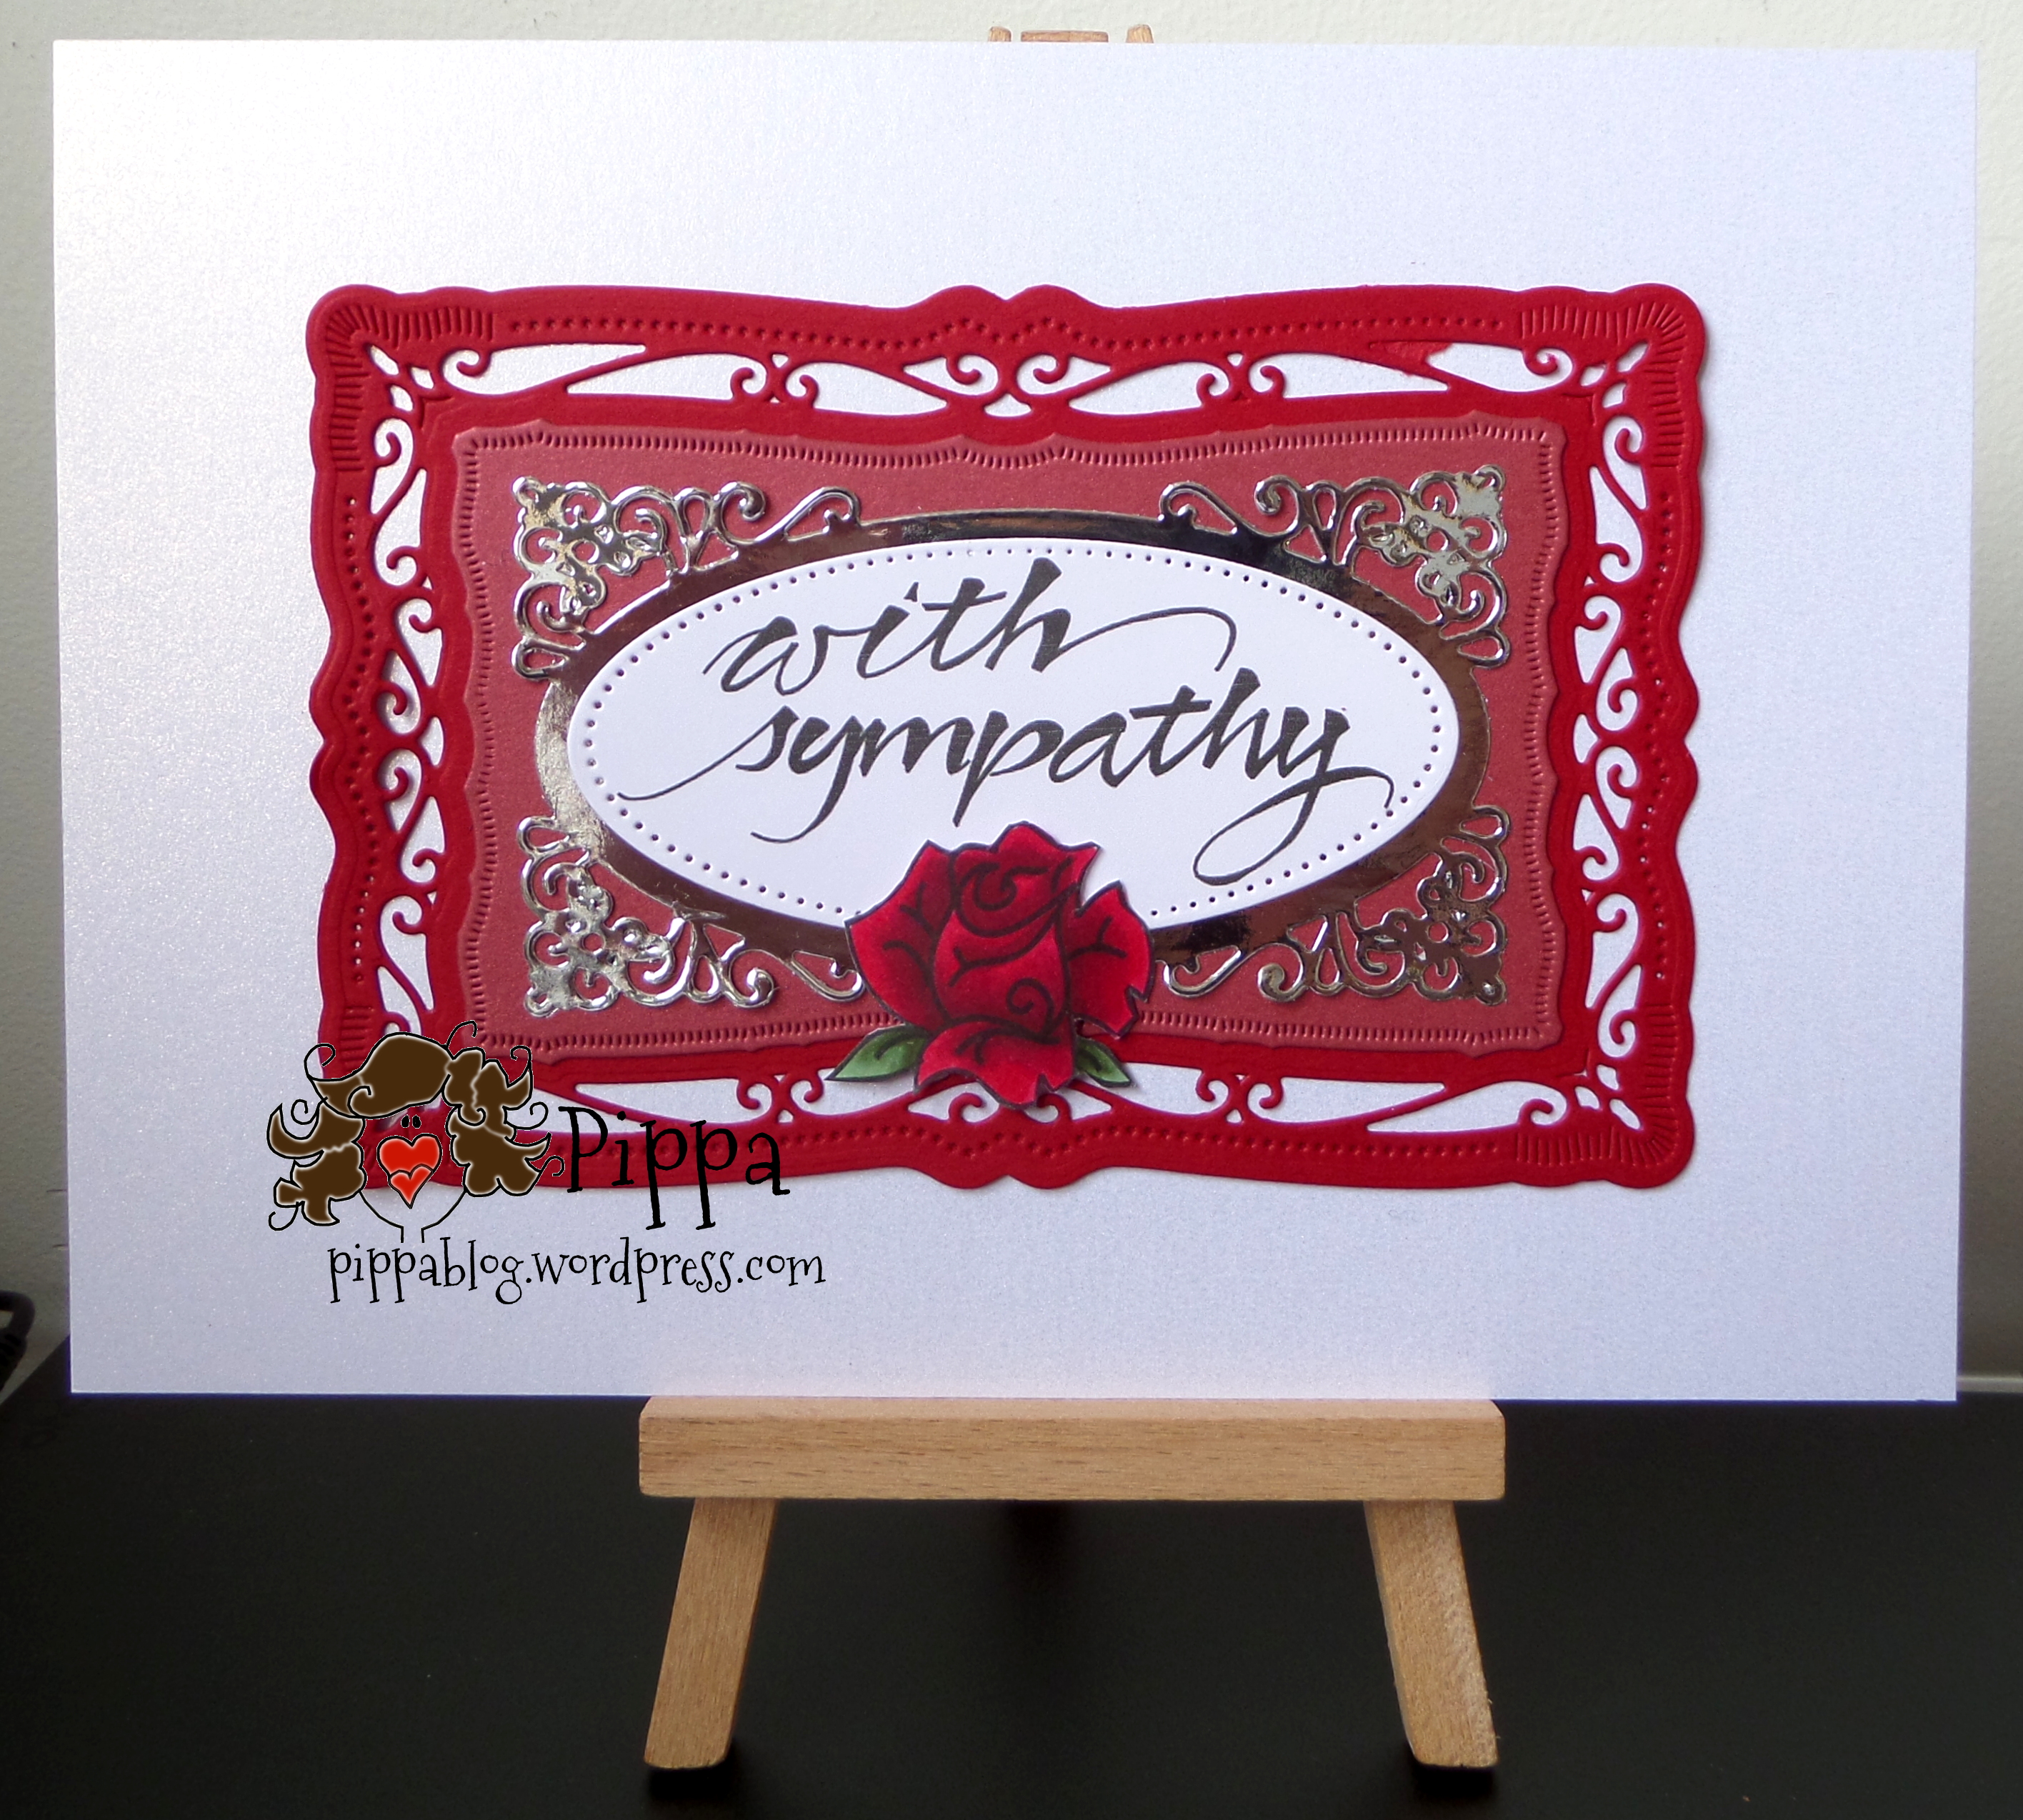
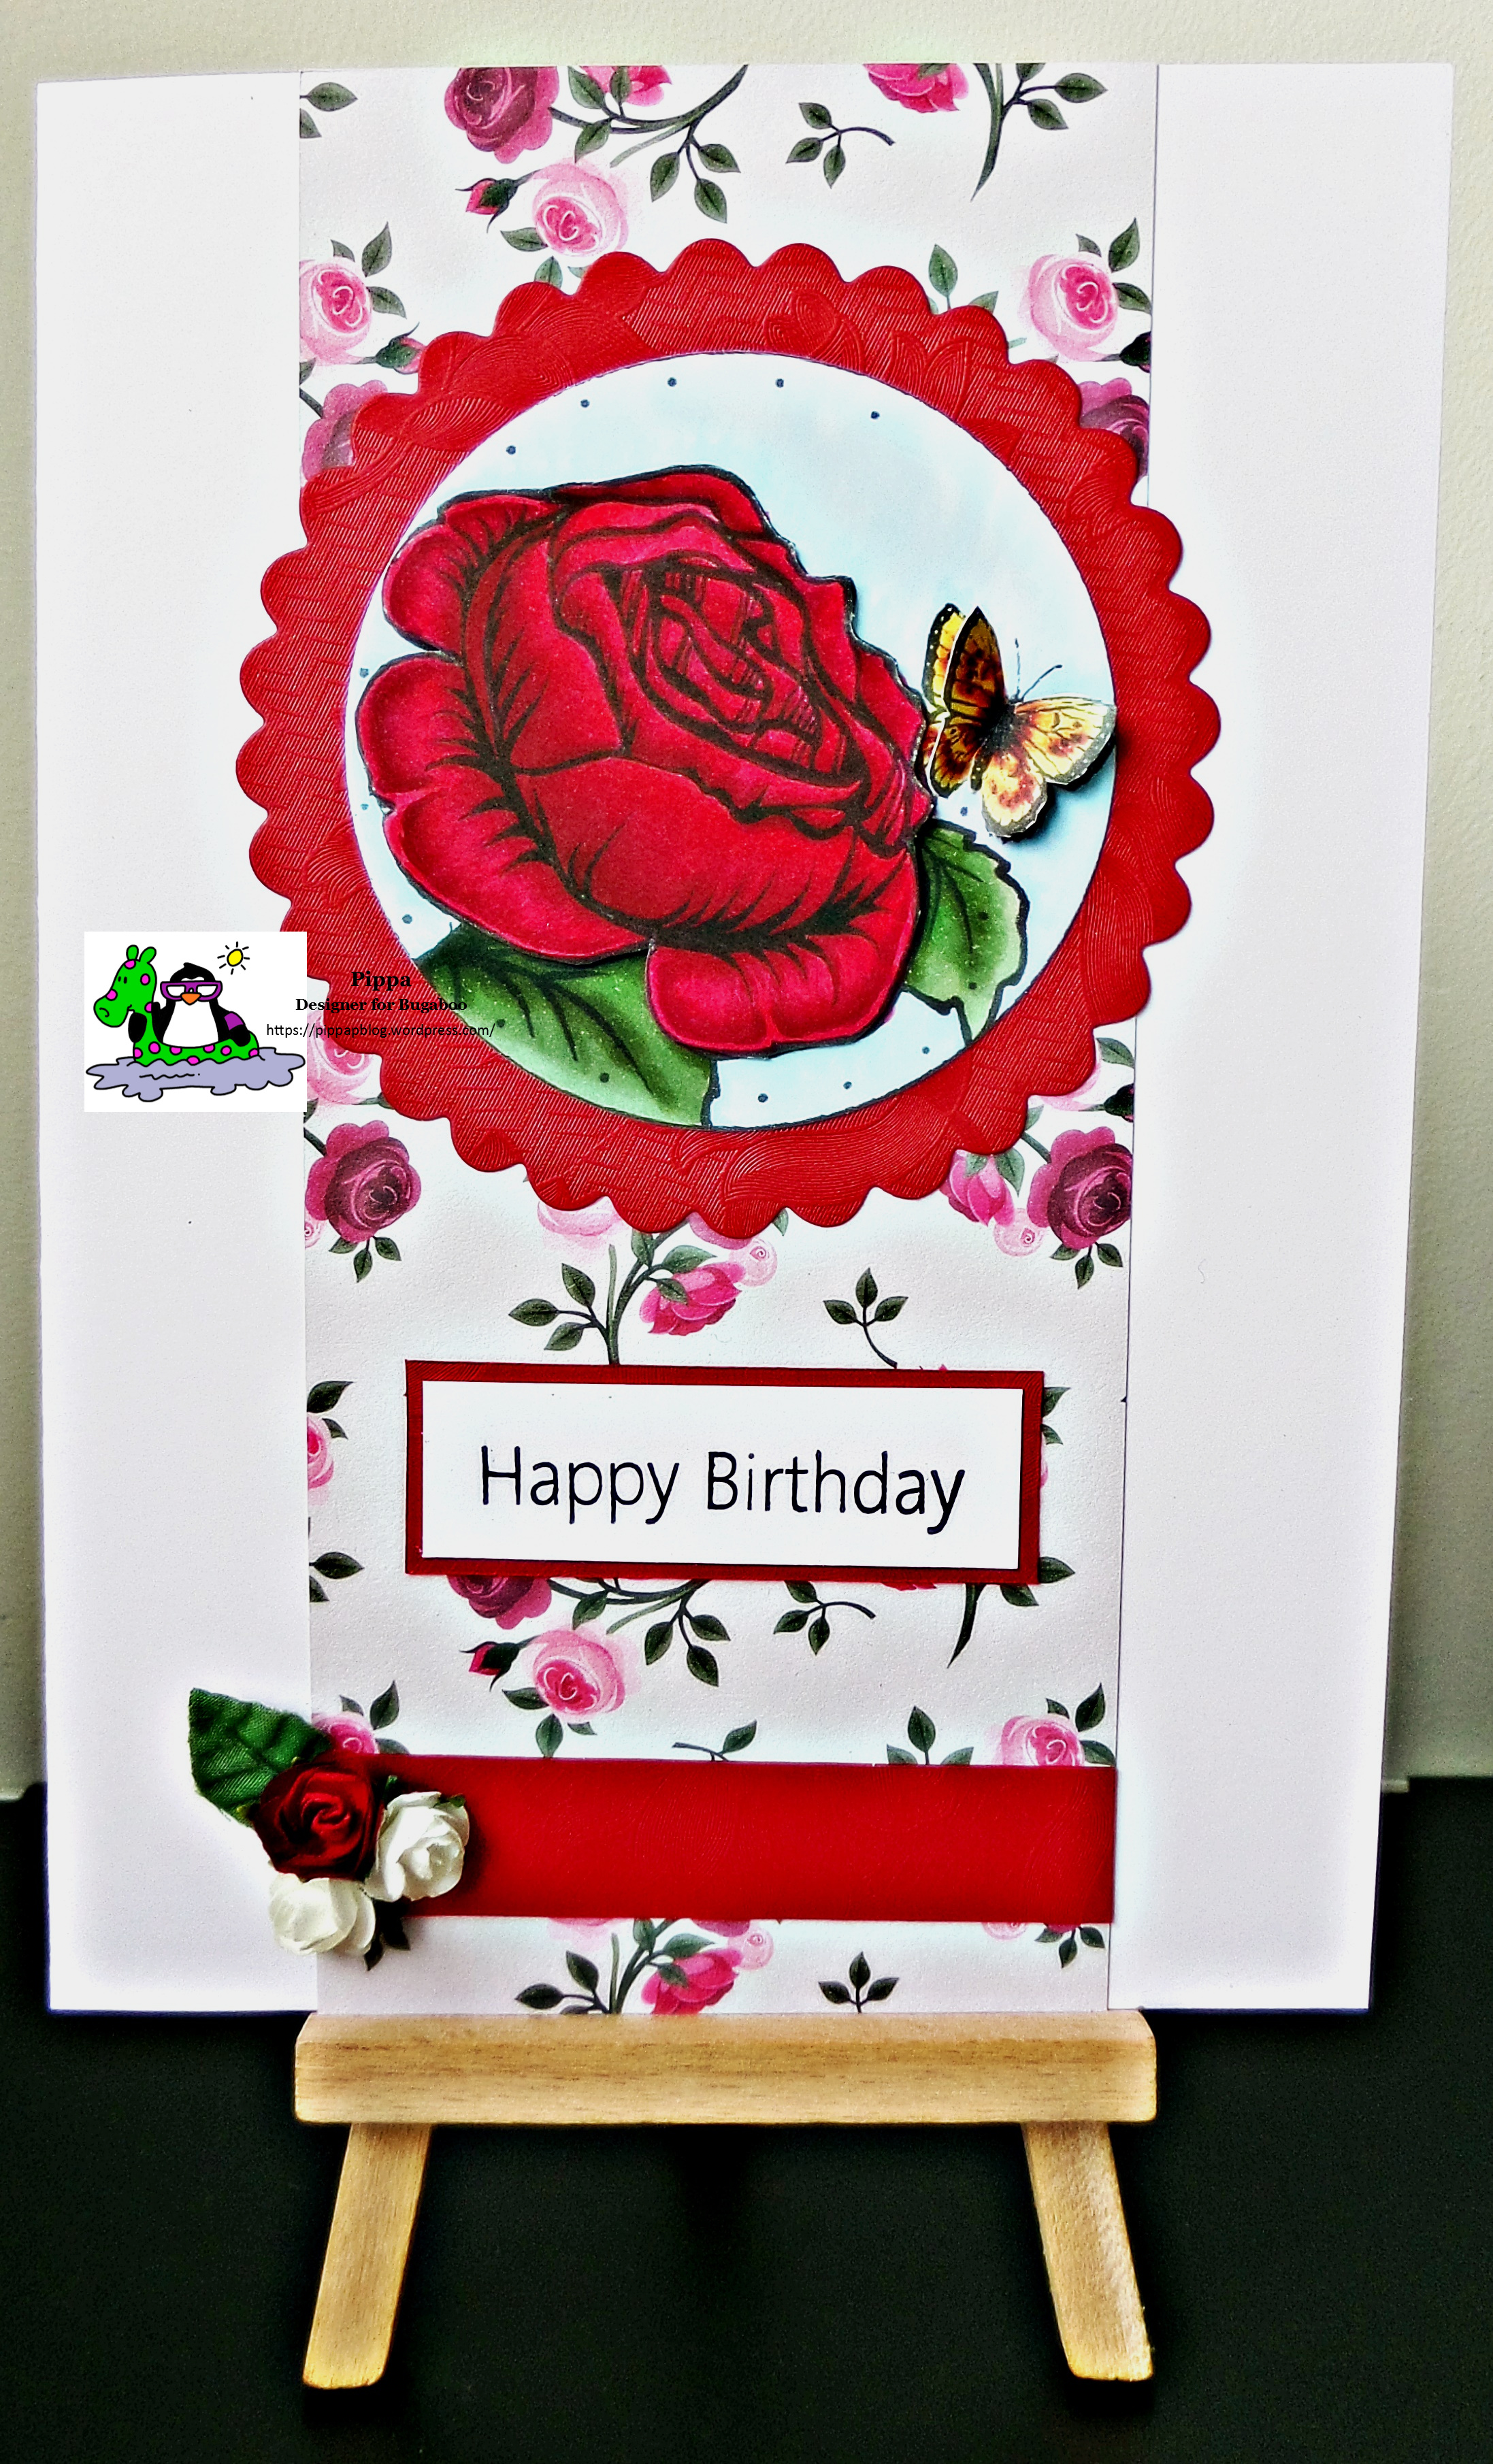
And this is my take on it.

SAM_4673(watermarked).JPG

Materials used: 
Bugaboo Digi Stamps - Rose Trio
Acrylic greeting stamp
black archival ink
Copic pens
red embossed card
rose patterned designer paper
X-Press It card
scalloped edged circle die
plain circle die
3 paper flowers


I decided to only use one of the rose images from the set so cropped it to the one I wanted and printed two copies. I coloured them with the pens then cut one image with a circle die and fussy cut the rose and butterfly from the second image. I stamped out the greeting on a snippet of spare white card and trimmed to size then matted onto red card. I cut a scalloped circle from the same red card and a strip to go at the bottom.

I cut a panel of the patterned card and stuck it to the middle of an A5 card blank. I matted the coloured image onto the scalloped circle and attached to the card near the top. I arranged the greeting and the red strip and attached them also.

I shaped the fussy cut rose a little and attached over the base image with gel glue to give some dimension. I folded the butterfly wings up and just glued down the body leaving the wings unattached. Finally I added the paper flowers.

There is still plenty of time to enter the Stella Says Sketch challenge at Catch the Bug. Here are the details of how to enter and the prizes on offer.

HOW TO PLAY: Enter up to 3 times a project using the above Stella Says Sketch sketch. If you use a Bugaboo Image, you could WIN 10, 7 or 4 Bugaboo Images of your choice. We LOVE to see what you do with your Bugaboos! If you NEED a Bugaboo Stamp to use, head on over to the store and get this weeks Friday Freebie! If you have a wonderful NON-Bugaboo Image you'd like to use, you’ll be eligible for 7 or 4 Bugaboo Stamps Images of your choice if you’re one of our winners! All entries must be new and follow the sketch.  Due to the Bugaboo Stamps holiday vacation, we're giving you until 6 am Sunday September 10, 2017 to join the sketchy fun.

I hope you will come along and join the fun. Take care.


Pippa

Entering the following challenges:
Creative Moments #125 - Anything Goes
Penny's Paper-Crafty Challenge #343 - Anything Goes
Crafty Gals Corner #137 - Punches and/or Dies
Crafting With An Attitude #30 - Anything Goes
Jo's Scrap Shack FFC #203 - Anything Goes
Creative Fingers #135 - Anything Goes


Saturday 26 August 2017

Picnic with the ladybirds

Today's challenge theme at Bugaboo Digi Stamps is a photo inspiration.


This is my take on it.

SAM_4675(watermarked).JPG

Materials used:Bugaboo Digi Stamps - Ladybird Line and Flower Fence
X-Press It card
Copic pens
black greeting sticker
coloured parchment paper


Arrange the two images as you want them then print on X-Press It card and colour with Copics. Trim to size and add the peel off greeting.

Cover the front of a DL white card blank with coloured parchment paper and attach the image ontop.

I deliberately kept this one simple. My idea was that the ladybugs had been on a picnic and the children were sleeping it off!

So now it is over to you. I am sure you could come up with a better idea than me for interpreting the photo. So why not join in the fun, you have a week to get your entry in and there are plenty of prizes on offer. If you like Bugaboo images you really should give it a go. All the details can be found on the Catch the Bug Blog. I hope to see you there.

Take care.

Pippa

Entering the following challenges:
Bugaboo Crafty Challenge #8 - Only Bugaboo Digistamps
That's Crafty Challenge - Only Cards
PIP Challenge #1734 - Anything Goes
Addicted To Stamps And More #256 - Anything Goes 
Creative Moments #125 - Anything Goes
Penny's Paper-Crafty Challenge #343 - Anything Goes
Crafting With An Attitude #30 - Anything Goes


Friday 25 August 2017

Under the Sea

Last month I managed to link up to the challenge at Imagine That Digi Stamps challenge and was given Baby Mermaid for doing so with the challenge to use it, which almost a month ago seemed a good idea! Anyway I have at last managed to get it on a card just in time for this month's challenge!

SAM_4737(watermarked).JPG

Materials used:   
Imagine That Digistamp - Baby Mermaid set
acrylic seaweed stamp from Creative Stamping magazine
Adirondak green ink pad
X-Press It card
printer paper
Copic pens


Print out the mermaid image on X-Press It card and two of the papers and greeting from the set on printer paper. I chose the sandy coloured one and the blue one to give the effect of sand and water.

Colour the mermaid with Copic pens and fussy cut it out. Use the two papers to cover the front of an A5 card blank then stamp the seaweed on it with green ink.

Trim the sentiment and edge it with a black pen then stick it to the card front. Attach the mermaid using gel glue (or foam pads) so it is slightly raised.
Having been on holiday and with quite a few family events this month everything is a bit last minute. Still better late than never I guess.

Thanks for dropping in. Take care.

Pippa

Entering the following challenges:Imagine That Digistamp Creative Playground - August
That's Crafty Challenge - Only Cards
PIP Challenge #1734 - Anything Goes
Crafty Sentiments Designs - Anything Goes
Ike's World Challenges #95 - Anything Goes/Optional Twist The Abyss
Lemon Shortbread #48 - Anything Goes
Through The Craftroom Door - 22nd - 29th August
Addicted To Stamps And More #256 - Anything Goes
Creative Moments #125 - Anything Goes
Penny's Paper-Crafty Challenge #343 - Anything Goes


Tuesday 15 August 2017

The Power of Words

Scribbles Designs have a new challenge starting today and the theme is 'The Power of Words'. This time we want to see a sentiment on your projects, you could even make it the focus if you wanted too.

For my project I have moved away slightly from my usual style and have been playing with a die set that I have had for ages but never really known what to do with!

SAMSUNG CAMERA PICTURES


Materials used: 
Scribbles Designs - #050 With Sympathy Sentiment
Scribbles Designs - #642 Flower Set 2
X-Press It card
silver mirri card

deep dusky pink card
red cardpearlised cardwhite A5 card blank
Copic pens
Spellbinders Radiant Rectangles die set


Print out the sentiment and just the rose from the flower set on X-Press It card at the required size. (I didn't check the size of the sentiment and only just got away with it fitting the die!)

Colour the rose with Copics and fussy cut. Cut the sentiment with the die and then use dies from the set to cut the mat and layers in red, pink and silver.

Cover the front of an A5 card blank with pearlised card. Assemble the mats and layers and attach to the card front. Finally shape the rose slightly with your fingers and use gel glue to add to the card giving a bit of depth to it.

I hope you will join us at the Scribbles Designs Challenge this month. All the information about entering and the prizes on offer are on the challenge blog.

Thanks for dropping in. Take care.

Pippa

Entering the following challenges:
A Bit More Time To Craft #50 - Anything Goes
A Bit More Time To Craft Extra August Challenge - Anything Goes
Crafts Galore Encore August - Anything Goes
Your Scrapbook Place August - Anything Goes
Not Just Cards #47 - Anything Goes
Jo's Scrap Shack FFC #201 - Anything Goes
Dies R US #79 - Anything Goes


Love to Craft? This One Is For You!

Time for my midway post for the Love To Craft Challenge. Most of my projects are cards because that is my main craft. However I must just point out that the Love to Craft Challenge is always Anything Goes and covers any craft from cards to knitting, crochet to jewellery making, in fact anything goes. (It does what it says on the tin!) So whatever your particular craftiness is please share your projects with us at Love to Craft.

Today I would like to share with you the birthday card I made for our school administrator who is Womble mad.

SAM_4348(watermarked).JPG
Materials used:  

page from a Wombles book
black card
red card
white A5 card blank
Polychromo pencils


Colour the page in with Polychromos, trim to size and mat onto black card.

Use a computer to type out and print the greeting at a size that will fit the space in the middle of the picture. Attach to the topper.

Attach a piece of red card to the front of the card blank and finally add the topper.

I used a page from a book because I could not find any Womble stamps. If anyone knows of any out there please let me know! I have a few friends who are keen on the Wombles. In September my old class will be using the Wombles as a theme because the whole school is covering the topic 'Going Green' looking at environmental issues in general. I think maybe I should have waited one more term before retiring as I am fond of the Wombles too!

Thank you for dropping in. Take care.

Pippa

Entering the following challenges:
A Bit More Time To Craft Extra Challenge August - Anything Goes
A Bit More Time To Craft #50 - Anything Goes 
Crafts Galore Encore August - Anything Goes
Not Just Cards #47 - Anything Goes
PIP Challenge #1733 - Anything Goes


Tuesday 1 August 2017

Doodle Time With Scribbles Designs

Have you had a go at the challenge over at Scribbles Designs yet? The theme is 'Use Your Noodle To Doodle'.  It is half way through so not too late to get an entry in. The challenge finishes on 14th of August.

This time I have made a couple of ATC's. One is Zentangled and the other is a throwback to the pattern making we used to do when I was a child, basically take a pencil for a walk and colour in the shapes made in the process.

SAMSUNG CAMERA PICTURESSAMSUNG CAMERA PICTURES


Materials used: 
Scribbles Designs - #B04 Frame 4
black pen
X-Press It card
red card
black card
Copic pens


Print out the image to the required size to fit an ATC. On the coloured one I took a pencil for a walk making swirls and interconnections. For the black and white one I made a 'string' in the same way then filled each space with tangles. Trim the images to size.

Cut two ATC cards, one red and one black. Attach the doodled images to the ATCs.

Did anyone spot the error in the photo? Both the ATC's are upsidedown! (The hearts in the corners give it away.)

I hope we will see you at the Scribbles Designs Challenge.  All the information about how to enter and the prizes on offer are on the blog.

Thanks for taking time to visit. Take care.

Pippa

Entering the following challenges:
A Bit More Time To Craft August Extra Challenge - Anything Goes
A Bit More Time To Craft #49 - Anything Goes
Crafty Sentiments Designs - Anything Goes