Thursday 30 April 2015

Outlawz Progressive Digi Challenge

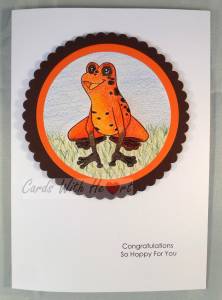
This month the digi image for the Outlawz challenge is a cheeky looking frog. Here is my card using that image.
SAM_1657(watermarked)
Materials used:
Free Digi Stamp - Frog (sorry I cannot link it because I am not sure where it is from. If you are interested in getting it pop along to the Outlawz Challenges and they might be able to help)
Derwent Acadamy Sketching paper
Polychromo pencils
White, orange and brown card
circle dies


Method:
I printed out the image onto the Derwent paper and coloured it in with the polychromo pencils. I then cut it with the circle die and also cut two mats, increasing in size, from the orange and brown card. I layered all my circles up. I printed the greeting onto the white card before scoring and folding it into an A5 card blank. Finally I used foam pads to attach my image.

This is my first play with the polychromos so I am still very much at the beginner stage. I deliberately kept the sky and the grass colouring grainy so that the frog would stand out even more. The frog is coloured based on the Strawberry Poison Dart Frog. I had decided to do a tree frog because they have much more colour in them.

Thank you for dropping in. Take care.

Pippa

I would like to enter my card into:
The Outlawz Progressive Freebie Challenge - April

Word Art Wednesday Challenge 181 - Anything goes

Wednesday 29 April 2015

Creative Moments Colour Challenge

CMcolour+challenge290415

Deedee is sponsoring the latest challenge at Creative Moments and this time they have a colour challenge. I am not a great fan of colour challenges but decided to have a go at this one anyway.

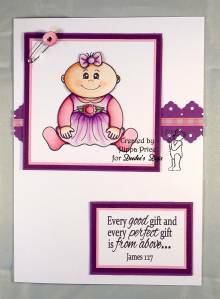
SAM_1655(watermarked)Materials used:
Deedee's Digi Stamp Set - Baby Blessings Girl
Copic pens
white stamping card
purple card (two shades)
pink card
A5 white card blank
safety pin
snippet of pink check ribbon
border die


Method:
I printed out the images and sentiment that I wanted and coloured them with the Copic pens. I cut out parts of two images to decoupage onto my main image giving a 3d effect. I trimmed my main image and the sentiment and then matted and layered them onto the purple and pink card. I used the border die to cut a ribbon of purple card and stuck the ribbon down the middle of it. I cut out the top of two pins and glued them each side of a real safety pin before sticking it through the topper. I then arranged all the elements onto my card blank and stuck them down.

I don't actually have anyone in mind for this card but with the royal baby due any day now it seemed the obvious one to make with the colours in the challenge! As I used the snippet of ribbon and some card snippets for the mating and layering I think I will pop along to Pixie's Snippets Playground a little later and see what is going on there!

Thank you for visiting. Take care.

Pippa

I would like to enter my card into:
Pixie's Snippets Playground Week 174
Outlawz Greetings Challenge - Anything goes

Monday 27 April 2015

Deedee's DOM for May

Deedee releases her Digi of the Month today. Everyone who entered the challenge for the last DOM will get this one free. If you are new to Deedee's Digi Stamps and would like to join in the fun you can purchase this month's image from the shop.

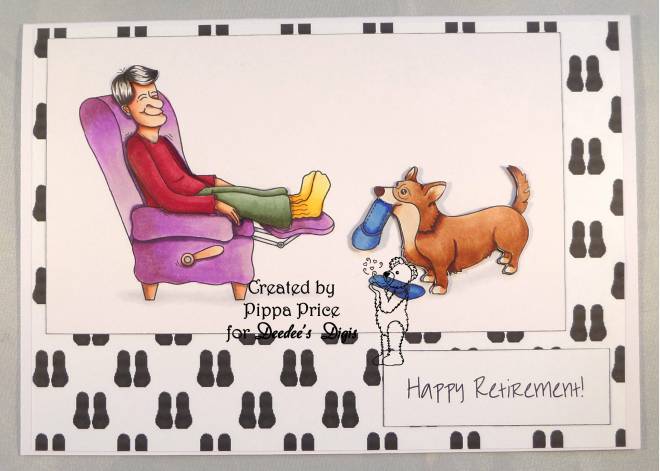
SAM_1604(watermarked)Materials used:
May DOM - Dad's Day Off (link to shop)
White stamping card
A5 white card blank
printer paper
Copic pens


Method:
I printed out the images I needed and the sentiment onto the stamping card then coloured them in with the pens. I used one image as my base and parts of two more images to decoupage. On the computer I used the slippers image resized and recoloured to make the background paper. I then attached all the elements to the base card.

I have a feeling that the background paper might have looked better the other way up but by the time I had decided that, it was too late to change it! The two images on the card are available separately so you could use the dog on it's own if you wanted a card for a 'doggy' friend. All Deedee's images come as outline drawings and pre-coloured so you do not need to colour them yourself if you do not want to.

Thank you for dropping in. Take care.

Pippa

Friday 24 April 2015

From the Heart Stamp of the Month Challenge

I am a big fan of progressive freebie challenges, not only do you get the following month's image free but you have a whole month to come up with an idea! From the Heart this month gave out a new image from their Hamlet PigWit range.

SAM_1611(watermarked)

Materials used:
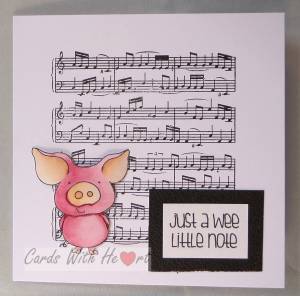
From the Heart Stamps Stamp of the Month: Hamlet PigWit Being Shy
Copic pens
small note acrylic stamp
sheet music block acrylic stamp
Adirondack black archival ink pad
snippet of black card
5 inch square white card blank


Method:
I sized and printed out the image and the greeting I wanted to used then used the Copic pens to colour him in. I stamped the music block onto the front of the card blank, fussy cut Hamlet and stuck him on. I trimmed the greeting and matted it onto black card before attaching it to the card base.

SAM_1612(watermarked)

I had printed out several copies of Hamlet so turned the extra into ATC cards as I am running out and have a small pile of books from the United Kingdom Stampers Network to add too.

Thank you for dropping by. Take care.

Pippa

I would like to enter my card into the following challenges:
From the Heart Stamps Stamp of the Month - April
Pixie's Snippets Playground - week 173

Wednesday 22 April 2015

Create and Learn

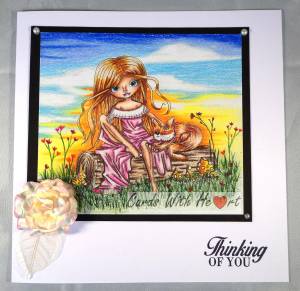
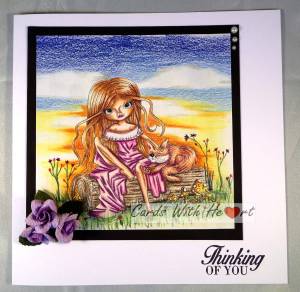
I may have already mentioned that I have been taking some colouring courses at Kit and Clowder, well this month Alyce launched a monthly subscription course Create and Learn. There is one for pencils and one for alcohol pens and they cover all the main brands so you can use whatever your existing pencil/pen of choice is. You can find more details at the web site Kit and Clowder. Being a bit of a course hoarder I decided to go for both. I have managed to complete the first of the pencil classes and loved doing it. It pushed me out of my comfort zone, past just colouring in an image and into the uncharted waters of backgrounds and scene setting. I tried the image with both Spectrum Noir pencils and my very ancient set of Derwent Studio, (to be honest the Derwents do not have a conversion chart so I had to colour match as best I could).

I have now turned the results into cards.

The image is Octavia Friendly Hugs from Polka Doodles and you get a 50% off voucher with the class.

[caption id="attachment_1102" align="alignleft" width="300"]SAM_1608(watermarked) Using Spectrum Noir pencils[/caption]

SAM_1609(watermarked)

Thanks for dropping in. Take care.

Pippa

Saturday 18 April 2015

ATC's and Deedee's Digis

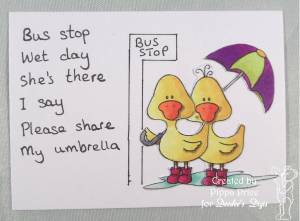
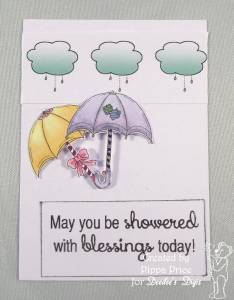
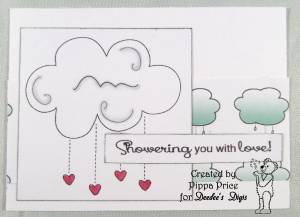
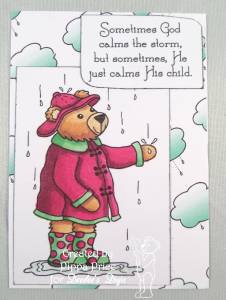
This month the ATC swap group I belong to voted to have the theme of April Showers. I used the opportunity to make some ATC's using just Deedee's wonderful images.

Materials used:
Deedee's Digi Stamp sets: Chance of ShowersRainy Day and Rain or Shine
Copic pens
white stamping card
white printing paper


Method:
Really easy! I just printed out the images, papers and sentiments I wanted to use at the size I wanted them to be then coloured them in, cut them out and mounted them onto blank ATC cards cut from white card.

SAM_1591(watermarked) SAM_1592(watermarked) SAM_1593(watermarked) SAM_1594(watermarked) SAM_1595(watermarked)

I think the teddy bear is my favourite.

Thanks for popping in. Take care.

Pippa

I would like to enter my ATC's into
The Outlawz Challenges: Monday Greetings Challenge - April Showers


I would like to enter my ATC's into:

Monday 13 April 2015

Bags of fun

My eldest daughter had her birthday on Saturday and when I saw Deedee's latest releases I knew I had to use them. I am on holiday from school over Easter so have had time to get a bit more creative.

Materials used:SAM_1552 (watermarked)
Deedee's Digi Stamp sets: Beautiful Lady and In the Bag
white stamping card
metallic grey card
Copic pens
rectangle dies
'Bags of Fun' stamp and black ink pad
construction strength acetate


Method:
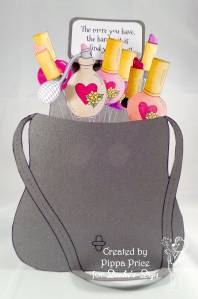
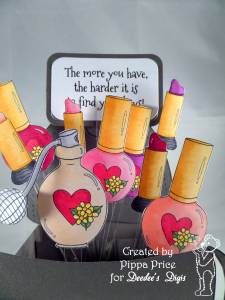
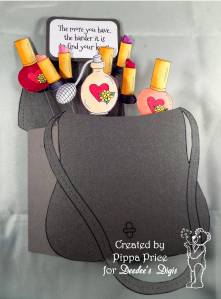
I arranged and sized the elements I wanted for inside the bag before printing them out onto the white stamping card. I altered the front of the bag in Paint because I wanted it to be open, then printed the altered imaged and one whole image onto the grey card. I coloured in the lipstick and bottles with Copic pens then fussy cut them out along with the bags.

SAM_1553 (watermarked)To assemble the card I made an exploding card base with grey card (the open kind not the lidded one) and put in three 'shelves' to attach the elements to. I attached the altered bag to the front and the bag flap to the back it make it look like an open bag. I glued a strip of acetate to each element and the sentiment then arranged them how I wanted them, sticking the ends of the acetate strips to the 'shelves' inside the card. On the back of the card I added 'Wishing you Bags of Fun on your Birthday' and a white piece of card to write on.

[caption id="attachment_1087" align="alignright" width="221"]SAM_1554 (watermarked) Folded flat for posting![/caption]

The beauty of this card is that it folds flat for posting! The photgraph angle has cut out the greeting which says; 'The more you have, the harder it is to find your keys!' I set myself two challenges with this, one to work out the construction and the other to use only Copics for the colouring. My small collection of Copics is growing quite quickly but there are still some colour gaps which is why these are mostly pink and red!

Thank you for popping in. Take care.

Pippa

Thursday 9 April 2015

Sailing on

Over at Imagine That Digi's this month the stamp of the month is on a nautical theme. I have recently given into temptation, again!, and bought a new die which makes for an easy pop up card.

[caption id="attachment_1077" align="alignright" width="353"]SAM_1562 (watermarked) Inside view[/caption]

Materials used:
Imagine That digi set - My Sailmate and free papers
Stampendous Pop-up die set
printing paper
stamping card
dark blue card
sentiment stamps and memento Tuxedo Black ink pad
Copic and Spectrum Noir pens


Method:
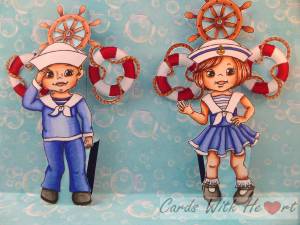
I printed out the papers and elements onto the different papers depending on type. I used the pens to colour the boy, girl, life belts and wheels. I die cut the bubble paper twice to make the inside pop-up piece.

[caption id="attachment_1078" align="alignleft" width="326"]SAM_1563 (watermarked) Close up of inside[/caption]

I fussy cut my coloured images (cutting out the little bits from the life belts and wheels took a while). I stuck a snippet of left over bubble paper behind the life belts and wheels then attached them to the pop-up tabs before attaching the boy and girl to the larger tabs. I used the blue card to make an A5 card blank and glued my pop-up piece inside making sure not to get glue on the tabs.

[caption id="attachment_1076" align="alignright" width="300"]SAM_1558 (watermarked) Front view[/caption]

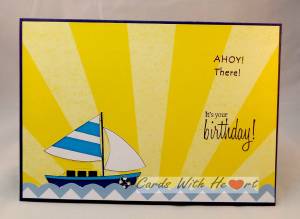
For the front of the card I used different elements from the kit to build up the scene then stamped the sentiments on the front. Finally I stamped Happy Birthday inside the card leaving the left hand side clear for writing on.

It is the first time I have had a go at a pop-up card but I don't think it will be the last!

Thanks for popping in. Take care.

Pippa

I would like to enter my card into:
Imagine That DOM challenge
Digitally 'Sweet' Challenge 134 - Sport

Saturday 4 April 2015

Saying goodbye

No I am not the one going anywhere! One of the members of our church choir is off to start a new job in London next week. I have made a card using one of Deedee's designs.
SAM_1517 (watermarked)Materials used:
Deedee's Digi Stamps - New Pastures
white blending card
white paper
A5 white card blank
snippets of black and blue card
Copic pens
blue and green chalks


Method:
I printed out the designs I wanted at the size I wanted. Using Copic pens I coloured in one complete image and two extra sheep heads. I cut out the extra parts and used them to decoupage the sheep.

I matted and layered my image onto black and blue card. I printed out a sheet of the clouds backing paper from the set and covered the front of my card blank leaving a white border all away around. I trimmed back the greeting and matted and layered it onto black and blue card to match the topper. I then stuck all my elements to the front of the card.

For the insert I used the 'follow your dreams' sentiment from the set printed onto white paper.

It has been a very busy week this week. In some ways Easter is busier than Christmas, largely because all the church services are concentrated into the one week. With five churches in our care we appreciate our associate ministers taking on some of the duties.

I hope you have a very blessed and happy Easter. Take care.

Pippa

I would like to enter my card into:
Digi Galore Challenges - New Home
Your Scrapbook Place - Anything goes