Sunday 29 November 2015

Deedee's Sponsoring Outlawz

Today Deedee is sponsoring the Outlawz CAS Challenge with the theme the mode of transportation you'd use to travel to see family or friends for the holidays or any occasion. Deedee produced a new set for the occasion.

s175182838839828623_p615_i1_w540

I have always wanted to go for a sleigh ride on snow so choosing which image to use for my sample was easy, and it has penguins too!

I used the precoloured image for my card.

SAM_2416(watermarked)

Materials used:
Deedee's Digi Set - Here Comes Christmas
Bearly Mine Background Papers (out of business)
white A5 card blank
black card
printing card and printing paper
black pen


Method:
Using a graphics programme assemble the background paper with the sleigh and sentiment on top at the required size. Trim and then matt onto black card.

To make the paper ribbon use the graphics programme to produce a line of small sleigh images. Cut into a strip at the size you need and run a black pen along the top and bottom of the strip.

Attach the ribbon and and the matted image onto the front of the card.

If my card has inspired you why not head over to the Outlawz Challenges and have a go yourself.

The weather forecast for the UK is not hopeful for getting snow this winter, but then again forecasters are not always accurate with their predictions.

Thank you for visiting. Take care.

Pippa

Friday 27 November 2015

Playing with photographs

Sometimes it is difficult to find just the right background for a project. I wanted to use the girl from the progressive freebie image from Dragons Lair and put her in front of a tree. Of course I did not decide this until after I had printed her out and coloured her in which made finding a suitable tree somewhat tricky. Then I remembered that I took some photographs of Stourhead (a local National Trust property) decorated for Christmas last year. Problem solved!

Materials used:SAM_2417(watermarked)
Dragons Lair Free Digital Image
blending card
Copic pens
designer card from Trimcraft Silent Night pad
printer card
white tulle
A5 white card blank


Method:
Print out the image to the required size and colour in with the Copic pens.  Fussy cut the image (I  cut the fairy off mine because I did not want to use it this time.)


Print out the background photo to the required size and trim.

Cover the front of an A5 card blank with the designer card then attach the photo.

Glue the girl to the card with 3d glue or foam pads.

Finally tie a knot in the middle of a length of tulle and glue to the left side of the card. 

SAM_2419(watermarked)

I also made a couple of ATC's while I was at it. I usually print out a smaller size of the image I am using to try out colours on. Most of the time these smaller images now turn out not too bad and make good ATC's.

Thank you for dropping in. Take care.

Pippa

I would like to enter my card into the following challenges:
Dragons Lair Designs Facebook Challenge
Christmas Card Challenge #51
Lil Patch of Crafty Friends #22
Always Playing With Paper #52
Crafting From The Heart #87
Craft Your Passion #289
The Cutie Pie Challenge #93 - Cute and Christmassy
Make My Monday - Oh Christmas Tree!
A Snowflakes Promise #10


Tuesday 24 November 2015

Awe and wonder

I have always wanted to see the Northern Lights, there is something truly amazing about the spectacular light show. Now I know that scientists will be able to explain exactly what is happening and why but for me it just shows the amazing creativity of God when he established the physical laws of the universe.

My card today uses the image for the current DOM at Deedee's Digis (I did say it would be back!) If you like this image then now is a good time to hop on over to Deedee's shop because there is a big sale going on now so don't miss out.

Materials used:SAM_2393(watermarked)
Deedee's Digi Set - Polar Peace
stamping card
15cm square white card blank
silver mirri card
black foiled silver star card from stash
acrlyic greeting stamp
archival black ink pad
silver pen
Copic pens


Method:
Print out the image at the required size and colour with the Copics. Trim and matt onto silver mirri card.

Fold the card blank to  make an easel card. Cover the front of the card blank (sticking down only at the bottom) and the inside face with the foiled card.

Stamp the greeting onto a scrap of white card and matt onto silver mirri card. Attach to inside of card to make the stopper using foam pads.

As I type this the temperature is dropping rapidly as sunset approaches. In fact here in the UK the weather has at last caught up with the season and become chillier, there was even a frost the past couple of mornings. Maybe the flowers will stop behaving as if it is spring and go back to sleep now!

Thank you for stopping by. Take care.

Pippa

I would like to enter my card into the following challenges:
Crafty Girls Creations #9
Crafting With An Attitude #9
Brown Sugar Challenge #173
Crafting With Friends #11
Creative Fingers Challenge Blog #98
Simply Papercraft #18
2 Creative Chicks #4
Sisters of Craft - November
Lil' Patch of Crafty Friends #22
Inspiration Destination #60

Wednesday 18 November 2015

Path of Positivity - Gratefulness

The theme for the current challenge at Path of Positivity is Gratefulness. So often we loose our happiness in life through the green-eyed monster jealousy which then steals our awareness of how much we really have. If we are constantly comparing ourselves to those who are richer, look nicer, have better jobs, are famous, are healthier, and so on then we will always be miserable and never grateful. Once we start to see those who are actually worse off than us the gratitude flows and happiness increases as we become more and more aware of how much we have to be grateful about. It does not take much effort or imagination to find those who are struggling in life and who have so much less than us, you only have to read a newspaper or watch or listen to the news especially in recent times. As I was thinking about this challenge there were a series of terrorist attacks going on all over the world. In Beirut a suicide bomber claimed 43 lives and injured 239, stabbings of Israelis in Italy and Israel and of course the most recent attacks in Paris claiming 129 lives. There are wars going on in many areas of the world and famine is once again stalking African countries. Many communities are on the  move trying to escape war and terror leading to the largest migration of people in living history.

Looking at the bigger picture puts our problems into perspective. Yes you may not have much money, yes you may be stuck in a dead end job and taken for granted, yes you may be suffering from illness and disease but in comparison to so many others you are rich indeed. So look outwards at what you do have and practice gratitude instead of envy and be happier.

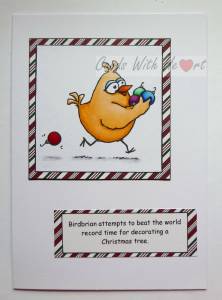
So what have I got to be grateful about? So much it is hard to know where to start. Deciding what to focus on to illustrate with a card was really difficult so I decided to focus on the thing that I am most grateful for, God's love for his world and for me put into practice when his son Jesus died to take away my sin and the sin of the world. So I know that no matter how desperate a situation is, be it personal or world wide, God is in control and his plan is working itself out for the world even if we do not understand it.

Materials used:SAM_2415(watermarked)
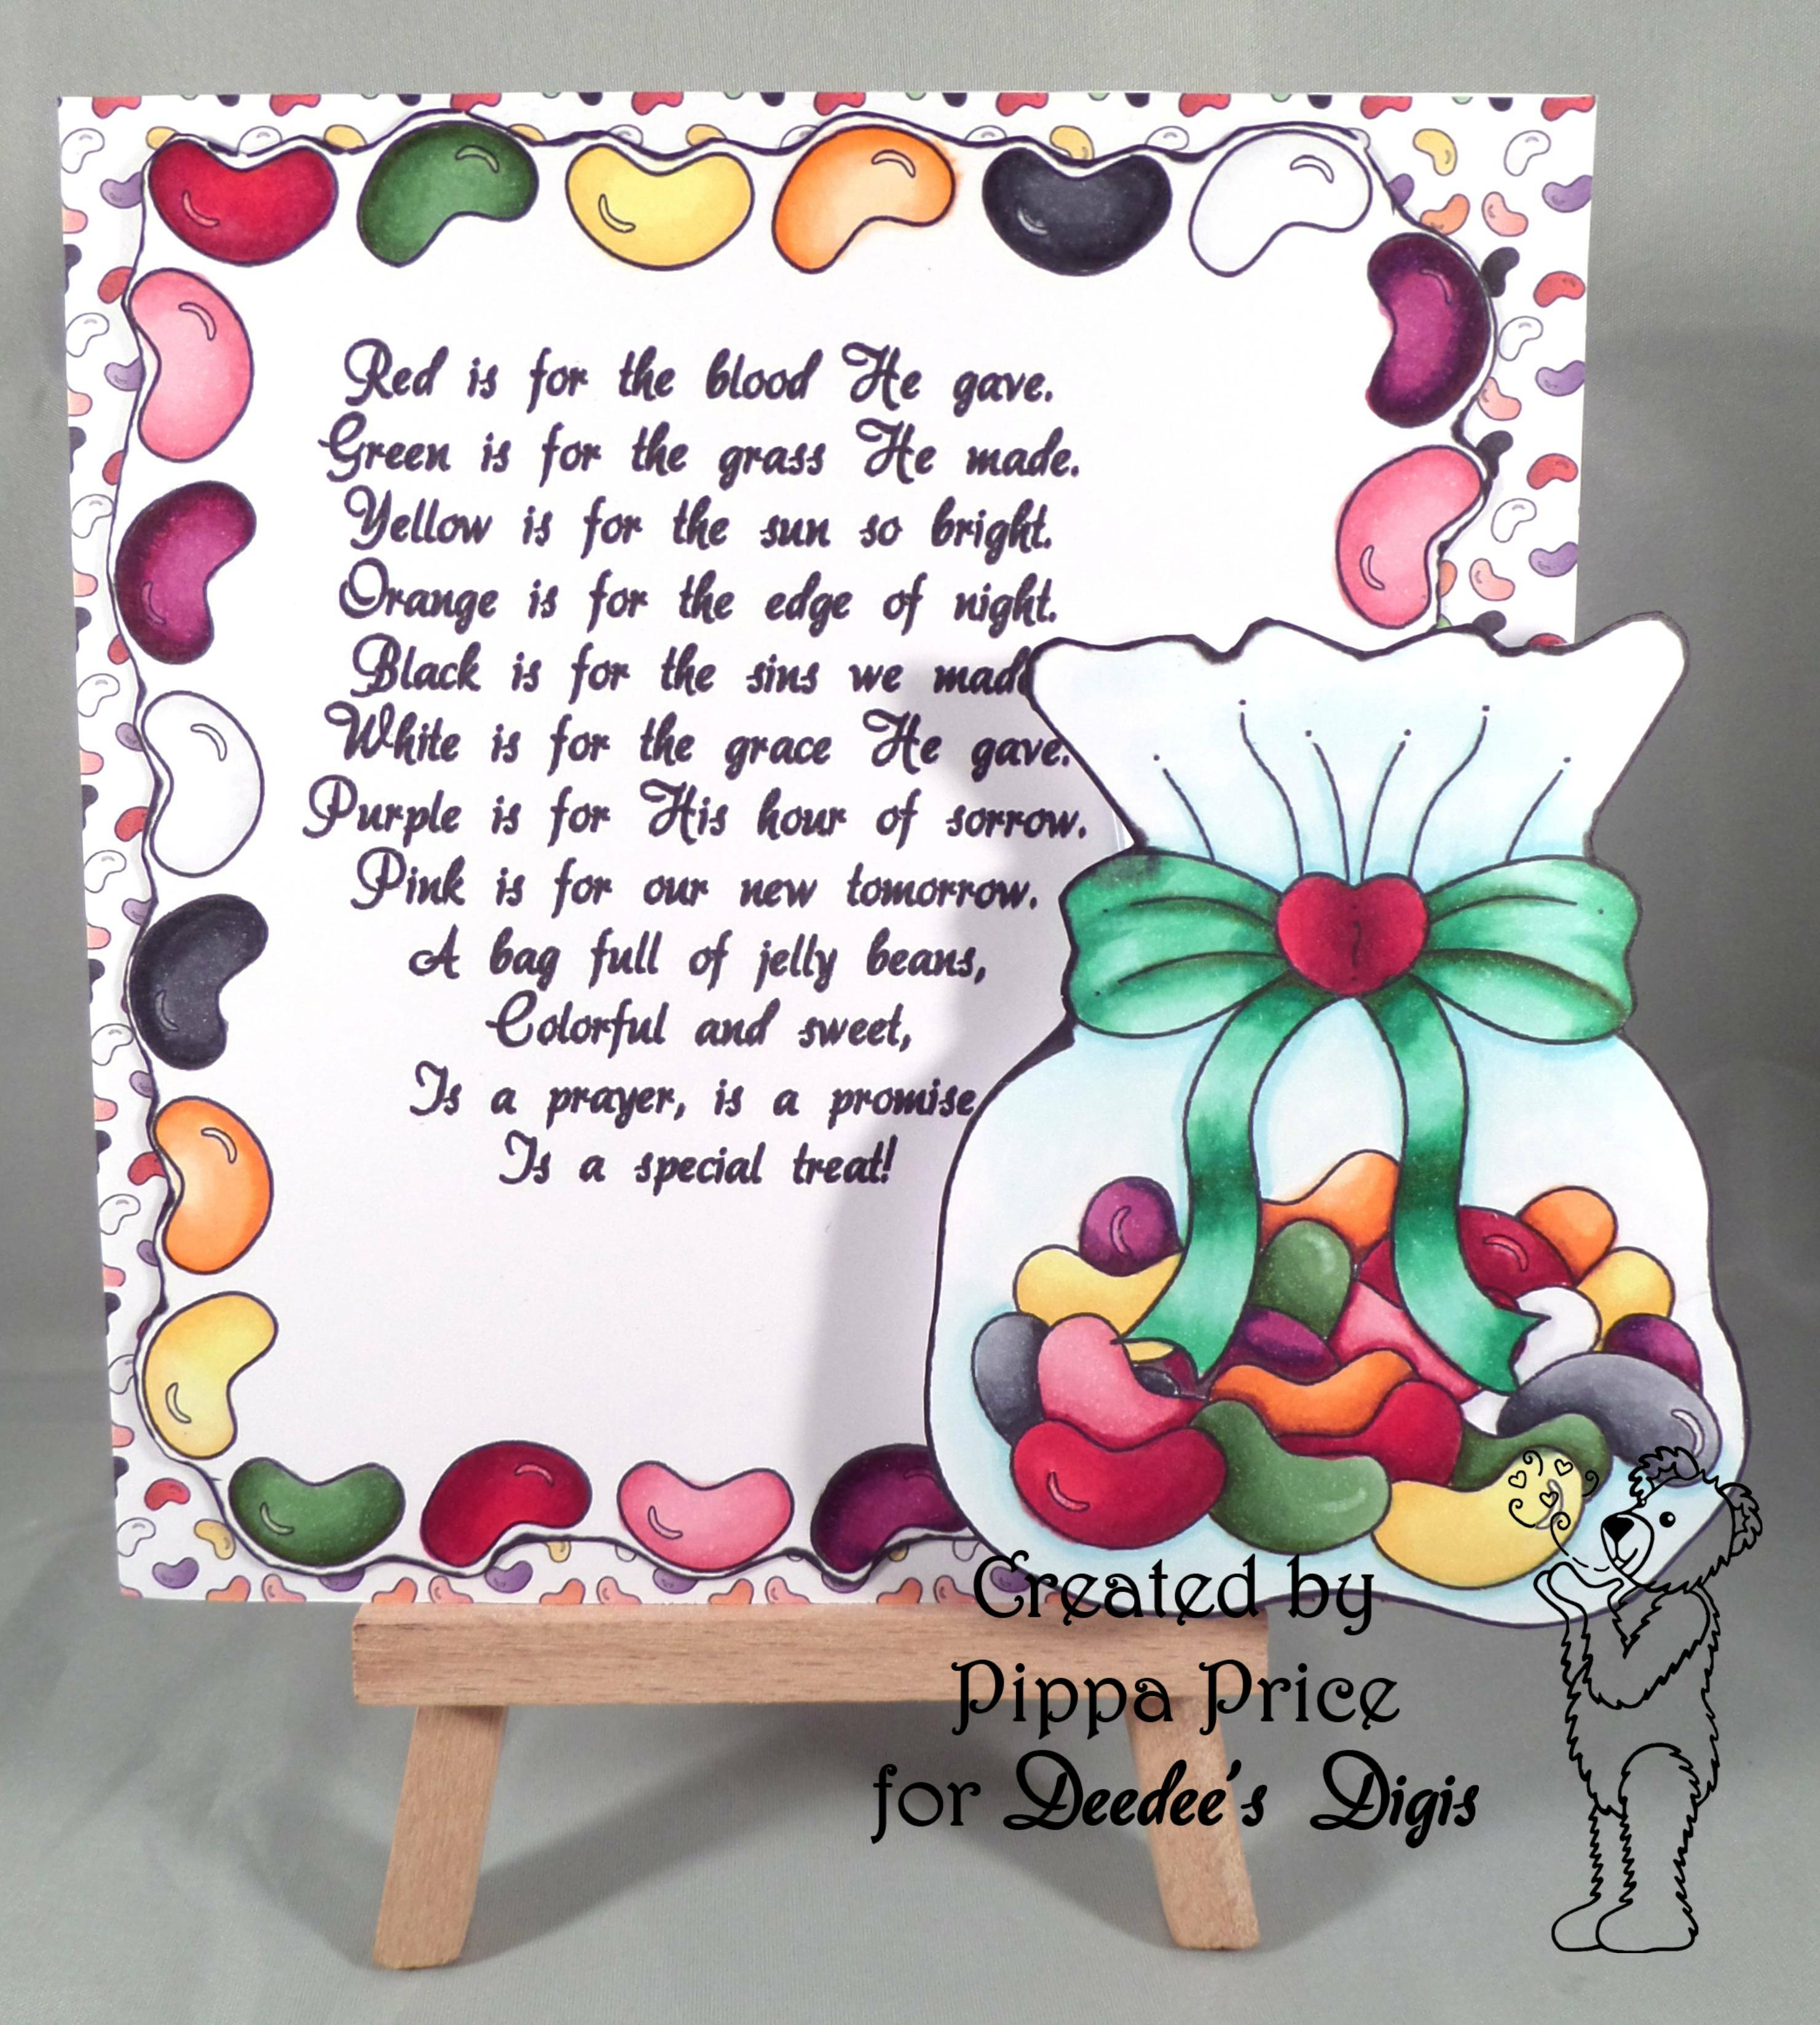
Deedee's Digi Set - Jellybean Prayer
stamping card
printer paper
white square card blank
snippet of scrap white card
Copic Pens


Method:
Print out the required images to the correct size. (I made the frame for the verse using the jellybean border, cropping it to size then copied and pasted it flipping the image on alternate sides.) Colour all images in with Copics.

Print out a sheet of the jellybean backing paper that comes with the set.

Cut around the outside edge of the framed verse and edge with a black pen. Do the same for the bag of beans image.

Cover the front of the card blank with the printed patterned paper and attach the verse to it.

Take a strip of scrap white card and snip along both the long edges. Fold both snipped edges in leaving a narrow part between them. Bend the snipped card around the jellybean bag image and trim to length then glue the tabs to the back of the image. When dry glue the tabs on the other side to the front of the card. Your jellybean bag should now be able to hold  a small bag of jellybeans.

This card would be great for Easter with some jellybeans inside the bag. The tricky part will be finding the right coloured beans!

I hope your week brings plenty of opportunities for feeling and expressing gratitude. Thank you for visiting. Take care.

Pippa

I would like to enter my card into the following challenges:
Path of Positivity #32 - Gratefulness
Lil Patch of Crafty Friends #22
Crafting From the Heart #86
Craft Your Passion #288
Love to Scrap Challenge Blog #66
2 Creative Chicks Showcase #4


Monday 16 November 2015

I've got my silly head on today!

Birdbrain features in this month's image for the free stamp of the month challenge over at From the Heart Stamps. For some reason this image just tickled my sense of humour!

Materials used:SAM_2407(watermarked)
From the Heart - Deck the Halls Birdbrain
white stamping card
patterned paper and card from stash
A5 white card blank
Copic pens
square dies


Method:
Print out the image and sentiment to the size you require.

Colour image with Copics then die cut the image and trim the sentiment to size and edge with a black pen.

Die cut a mat slightly larger for the image and cut a mat for the sentiment out of patterned paper and again edge with a black pen before attaching image and sentiment.

Attach both toppers to the front of the card.

SAM_2412(watermarked)
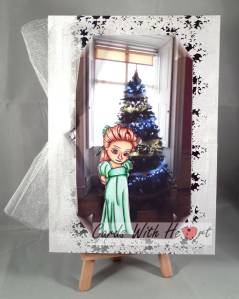
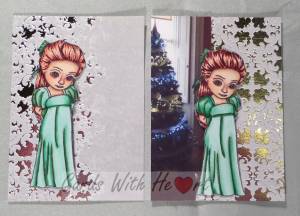
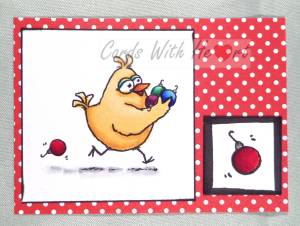
For the ATC print and colour images as for the card. (I cropped out the bauble and resized it to make the inchie.) Cut images to size and edge with a black pen.

Cut and ATC blank from patterned card and attach toppers to it.

Hopefully you are not groaning at the terrible humour! Thanks for stopping for a while. Take care.

Pippa

I would like to enter my card into the following challenges:
From the Heart Free Stamp of the Month - November
2 Creative Chicks Showcase #4
Creative Craft Cottage #51
Your Scrapbook Place - November
Creative Moments #81
Inspiration Destination #59
Crafting With An Attitude #9
Crafting With Friends #10
Creative Fingers #97
Jo's Scrap Shack FFC #114


Saturday 14 November 2015

Anything but a card.

Deedee's Digis  is sponsoring the Allsorts Challenge which runs for a week  from today. The theme this week is 'Anything But a Card'. My DT samples for this challenge are a gift bag and a couple of very quick ATC's.

Materials used:SAM_2398(watermarked)
Deedee's Digi Stamp Set - Polar Peace (still at special offer price)
1" square punch
stamping card
silver mirri card
black sparkle card
Trimcraft Silent Night designer card
x - cut gift bag die
Copic pens
silver pen


Method:
Print out the images at the desired size onto the blending card and colour in with the Copics and the silver pen (for the stars).

Use the die to cut the bag out of designer card. Glue the two parts together but do not make up the bag, keep it so it still lies flat.

Mat the image onto silver mirri card leaving a narrow border around the edges. Then attach the matted image onto the front of the bag.

Join the last edge of the bag and secure the bottom with glue.

SAM_2395(watermarked) SAM_2394(watermarked)

For the ATC's print out a smaller image and colour in. Trim down to make up the two panels.

To make the stars crop the image so that you only have the star and resize accordingly. (I made mine so they would fit on an inchie.) Colour the stars with the silver pen and punch them out.

Cut the ATC blanks from black sparkle card and arrange the elements on the front before sticking them down.

This will not be the last outing for this particular set from Deedee there is still one more make to come before the end of the month!

Thanks for dropping by. Take care.

Pippa

I would like to enter my project into the following challenges:
A Snowflakes Promise #9
Fan-Tastic Tuesday #111 - Anything goes with a twist: something beginning with B (bag!)
Inky Chicks #59 - Silent Night
Papertake Weekly Challenge - Christmas Critters
2 Creative Chicks Showcase #4
Inspiration Destination #59

Thursday 12 November 2015

Wow, where did that week go?

I cannot believe that it is over a week since my last post! I have the feeling things are only going to get busier with the run up to Christmas and wedding invitations to make as well! Still one of the perks of organizing the Christingle Service at church is that I get to order 2.5 kgs of dolly mixtures and jelly tots!

Today's card continues the harvest/thanksgiving theme with a lovely basket of goodies from Imagine That. It is the freebie image for taking part in the progressive challenge last month. If you want to join in the fun you can purchase it at a special price, just follow the link below.

Materials used:SAM_2405(watermarked)
Imagine That - Harvest Basket
stamping card
green, brown and orange card
15cm square white card blank
circle die
scalloped circle die
manual circle cutter
black peel off greetings stickers
Copic pens


Method:
Print out the image at the required size on stamping card and colour with the Copics.

Cut image with circle die and cut brown scalloped mat with the scalloped circle die.

Cut circle card base from a 15cm square white card blank and a slightly smaller circle of green card using the circle cutter. Snip a small bit of the bottom of the card blank and the green mat so that the card stands up.

Assemble image and mats and attach to card blank.

Attach stickers to make up greeting.

For those of you who do not know Imagine that images they are supplied with coloured versions which are useful for quick makes and also if you do not enjoy colouring.

Thanks for dropping in. Take care.

Pippa

I would like to enter my card into the following challenges:
Imagine That DOTM -November
Crafting With Friends #10
Art By Mi Ran Challenge #44
Creative Fingers #97
Simply Papercraft #17
Not Just Cards #26
2 Creative Chicks Showcase #4
Inspiration Destination #59
613 Avenue Create #149
Lil Patch of Crafty Friends #21
Crafting From the Heart #85
Outlawz Friday Colouring Challenge - Cooking/Food

Wednesday 4 November 2015

Beautiful boxed butterflies on a dreary dismal dank day!

For the last couple of days we have been experiencing Autumn weather, fog, drizzle, rain, wind and just to add to the misery it gets dark so early. Actually today it did not really ever get light with all the grey cloud and drizzle about. So what better way to cheer up a cheerless day than with a box of butterflies!

[caption id="attachment_1859" align="alignleft" width="293"]Closed box Closed box[/caption]

Materials used:
Deedee's Digi set- Bloom and Grow and Framed Comfort
exploding box die set
white card
white printing paper
printable acetate
construction weight acetate
pastel orange organza ribbon
gold peel off letters and numbers


Method:
I used one of the flowers from the Bloom and Grow set to make a sheet of backing paper on the computer and printed it off. I used the die to cut the exploding box elements twice from white card and constructed a double size one. I cut panels from the backing paper to cover the outside of the box and the inner 'shelves' of the box.

[caption id="attachment_1860" align="alignright" width="300"]Open box Opened box[/caption]

Using a basic graphics programme I made up a sheet of 40 butterflies of different sizes and recoloured them in different pastel shades. The butterfly image came from the Framed Comfort set. I printed the butterflies onto the acetate and cut them out. I then used strips of construction acetate and attached one to each butterfly. I then arrange my butterflies on their holding strips inside the box, sticking them to the inner strips. Finally I added the gold letters and numbers to make my greeting. When the box is folded flat it is kept together with the orange ribbon tied with a bow.

With so many butterflies to fit into the box and even with using a double sized box I still had butterflies sticking out when it was folded flat. They acted as a teaser as to what else might be in the box! As the butterflies are acetate the light shines through them and makes them look ethereal. I made the card for the 40th birthday of our former youth worker, hence the 40 carefully cut out butterflies!

Thanks for stopping by. Take care.

Pippa

I would like to enter my box of butterflies into the following challenges:
2 Creative Chicks Showcase #4
Sisters of Craft - November Challenge
Artistic Inspirations #143 Anything Goes/twist birthdays
Crafting From the Heart #84
Craft Your Passion #286
Get Creative Challenges #27 - Birthday
Not Just Cards #26
Doodle Pantry Ants in my Pantry #11
Papertake Weekly Challenge - Anything Goes
Creative Card Crew #99 - Off the Edge
Through the Craftroom Door November 3-11
Little Claire's Monthly Digi Stamp Challenge #11

Monday 2 November 2015

Who's walking who?

My brother's birthday is coming up this month and I usually make him a card with something relating to cars on it. However he also has a mad dog so when I saw this image at The Paper Shelter, I just had to use it. I did do a bit of genetic engineering on the dog because my brother's dog is more lab/retriever than rottweiler!

Materials used:SAM_2391(watermarked)
The Paper Shelter Digi Set - My Cute Rottweiler
white stamping card
white A5 card blank
Spellbinders Die - Triple Floral
Copics
black Happy Birthday peel-off


Method:
I printed out the line art version of the image onto stamping card and coloured it with the copics. I tried to make the dog the right colours but did not have a photograph so it is guess work. My brother is a tad older than the lad in the image so I have done the greying hair to try to make it more realistic! (He'll love me for that but then he is younger than me.)

I cut the card blank down to make a 15cm square card then used the die to emboss the border. I trimmed my image down to fit and edged it with a blue pen before attaching it to the front of the card.

As he does not read my blog there is no danger of spoiling the surprise by posting this before his birthday, I just hope he likes it!

Thanks for stopping in. Take care.

Pippa

I would like to enter my card into the following challenges:
Crafts Galore Encore - Use a stamp or digi image
Sisters of Craft - November
Your Scrapbook Place
613 Avenue Create
Glitter 'N' Sparkle Challenge #161
Lil Patch of Crafty Friends #21
Art By Mi Ran #44
Crafting With Friends #9
Creative Fingers #96
Jo's Scrapshack FFC #112 "Anything Goes"
Outlawz Friday Colouring Challenge
Not Just Cards #26
2 Creative Chicks Showcase #4
Sweet Stamps - November
Inspiration Destination #57