Sunday, 27 July 2014

Did it before the end of the month!

Having failed dramatically to meet the deadline for June's calendar page I was determined to do better this month.  OK it may not be that much better but at least the month as not actually ended this time!

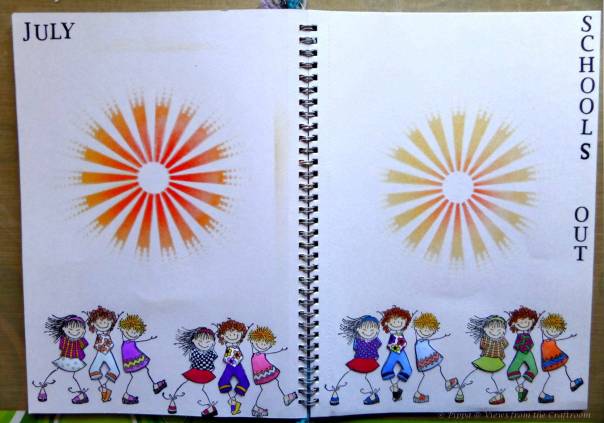
Working in a school the only theme that I could do really for July is the fact that the academic year is over - as much a joy to teachers as it is to the children!
July Page 2 Copyrighted
Materials used:
Distress Inks: Ripe Persimmon, Dried Marigold
Adirondack Inks: Butterscotch, Lemonade
Memento Ink: Tuxedo Black
Circle Die
Spectrum Noir pens and pencils
Clarity Sunburst stencil
Clarity Letterbox stamps
Penny Black Girls Rock stamp


Method:
Working directly onto the pages I used the yellow and orange inks to stencil the sunburst in the middle of each page. I punched 31 circles out of white paper and used the yellow inks and stencil to form the pattern around the edges before numbering them with a black pen. I stamped the children along the bottom of the page then again onto paper. I coloured in the skin, hair, shoes and hairbands of the children on the page with pencils and the clothes of the images stamped onto paper with pens. I cut out the coloured clothes and stuck them onto the children with 3d glue gel then arranged the circles and stuck them in place. Finally I added the words using the Letterbox stamps.

July Page 1 Copyrighted

This year the sun did not stop shining as soon as we broke up, in fact it has been glorious all week. I will probably get shot down in flames for this but I think it is just a tad too hot and as it has been very dry some overnight rain would be good for the pond and the garden!

I hope you are having a good summer wherever you are, or maybe a good winter. In the international community that is the internet you just never know who might be popping in or where they come from! So whoever you are and wherever you are thanks for dropping in. Take care.

Pippa

Monday, 21 July 2014

Spectrum Noir and Summer

I decided that it was high time I had another crack at the Spectrum Noir Challenge.  This month the theme is 'Summer' and I have just the stamp to use and one that I love.

20140720102707_SAM_0385

Materials used:
Stamps Happen Collecting Sea Shells stamp
Fun in the Sun stamp from Creative Stamping Magazine
Die'sire Chantilly Lace Stamping Frame
Memento Tuxedo Black ink pad
Neenah card
A3 sheet of Kraftcard
Spectrum Noir Pens: TN2, TN3, TN5, TN7, PS2, CR3, GB2, HB1, HB2, IG2, IG3
Spectrum Noir Pencils: 016, O74, O77
Sea shell backing card - sorry don't recall the make
slate embellishment


Method:
I stamped the little girl out twice onto the Neenah card and cut out one image with the die before colouring her in using the Spectrum Noir pens and pencils. I made an 8 inch square card blank from the Kraftcard and covered the front with a slightly smaller piece of the shell backing card. I then used my brown distress ink blending tool and inked the lacy part of the die without adding any more ink to it. Finally I used foam pads to attach the coloured image to the front of the card and glued on the Natural Beauty embellishment.

Just for good measure I made a DL card with the left overs and the second image (it is the one I used to trial my colour choice).

SAMSUNG CAMERA PICTURES

Thanks for popping in. Take care.

Pippa

Wednesday, 16 July 2014

Confessions of a Hunkydory Addict

I am a stamper at heart and part of me thinks that using a kit is somehow cheating when it comes to making cards.  That was until I discovered Hunkydory.  I now have a huge stash of goodies, enough to make hundreds of cards.  However now that we are starting to seriously think about what happens when my husband retires in a couple of years and we leave the big vicarage for our small cottage, drastic downsizing is needed and so I am in the slow process of making room in my craft cupboard so that there is no overflow!  A good excuse to tackle the mountain of Hunkydory packs, so for the past few days that is what I have been doing.  Here is the proof!

SAMSUNG CAMERA PICTURES

SAMSUNG CAMERA PICTURES

SAMSUNG CAMERA PICTURES

SAMSUNG CAMERA PICTURES

All those cards have make hardly a dent in my stash, which not only goes to show how much I had but also what great value Hunkydory is!  Also as I have been suffering from an acute case of creative cramp putting these together had kickstarted the creativity again.  Now to find the time to get cracking on some serious stamping!!

Thanks for popping in.  Take care.

Pippa

Wednesday, 9 July 2014

Where did June go?

Two things that have taken me by surprise:
1. It is 2 weeks since I last posted.
2. We are already over a week into July!

Working on the premise that occasionally it is better late than never, here is my Art Journal page for June.

Materials used:20140611160324_SAM_0280
Clarity Poppy stamps (two stamps)
Memento Tuxedo Black ink
Adirondack Stonewashed ink
scalloped circle die
Spectrum Noir pencils


Method:
I stamped the poppies in black and coloured them in with the pencils. Using the die I made a paper stencil and stencilled in the journalling circles with blue ink. I used a black micron pen to write June down the side.


SAMSUNG CAMERA PICTURES


I chose to do poppies for June because on my drive to school I pass a glorious patch of bright red poppies.  They always make me smile even on dull, damp mornings.  I would have taken a photograph to show you but there is no where to pull over safely to do so.


Thank you for popping in.  Take care.

Pippa

Wednesday, 25 June 2014

Waxing eloquent!

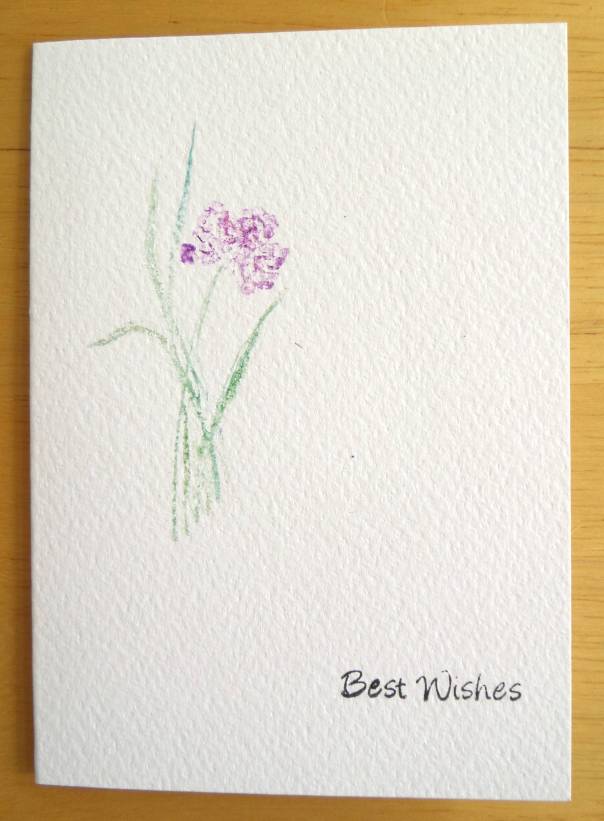
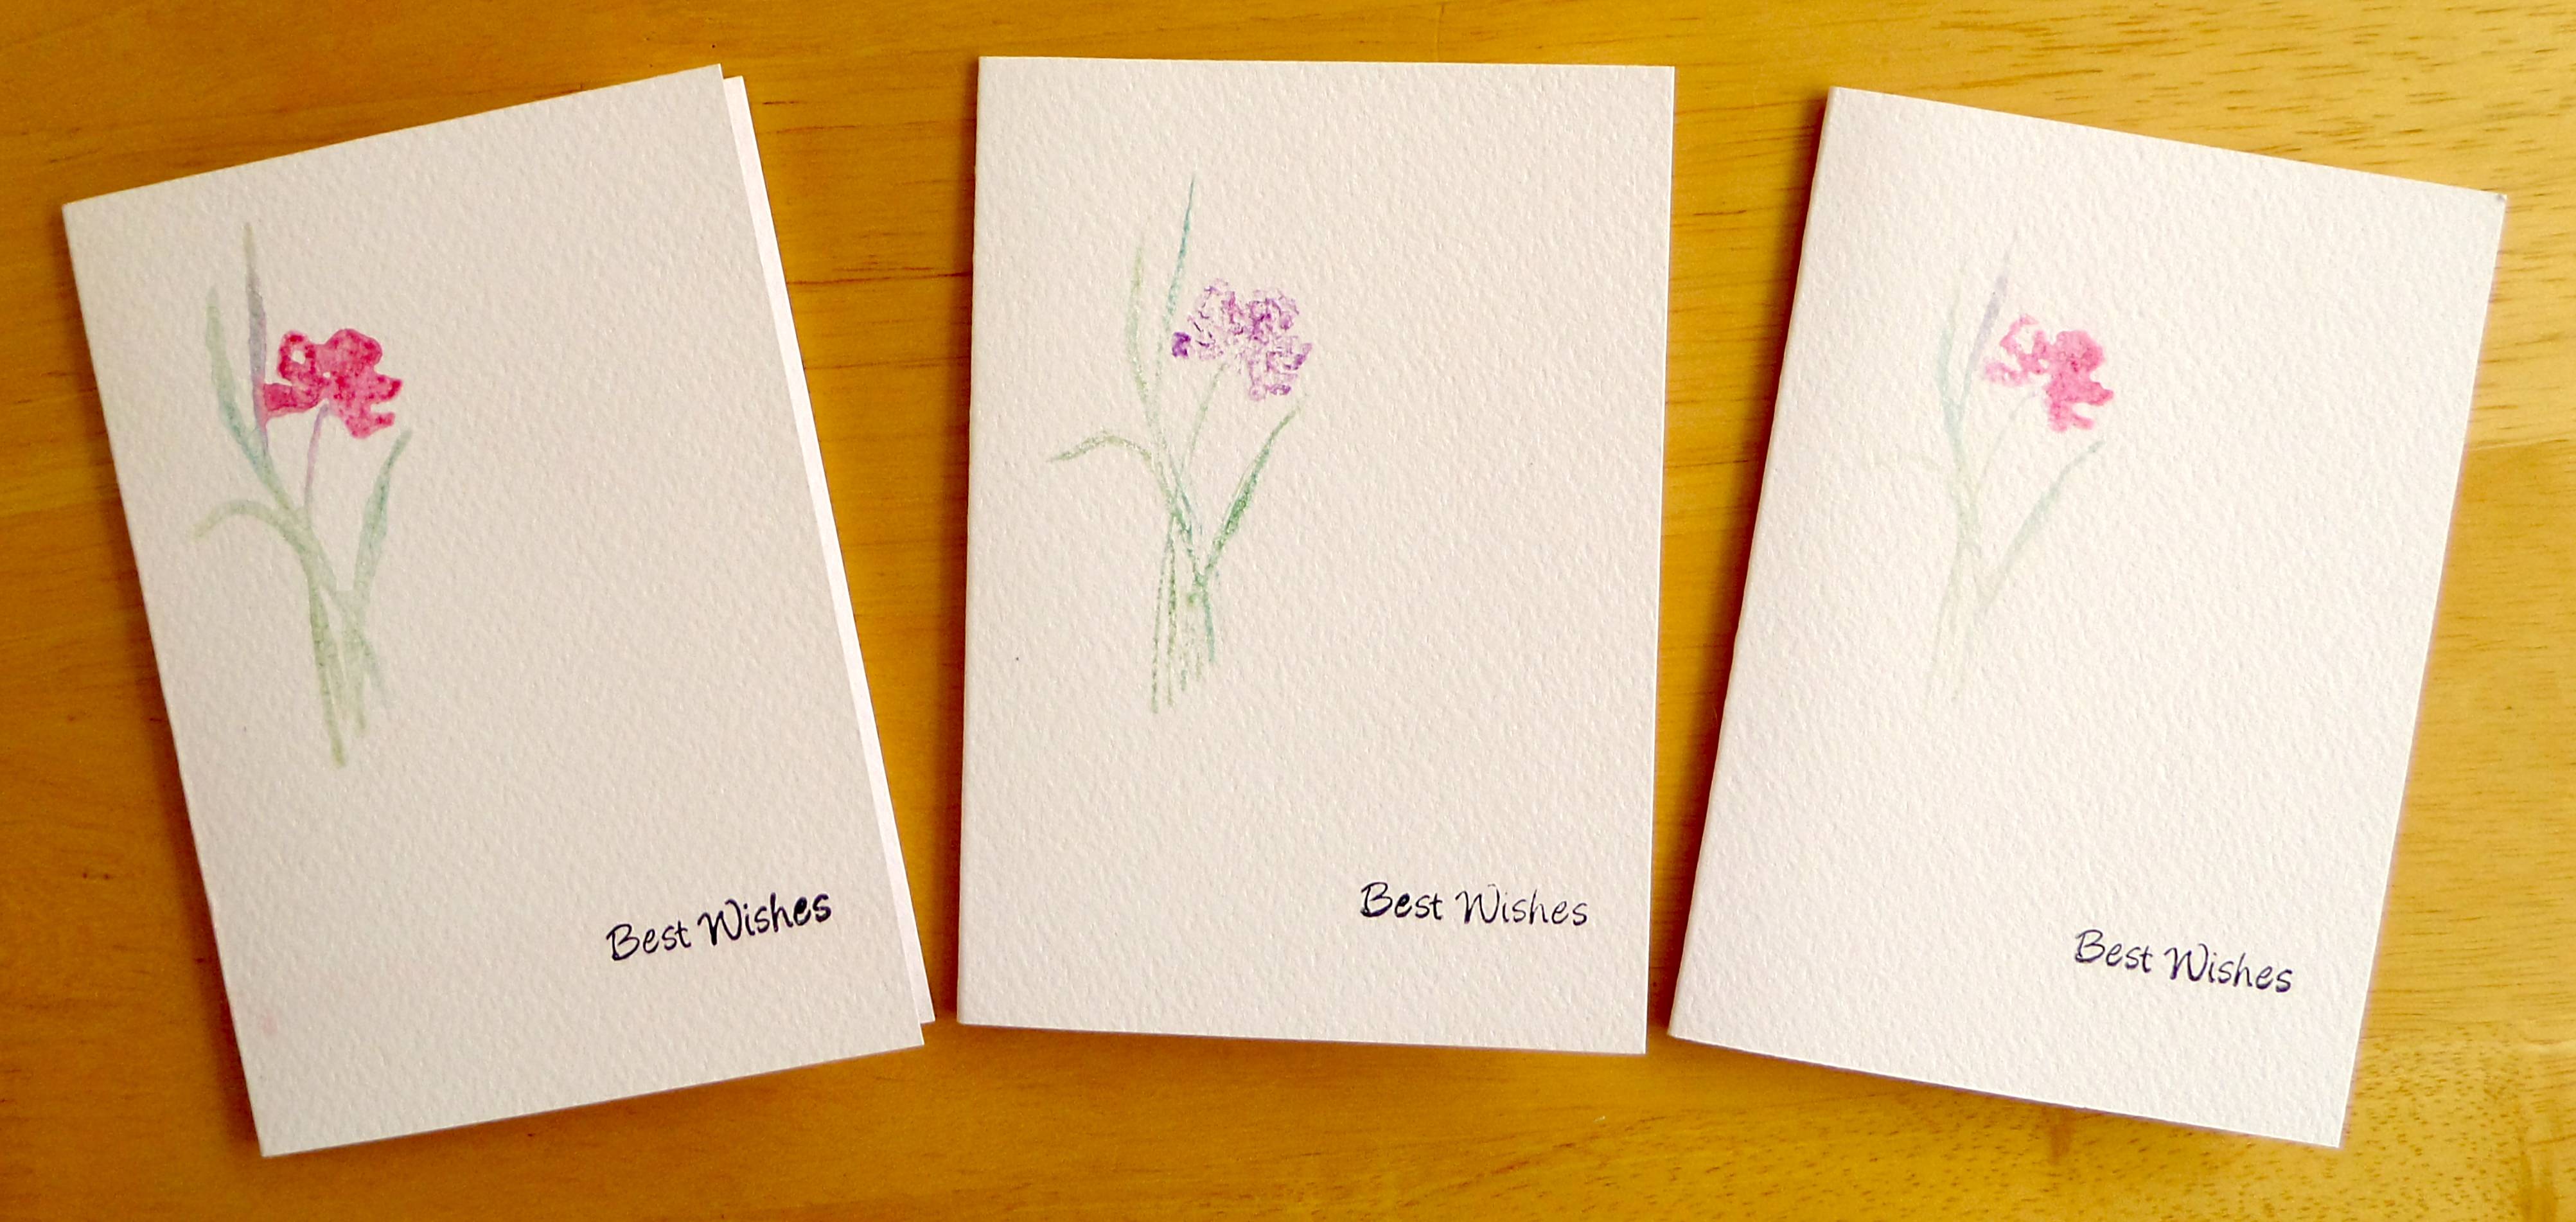
Just time to share a Less is More card for this week's challenge: watercolour.  


SAM_0355


Materials used: 
Iris stamp from Stampin'Up! Love and Sympathy set
Best wishes stamp
Water-soluble wax crayons
water spritzer spray
Adirondack Archival Jet Black ink pad
watercolour card


SAM_0353

Method:
I made an A6 card blank from the watercolour card. Using the wax crayons I coloured directly onto the stamp, spritzed it lightly with water and stamped it onto the card front. Using the black ink I then stamped the greeting onto the card as well.

The wax crayons make it easier to use a direct to stamp method and produce an effective water colour effect. Also these cards are really quick to make, great if you are in a hurry or need to make a lot for 'Thank you' cards or notelets.

SAM_0357

I ended up making three, the two red ones are first and second impressions.

Thanks for popping in. Take care.

Pippa

Tuesday, 17 June 2014

And the penguins rioted!

Last week I 'blogged' my entry for the 'Less is More' challenge and mentioned the black and white theme of the bedroom complete with black and white cat on the bed and penguins in the corner.  Well somehow the penguins found out that while I had put in a picture of the cat, they did not appear and a riot ensued.  So I promised them that I would show a picture this week, even though it has nothing to do with the rest of the post!

20140617183213_SAM_0296

Right, that sorted back to the job at hand. This week the challenge over at 'Less is More' is a one layer card - off the page.

Materials used:
Stamps - Hero Arts Traditional Roses, Inkylicious Handwritten Script and Happy Birthday
Inks - Memento Tuxedo Black, Distress Inks - Vintage, Tea Dye and Old Paper
Spectrum Noir pencils
Grey Spectrum Noir pen

Method:
I had in mind a card with a page of a book coming in from the side and a rose stamped on top, the problem was how to create it so that it was one layer. Eventually I hit upon the idea of masking off the base of the card leaving an aperture where I wanted the book page to be. I use the script sta20140617183250_SAM_0298mp to create the page and inked through the aperture with the distress inks to give a vintage feel to the page. Having removed the mask I then went around the edge with a fine line pen.

I stamped the rose on top of the script and coloured it in with the pencils. The script and the rose are both coming in from off the page. I then stamped the birthday greeting on to the card. I still was not happy that I had the dimension I wanted, which would have been there with a two layer card, so I gave the script a shadow down the side and underneath by running the grey pen along the edges. At that point I decided to leave it before it went pear shaped!


20140617183329_SAM_0297


Thanks for dropping in.  Take care.

Pippa