Just to make you aware of a couple of things before I dive in. Firstly this will be very heavy on photos - so much easier than trying to describe each step. Secondly this is a very 'warts and all' account and things did not exactly go to plan.
One of the disadvantages of digital stamp over physical ones is the lack of ability to stamp over some of the background techniques there are because the paper has to be able to go through a printer. If you print out the image first then it makes it harder to put in the background while avoiding the image.
I have pondered over this for a while and think I have a solution - literally - to the problem and that is masking fluid. (I expect many of you have probably already thought of it but this is a first of me!)
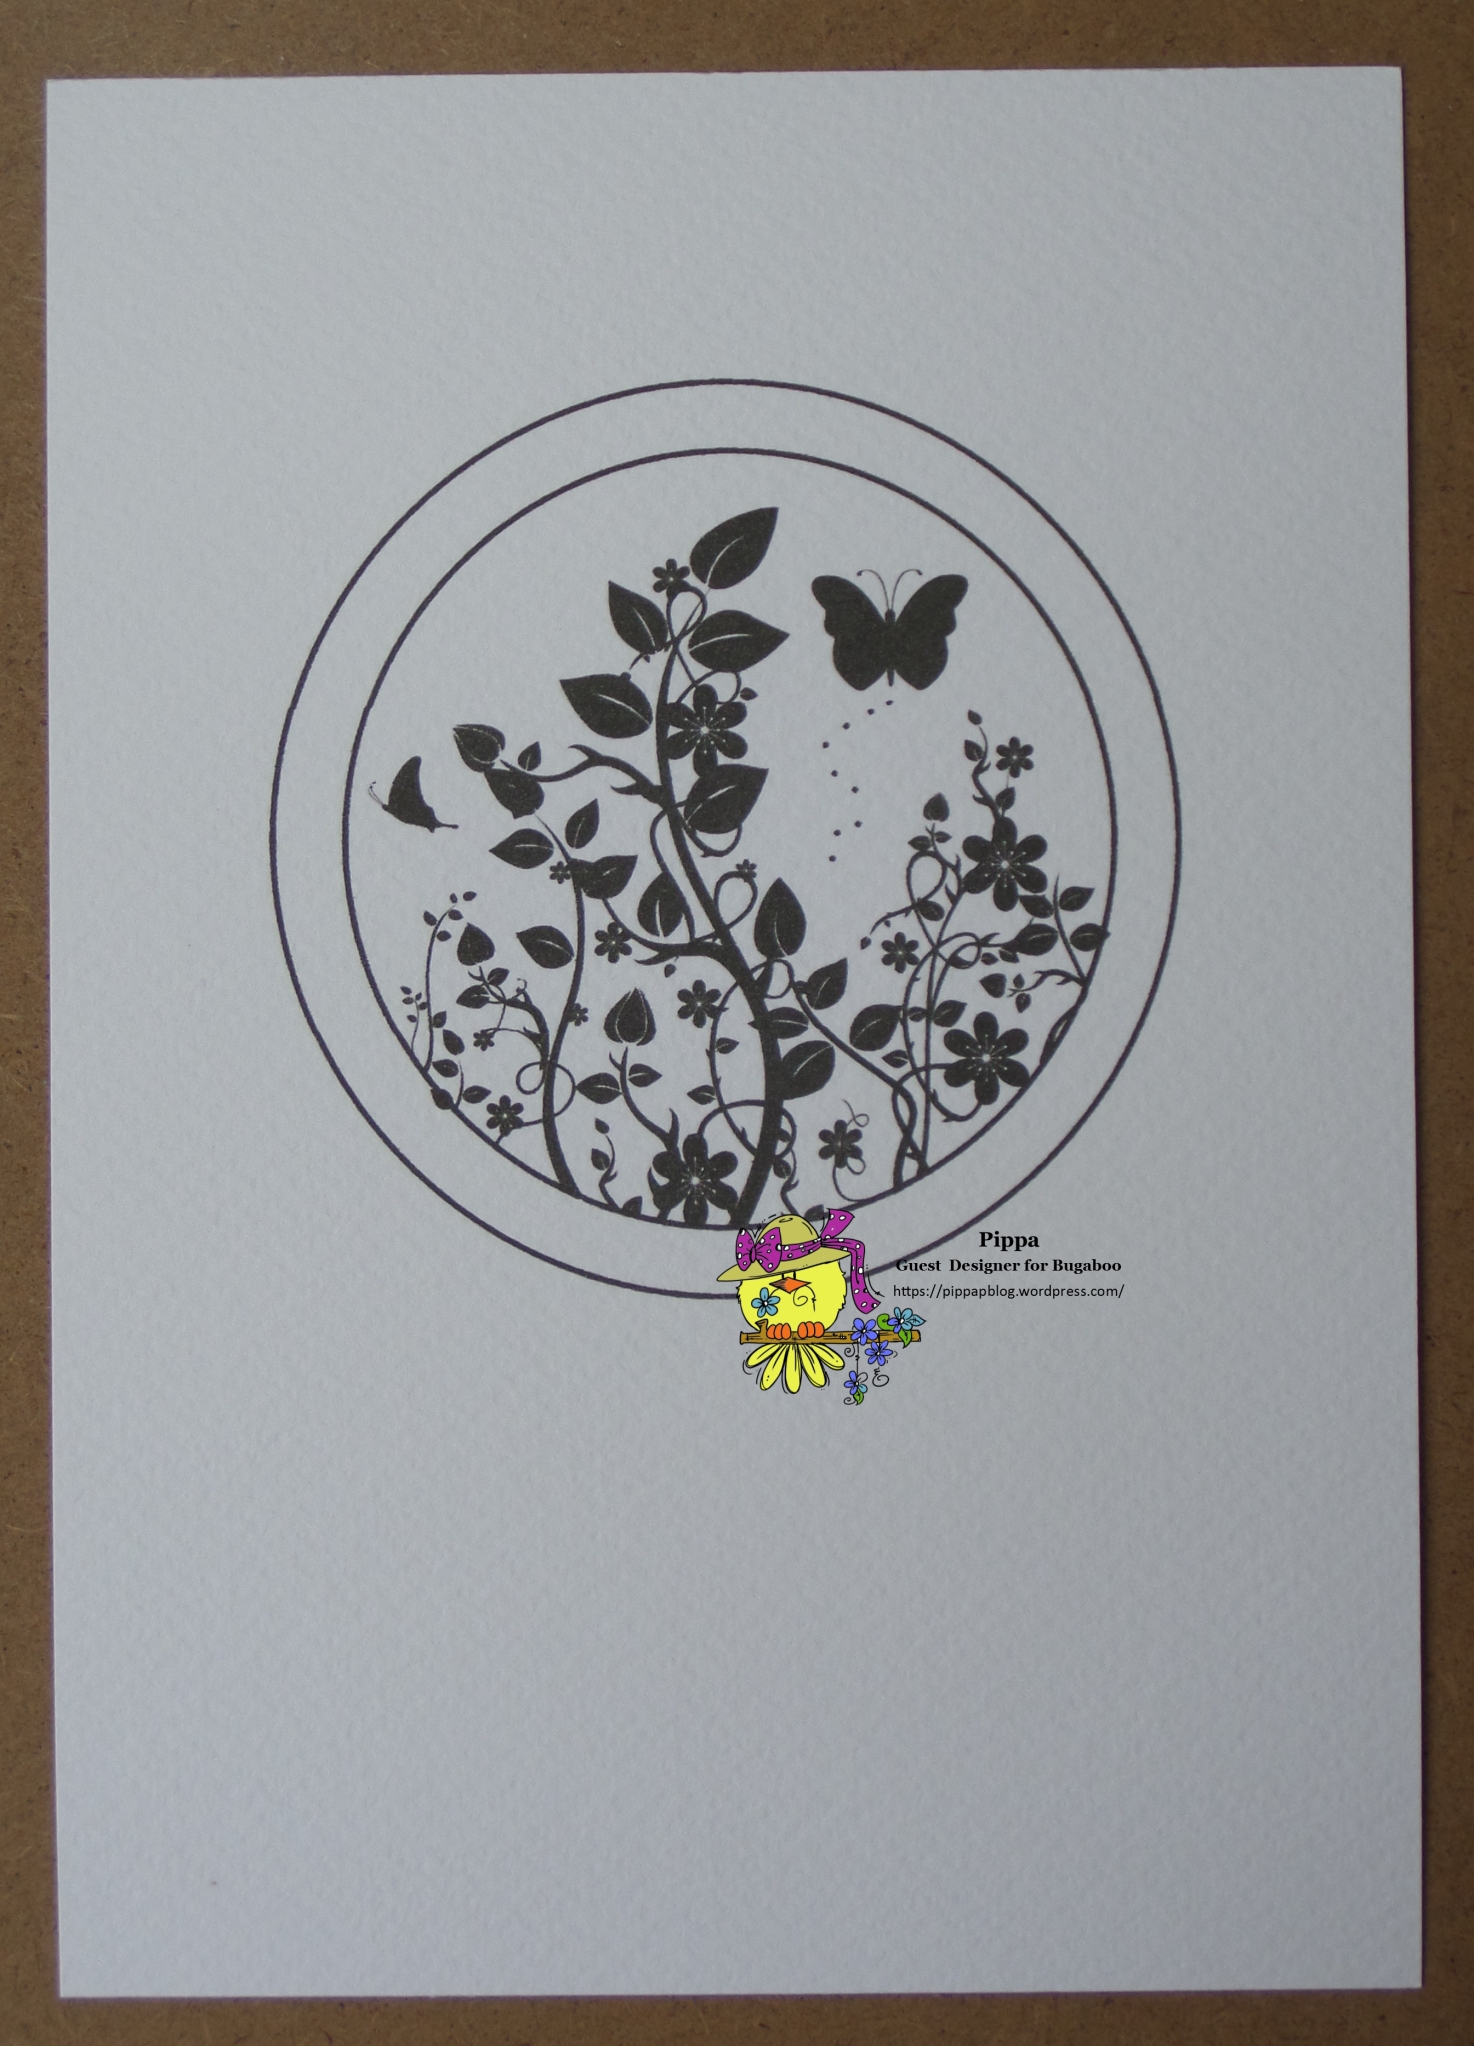
Print out the image on watercolour card. I have used Silhouette - Butterfly flowers
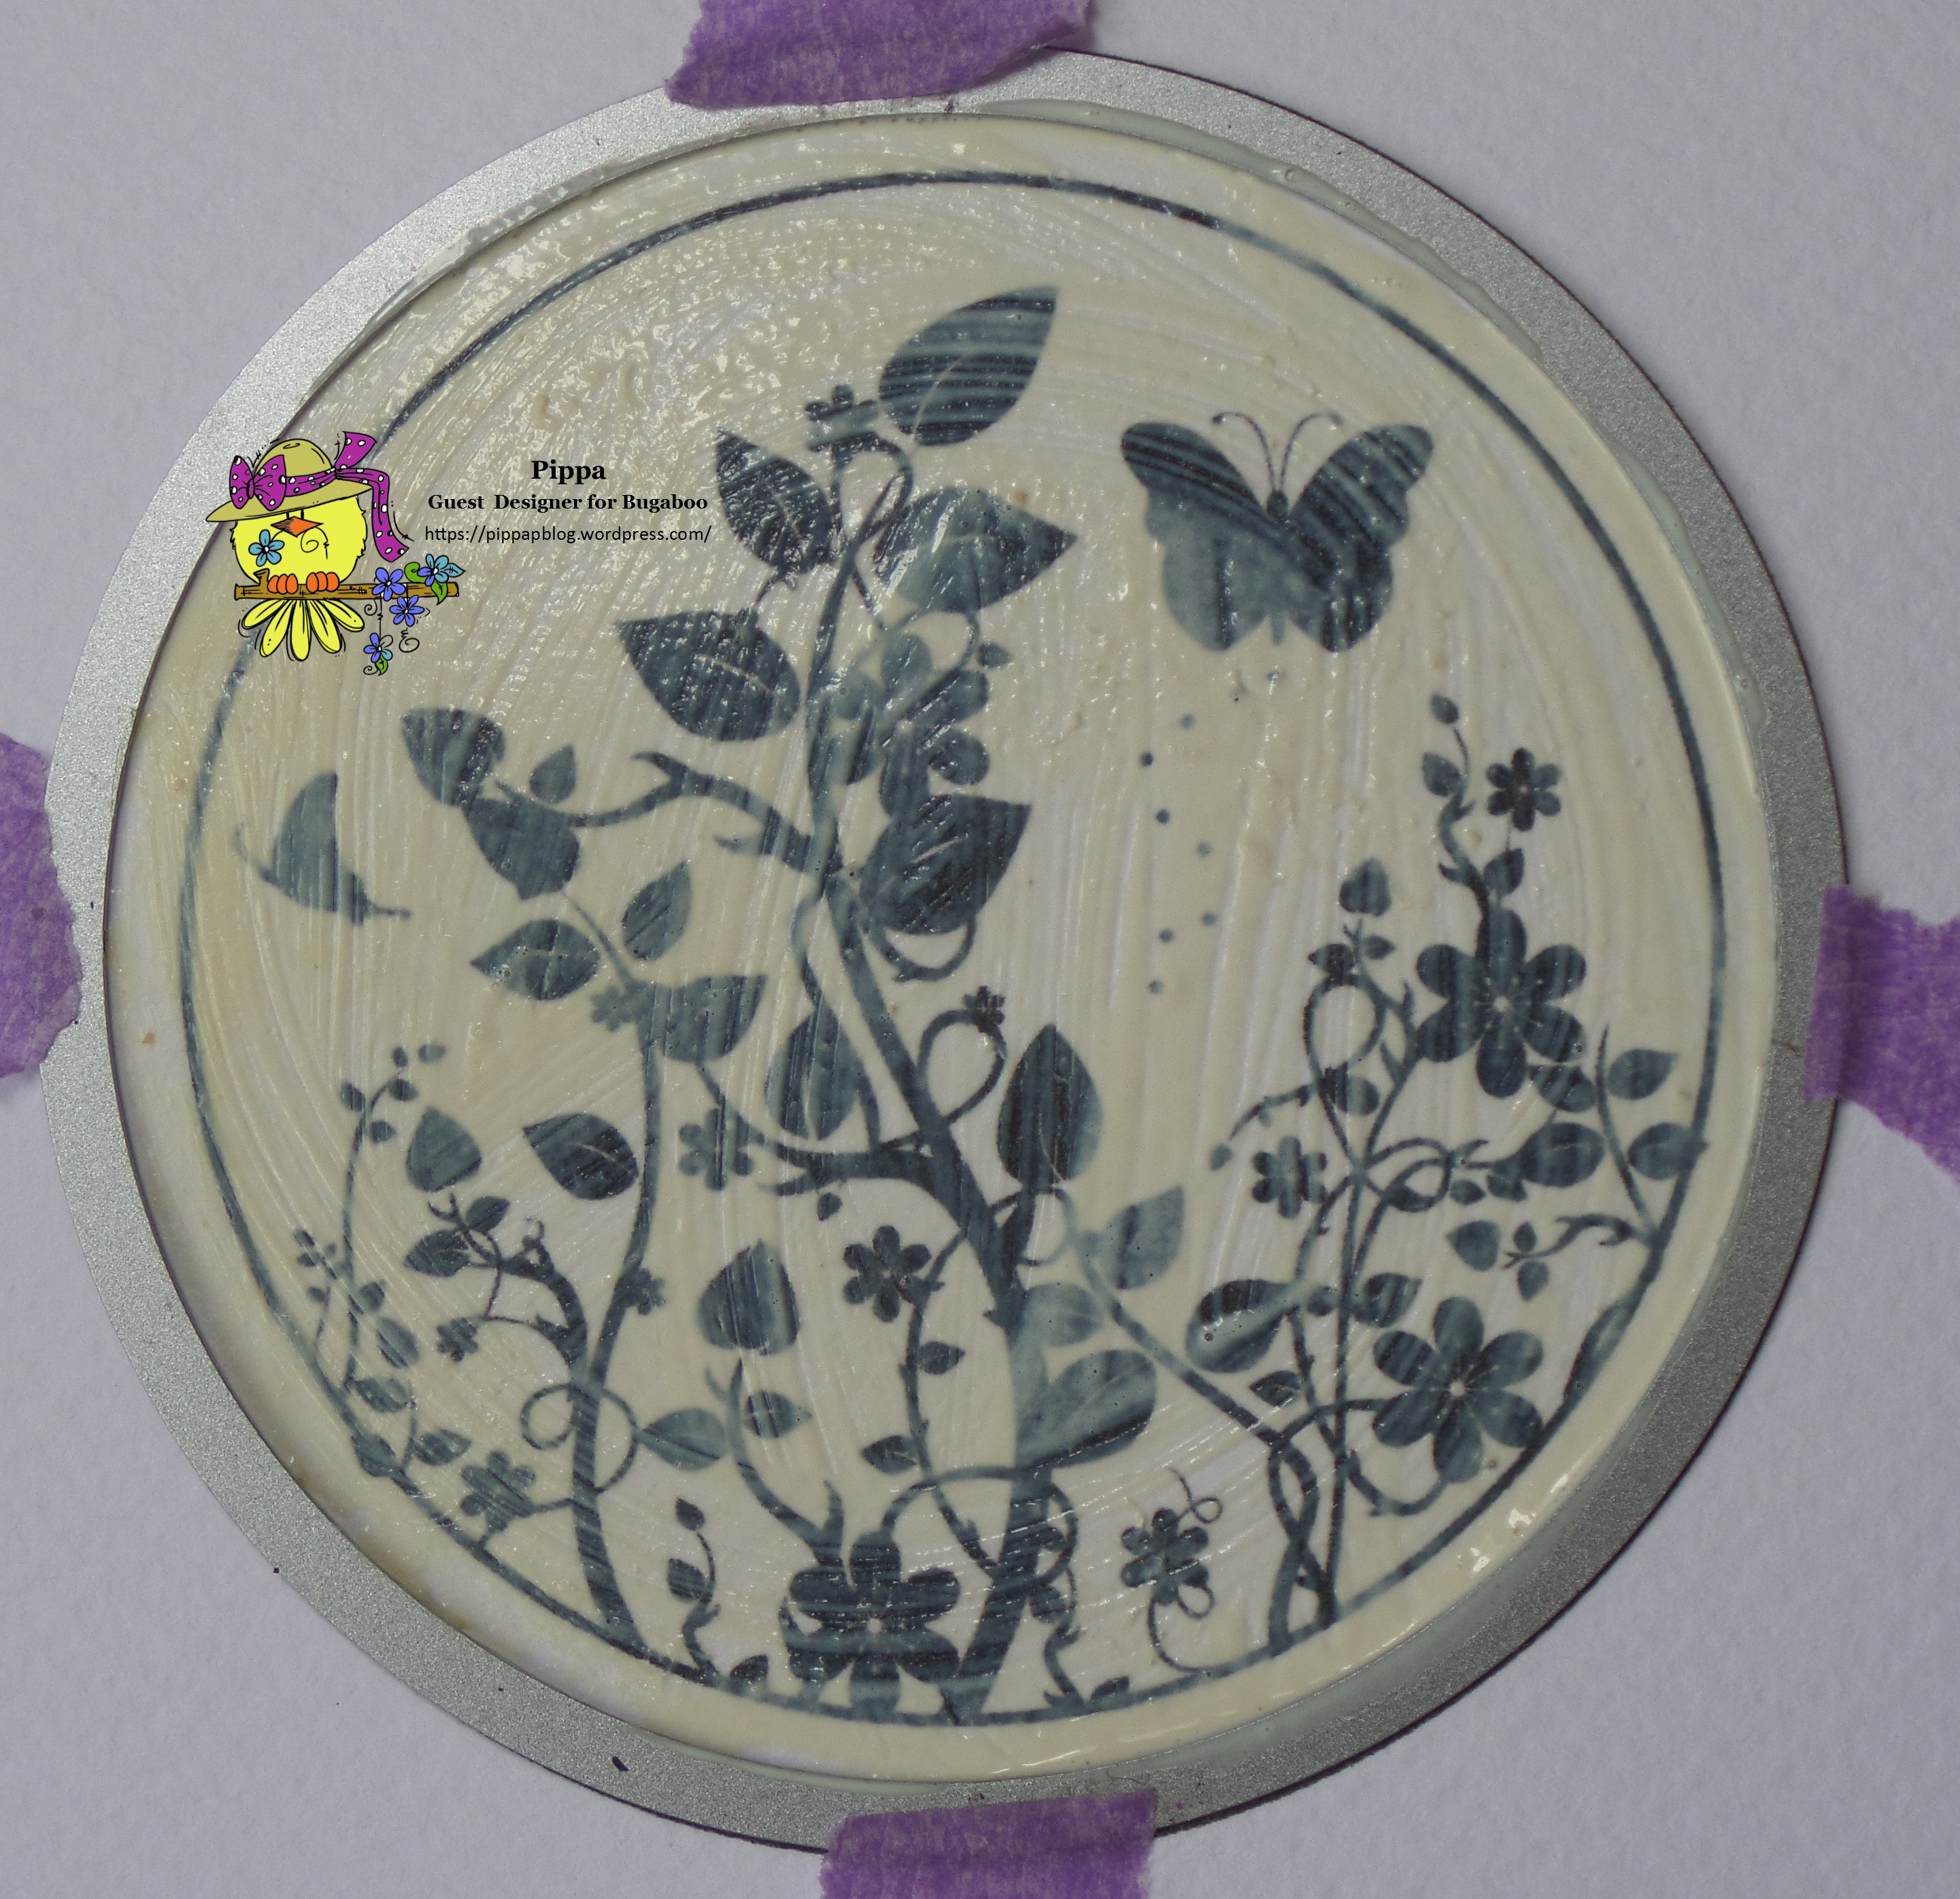
Cover the image with artists masking fluid and leave to dry. I used a circle die as a guide to get a crisper circle.
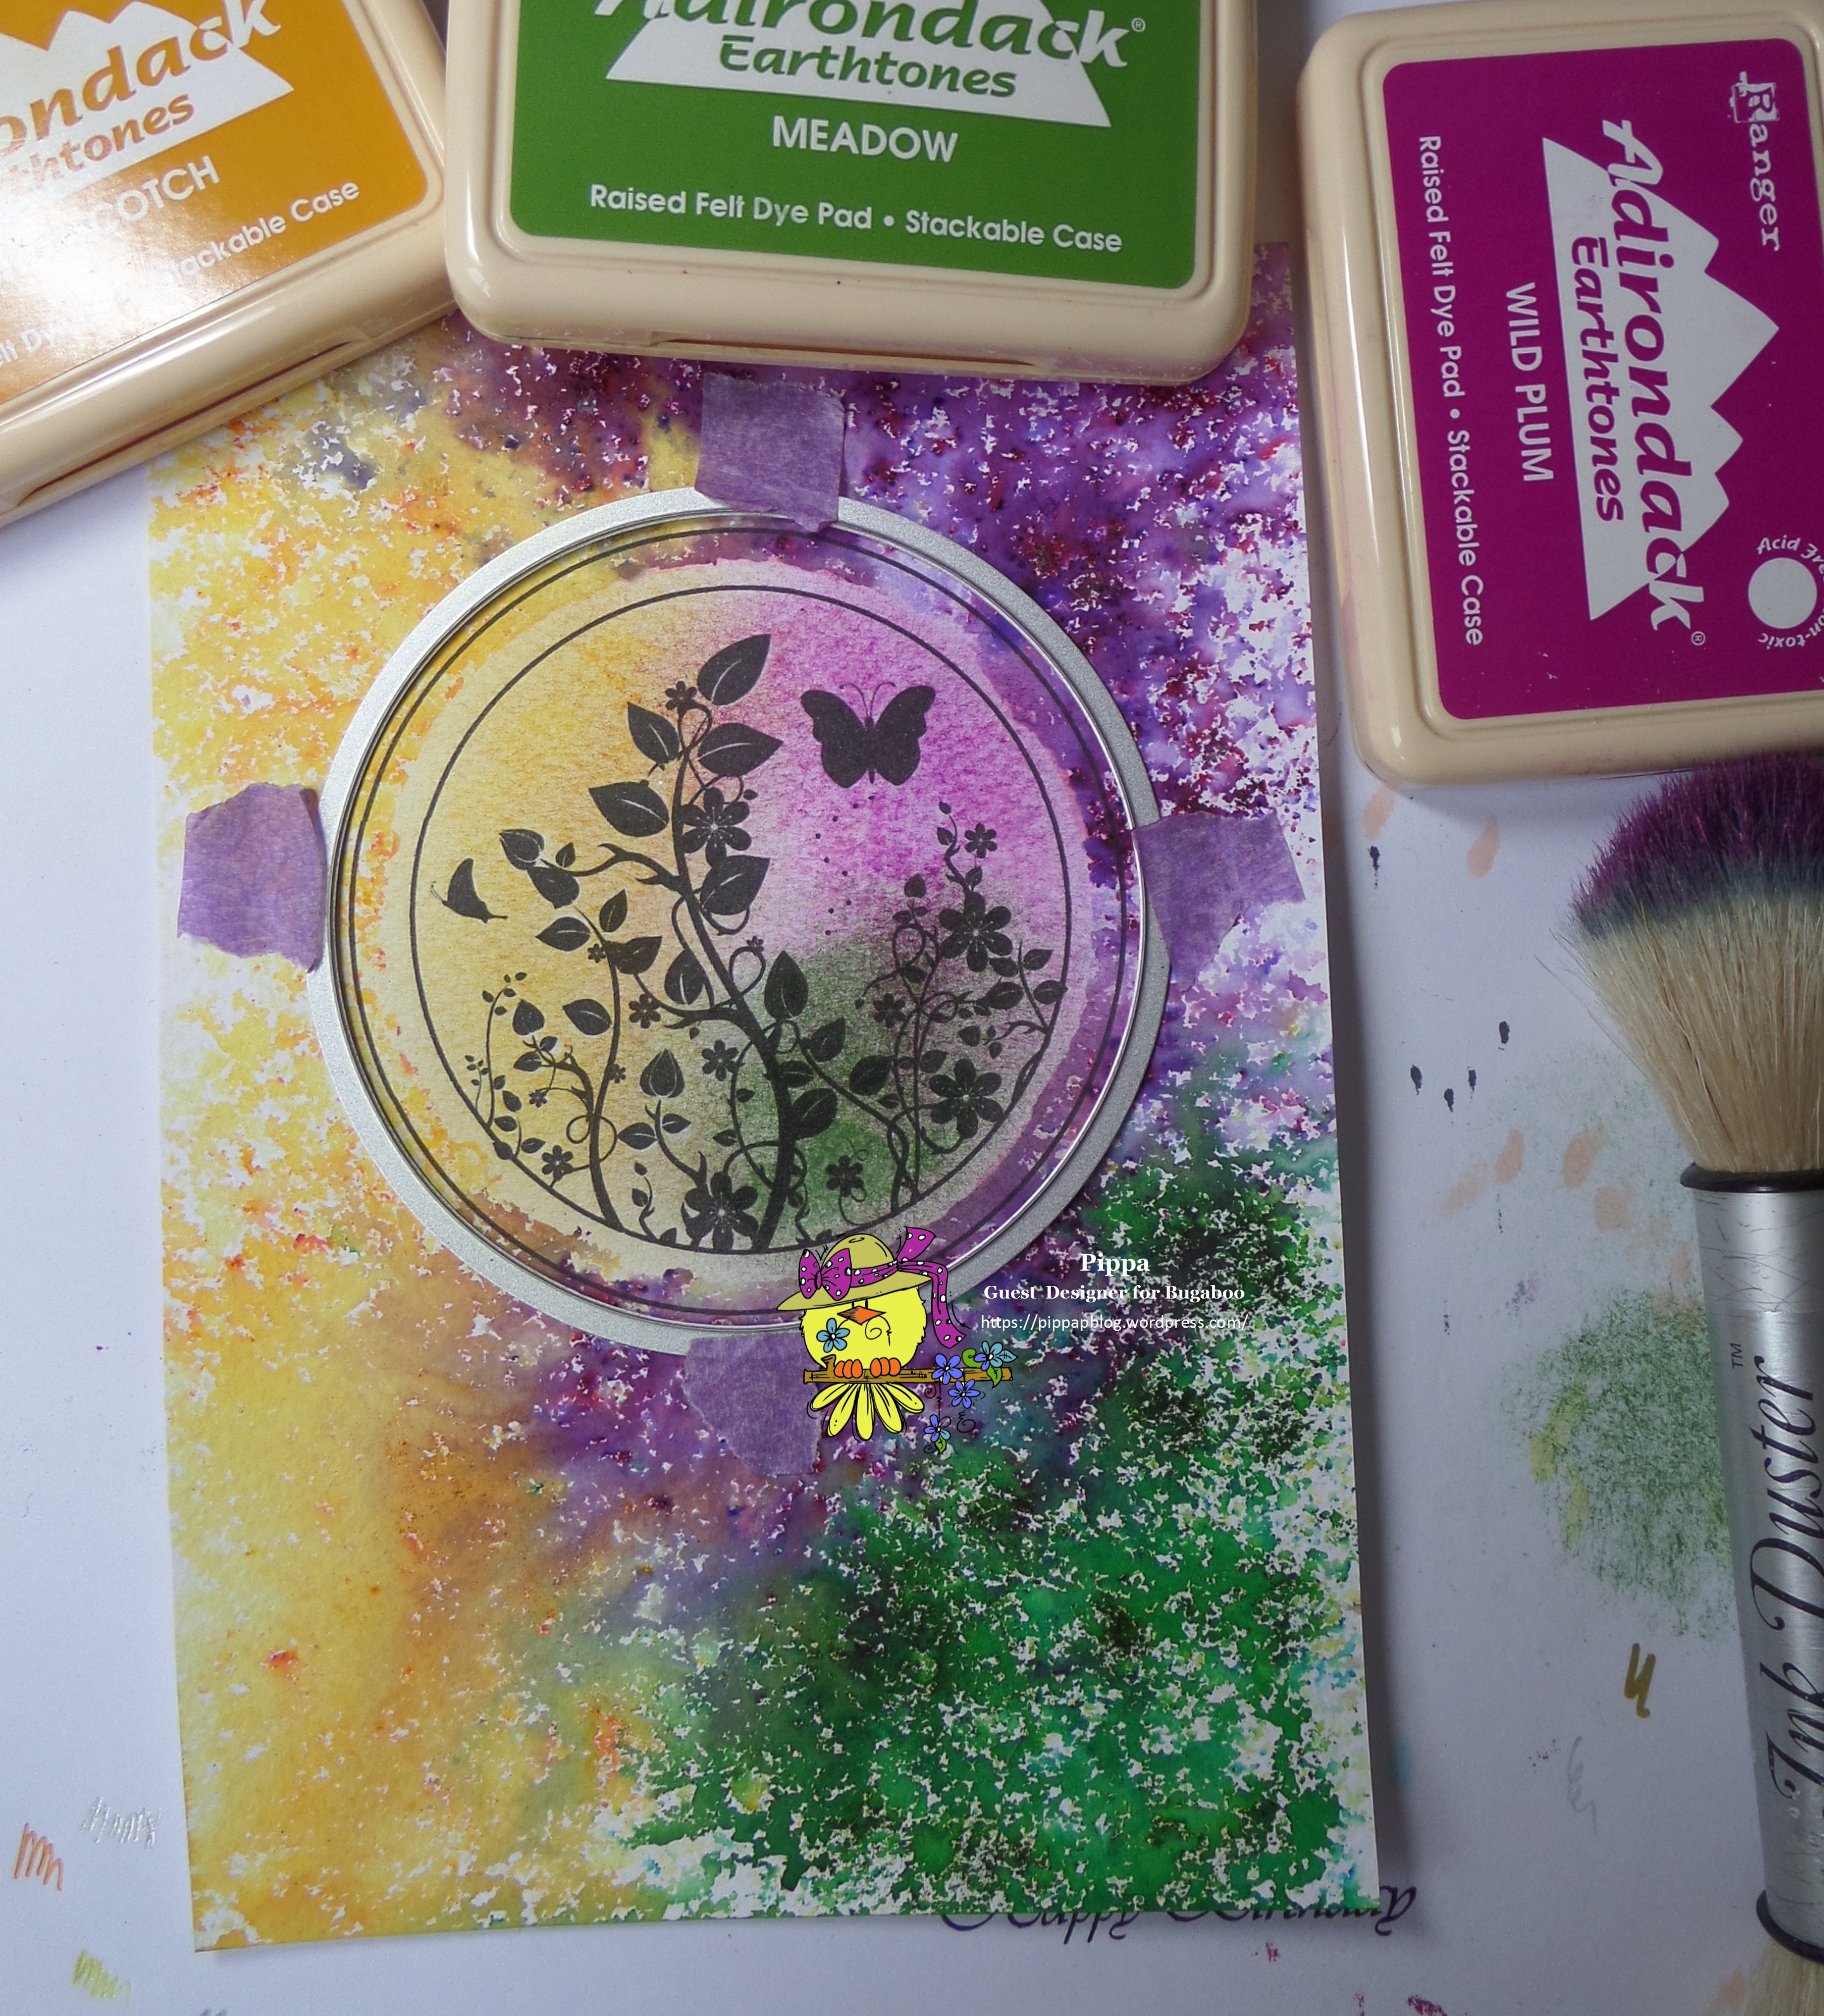
When the image is dry remove the circle die and start work on the background. I used Brushos to make mine. I chose the colours I wanted to use and sparingly sprinkled them on the card.
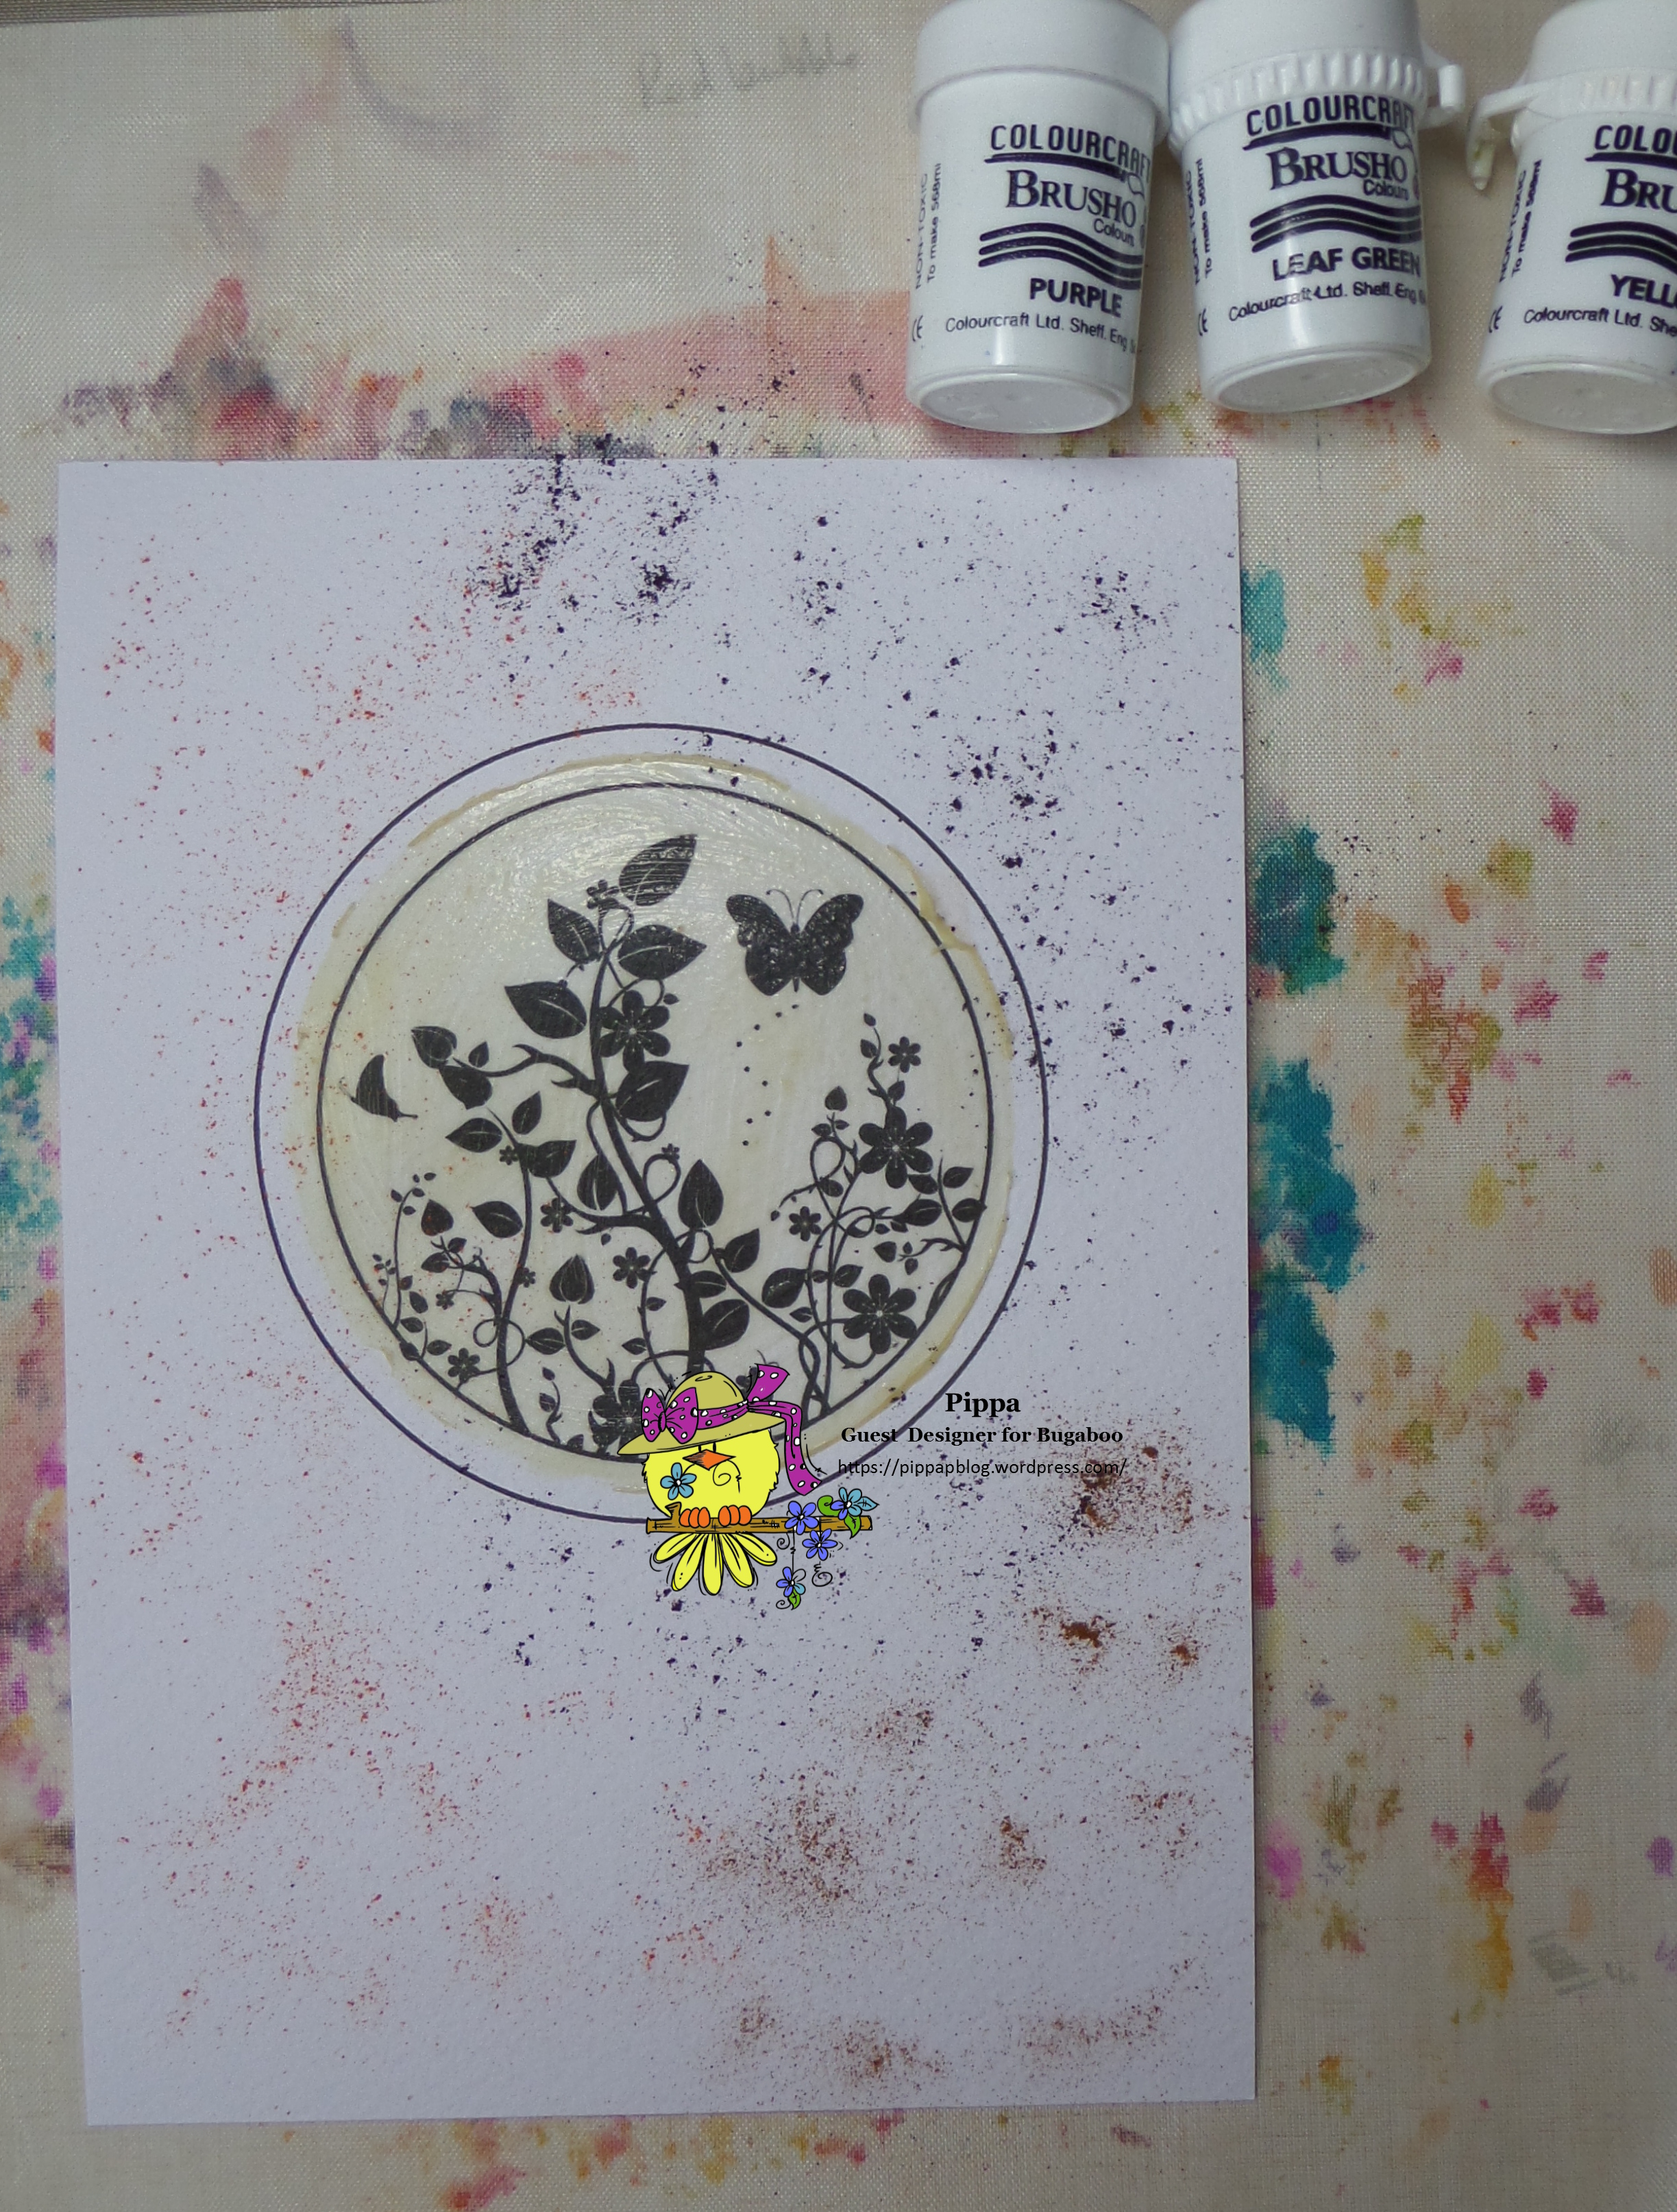
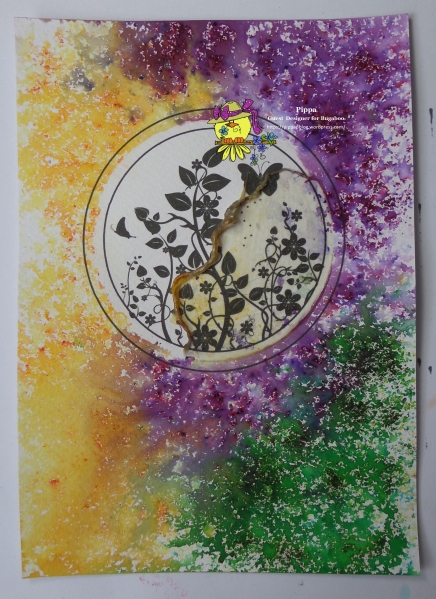
Lightly spritz the page until the Brusho crystals have reached the intensity you want. At this point you can add more crystals if you want to. Set aside to dry before carrying on.

When the card is completely dry gently rub away the masking fluid to reveal the printed image.

My plan now is to use Adirondack inks to add colour to the image mirroring the Brusho colours used.
Verdict - I don't like it! However I know now that the masking fluid does work and will let me add a background while preserving the stamp so I may use the technique again in the future.
So I now have a coloured image which I do not like and need to redeem the situation. I decided to print out the image again, this time on X-Press It card and colour it in with Copics.
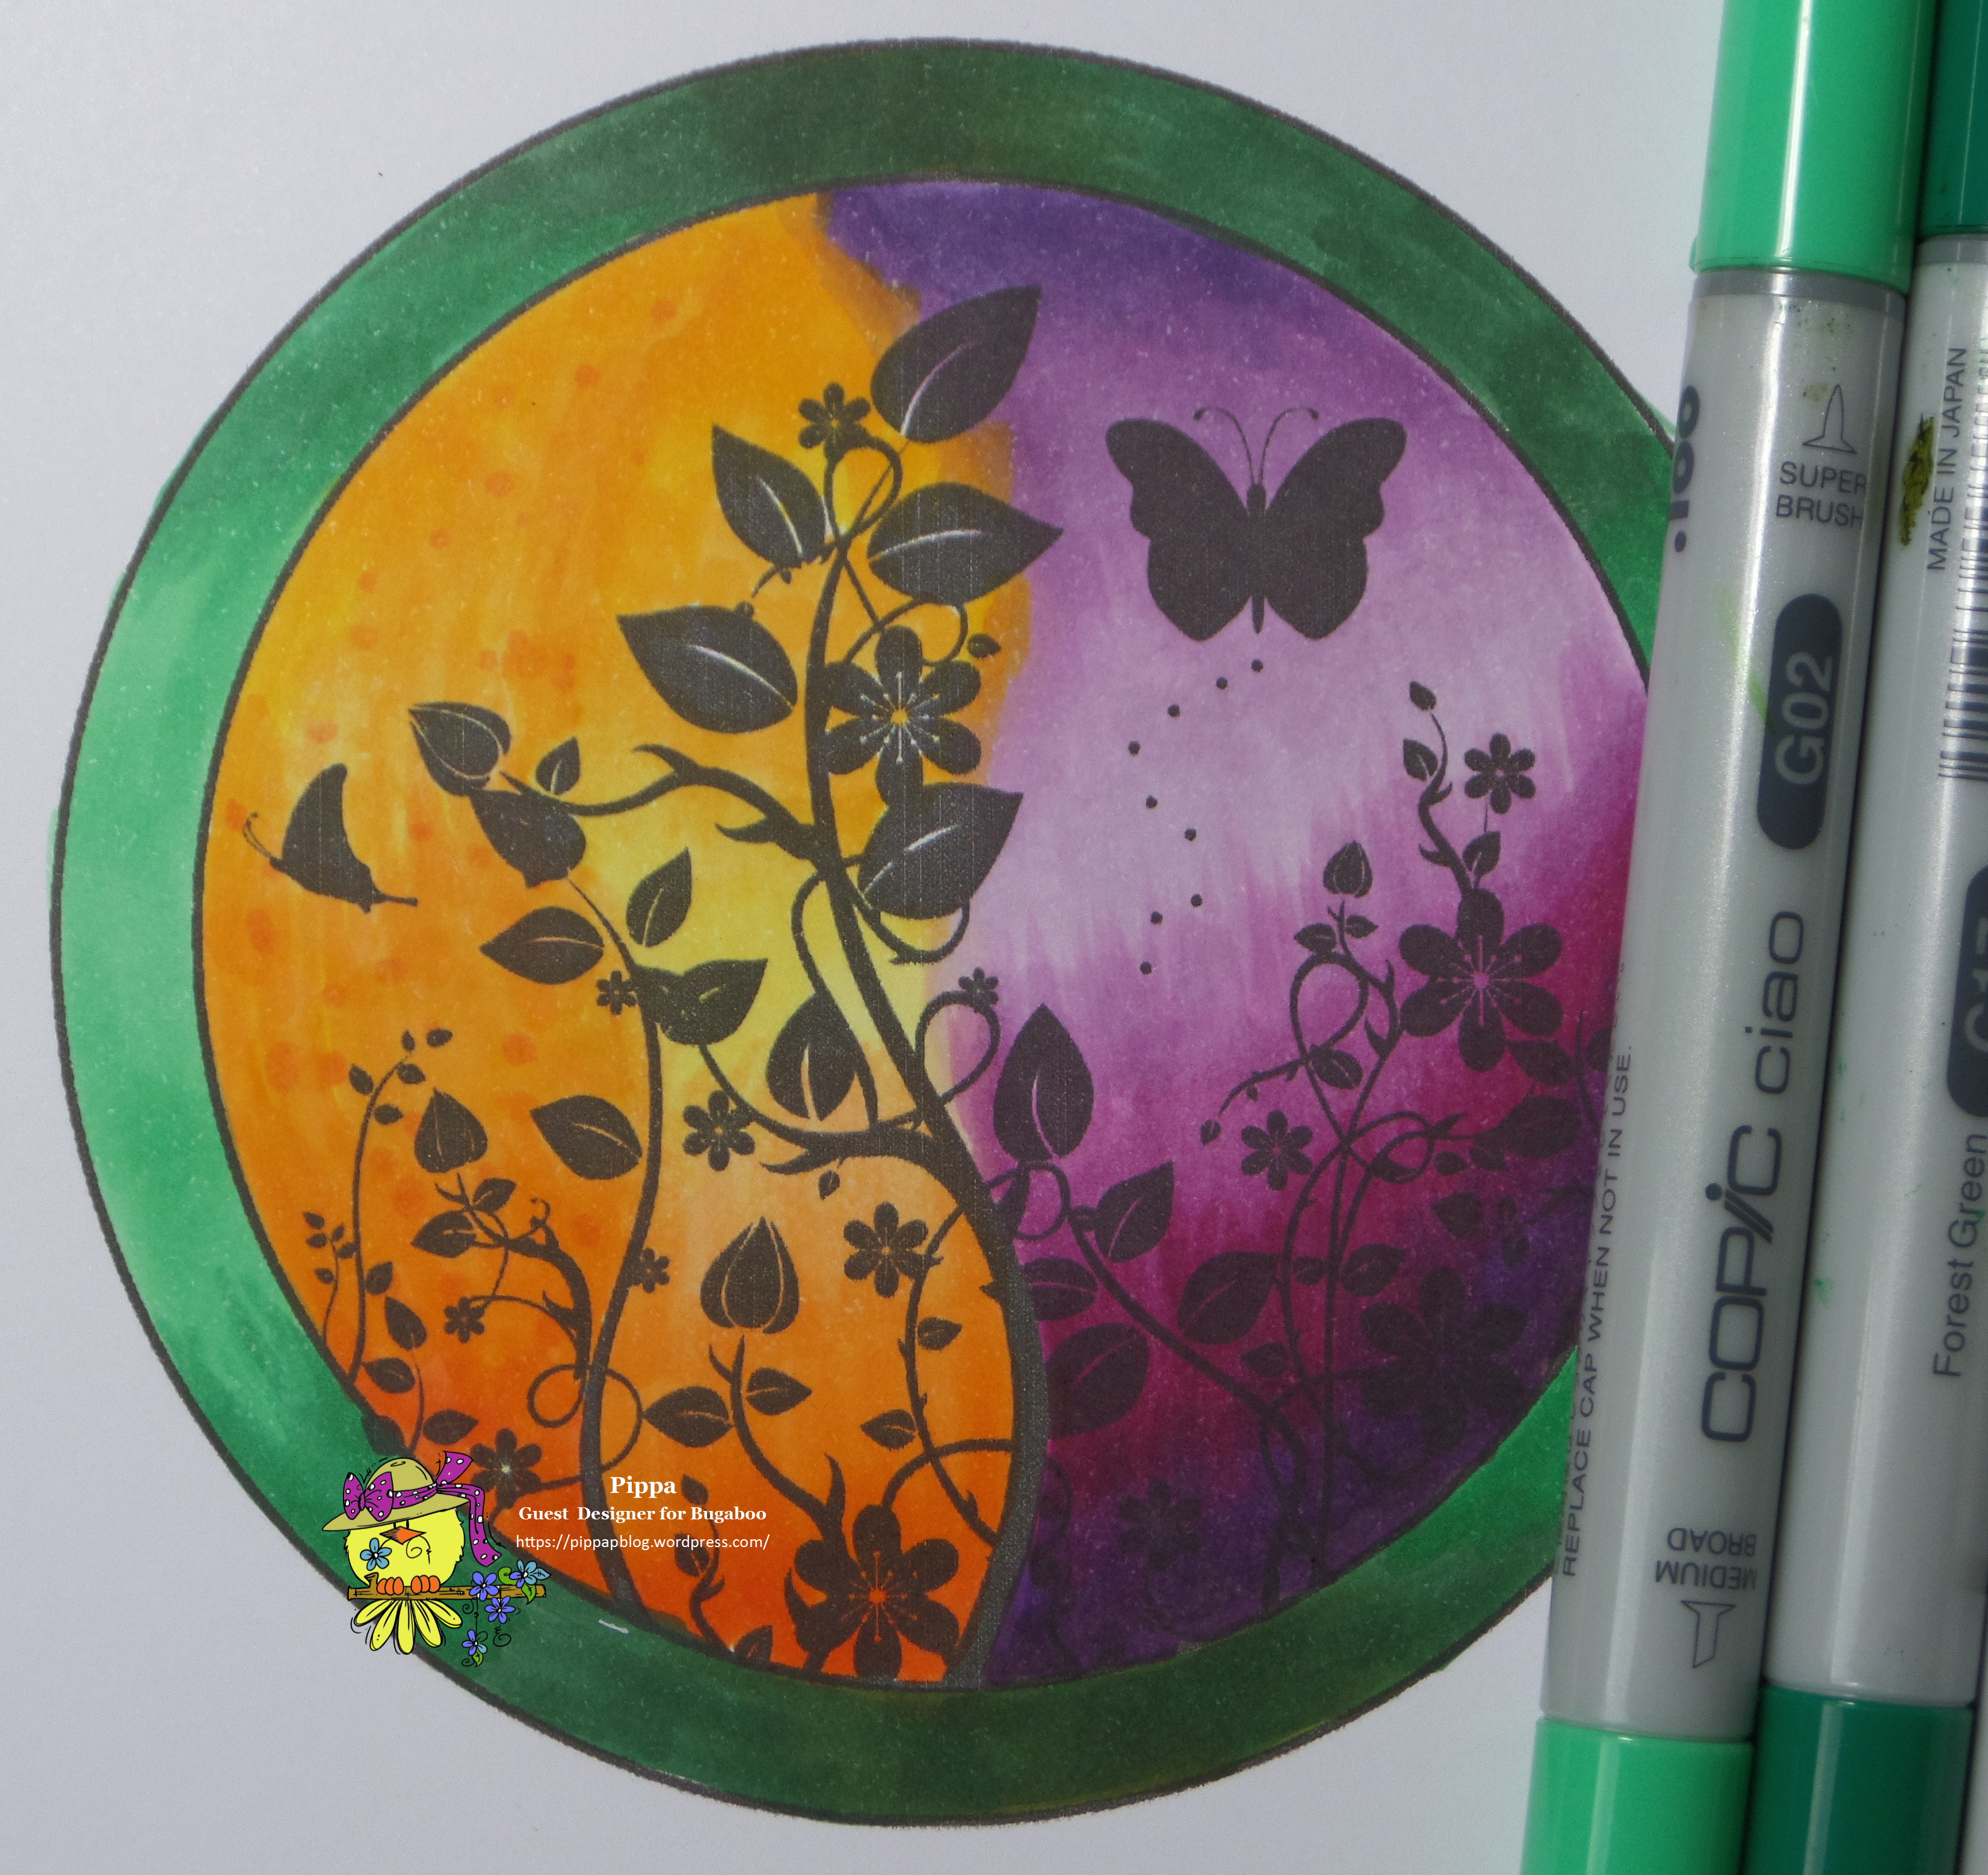
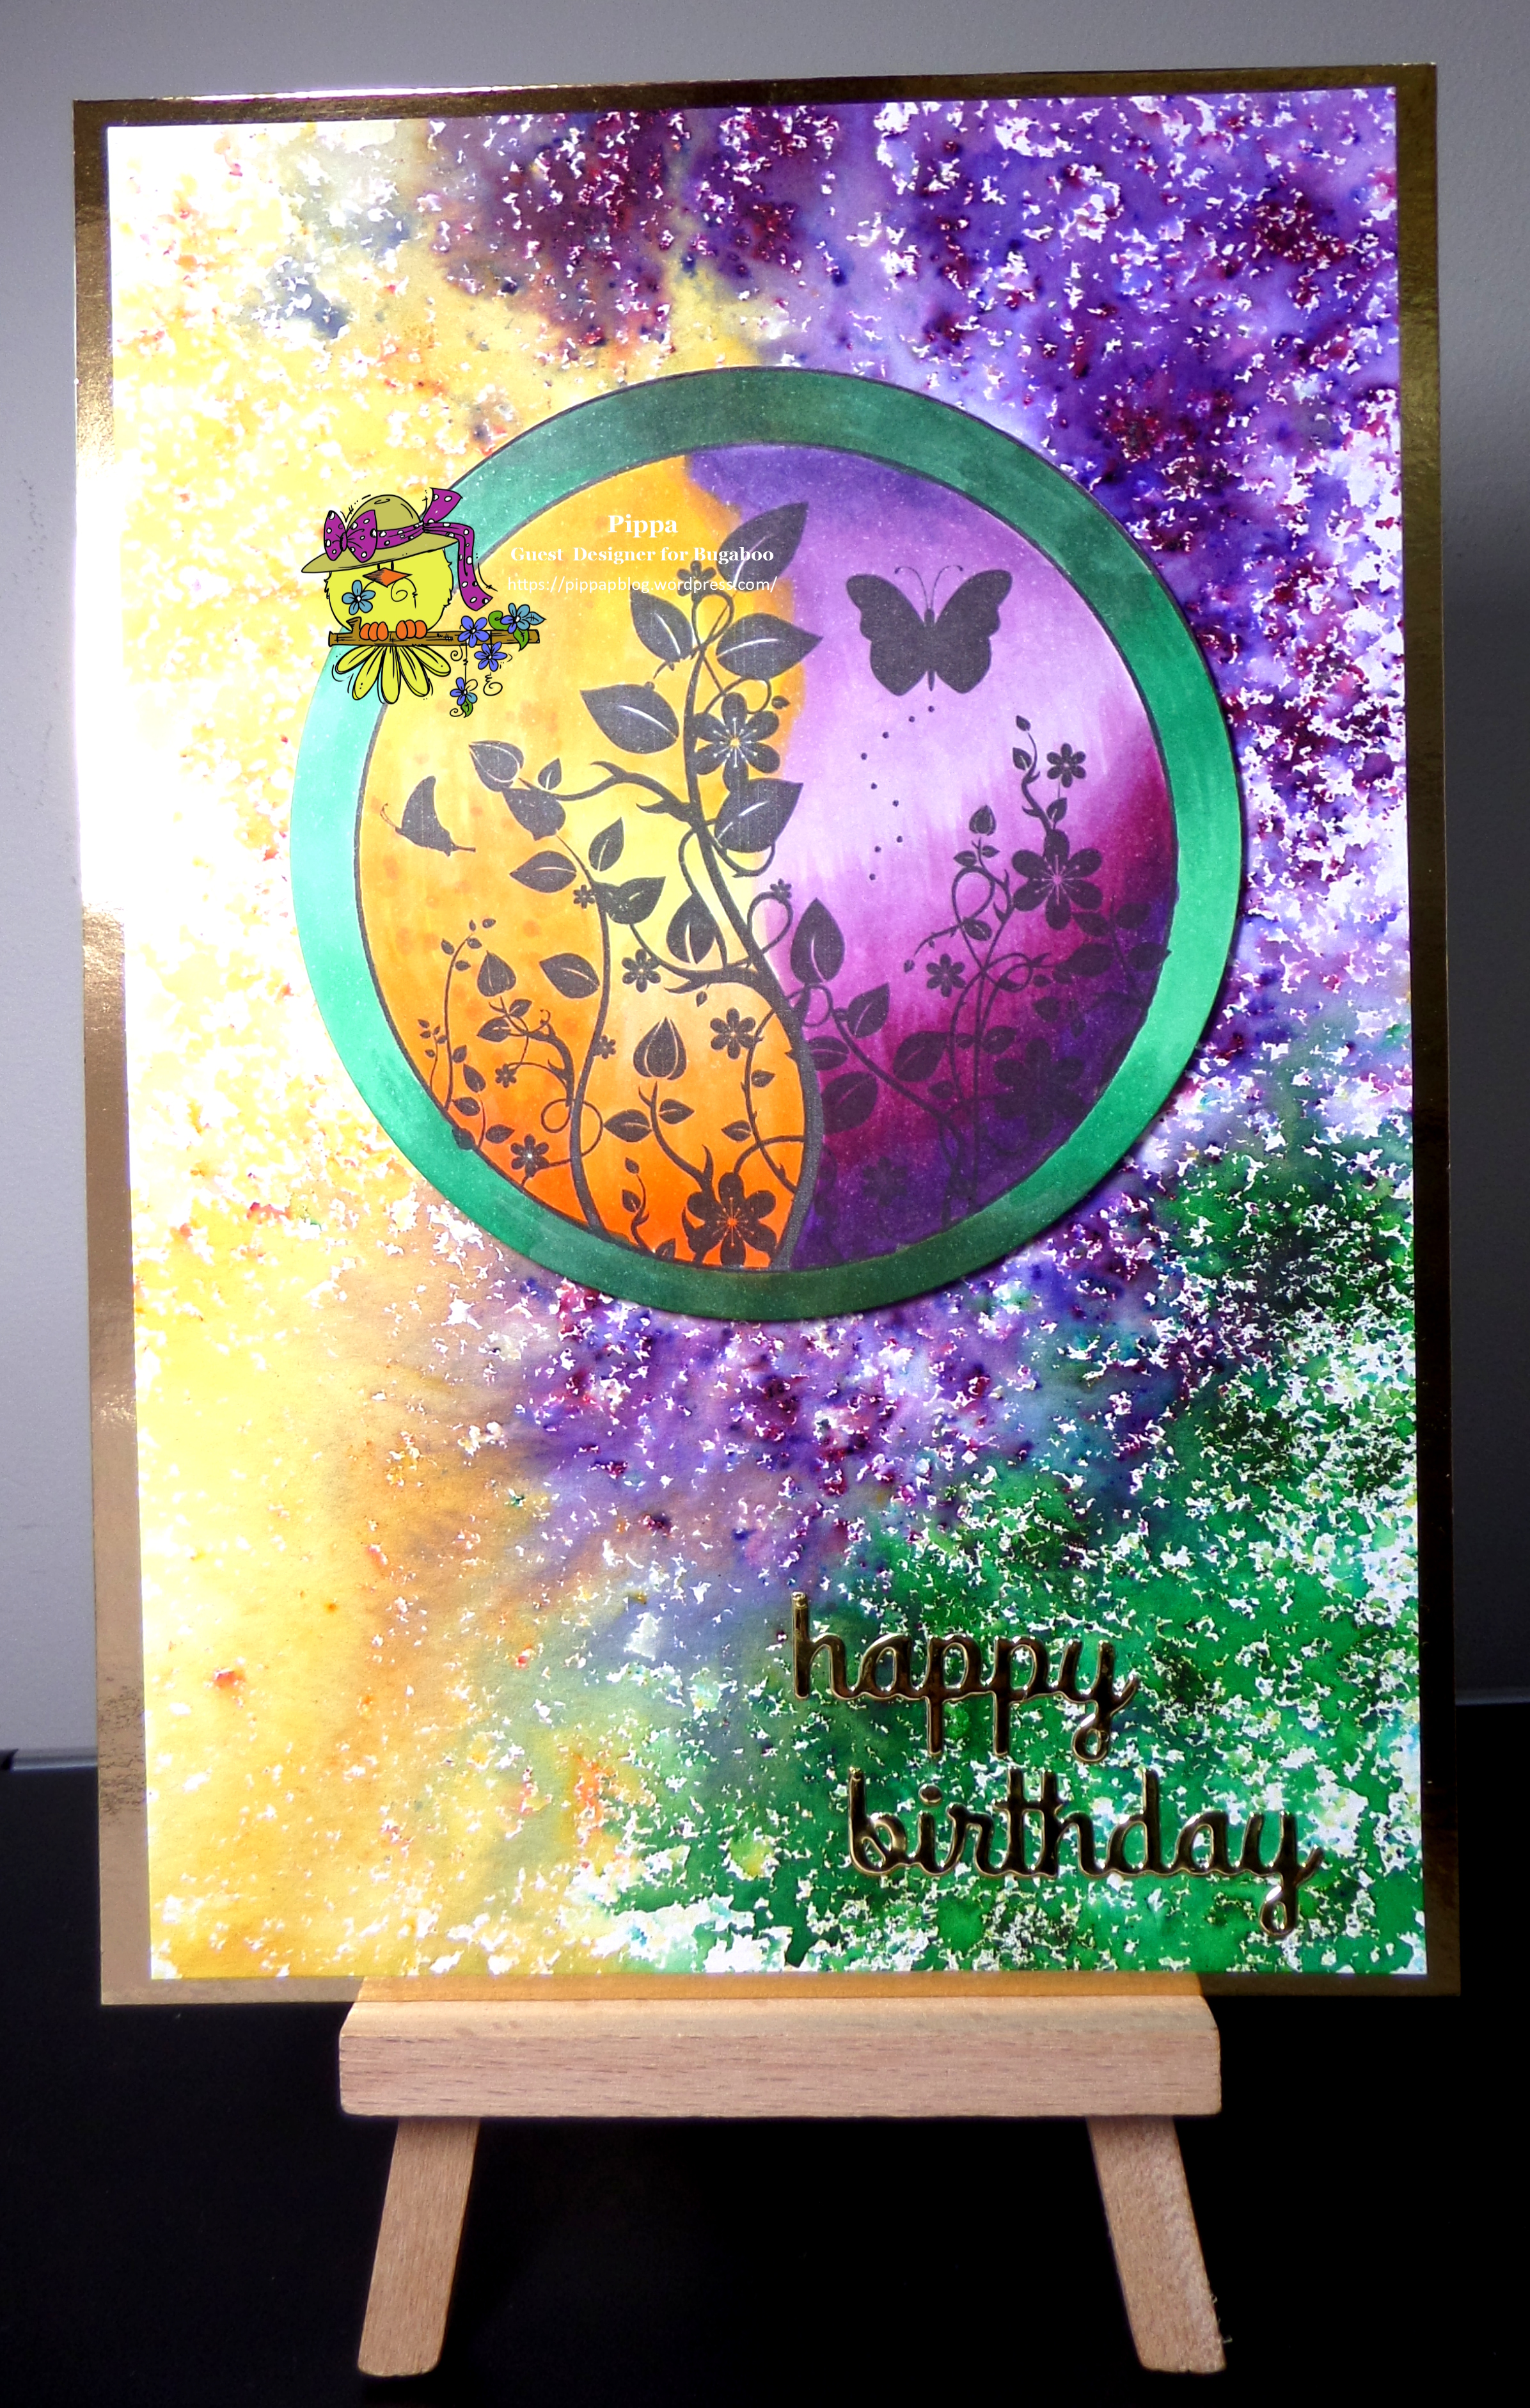
I am much happier with that. Final step to trim down the watercolour card and attach to the the front of an A5 card blank matted on gold mirri card. Cut out my coloured image with the circle die and attach it to the front of the card using foam pads and covering up the mess! Then adding the gold mirri card die cut greeting.
So not quite according to plan but I did learn that masking fluid would work and to always have a plan B just in case!
The next challenge would be to try the masking fluid on a more complicated image but that is for another day I think.
Bugaboo have two regular challenges on their Catch the Bug blog so why not visit and take a look, hopefully it will inspire you to have a go and enter yourself. Hope to see you there.
Thank you for dropping in. Take care.
Pippa
What a great post. I enjoyed the pictures and inspiration
ReplyDeleteWhat a great tutorial, especially because you shared what you did and did not like about your creative journey. Things we usually try to hide. I have never heard of the masking fluid - so interesting. Or your coloring medium with the crystals - such a pretty effect - also, never heard of this! Thanks for the inspiration.
ReplyDeleteLove your card and tutorial Pippa!!!
ReplyDeleteHugs,
Lynn aka Lynnpenguin, Bugaboo DT