I really enjoy the Path of Positivity Challenges, they always have a theme that gets you thinking. The problem is they do not get many entries, I suspect because the unusual themes put people off. But really it is not too difficult to think of something that fits and your project does not have to be exclusively about the theme, it could be something that goes with your ideas on the theme as mine does this time around. I probably am not explaining it very well so why not pop along to the website (link at the bottom of this post) and take a look. It would be really great to have more entries in the challenge.
So on with my take on this month's theme - resiliency. Looking at my life and the lives of friends and family I could think of lots of examples of resiliency but decided to use our Rebecca Claire Rose. While we are living in a vicarage we rented out our little cottage so we could keep paying the mortgage and have somewhere to live when my husband retires. In the garden was a small but healthy Rebecca Claire Rose. The rose means a lot because we bought it when our daughter, Rebecca Claire, was young and although the variety was a prize winner in the past they dropped out of favour and it is really hard to get hold of one now. What we had not thought of was that over the years some of our tenants would not be so caring about one little rose so it got neglected. By the time we realized what was happening our poor Rebecca Claire was reduced to just one small twig. Between tenants we managed to lift the rose out and move it to the vicarage, but with only one twig and hardly any roots I was doubtful that it would survive. We replanted it in our veg patch, the only part of the garden with any decent soil, made sure it was watered in the dry weather and kept bug and pest free as much as possible.
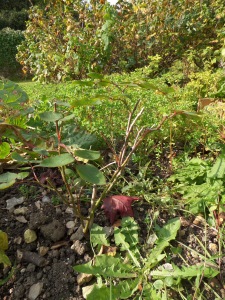
It has been a few months now and that rose has proved to have an amazing amount of resiliency. Not only does it have several stems on it but it even managed to produce a few blooms in the summer. I really should have taken a photo of it in bloom but back then had no idea I would need one, so instead I have a photo of it as it is now in it's winter coat. It might not look like much but from just one little twig it has made a remarkable recovery.
As I am writing this I can think of a time when our daughter Rebecca Claire also made a come back. In her late teens she went through a bad patch, gave up her job at an animal sanctuary because some of the staff were upsetting her with the way they treated the animals, and drifted for the summer, not knowing what to do next. She had always wanted to work with animals but was given bad advice by the careers officer at school and as a result had not finished her A levels and thought she had wrecked her chances. Then at the end of August she asked if we could help her buy some books, she had enrolled in an animal care course and had got a job at a local vets. From that first course she went on to do an animal nurse course then changed veterinary practices to a training one and is now a fully qualified and registered Veterinary Nurse. She too has displayed resiliency and turned her life around. I ought to just point out that at the time she had already moved out to live with her boyfriend, now husband, who was and still is very supportive of her.
Now that I think of it our youngest daughter also has resiliency as a quality. Despite an eating disorder which developed while at university and suffering from panic attacks she managed to complete her dissertation, sit all her exams and finish with a good degree. She is now on placement at a Baptist Church in Bristol as a youth worker and engaged with the wedding set for next August. I am so proud of both my girls.
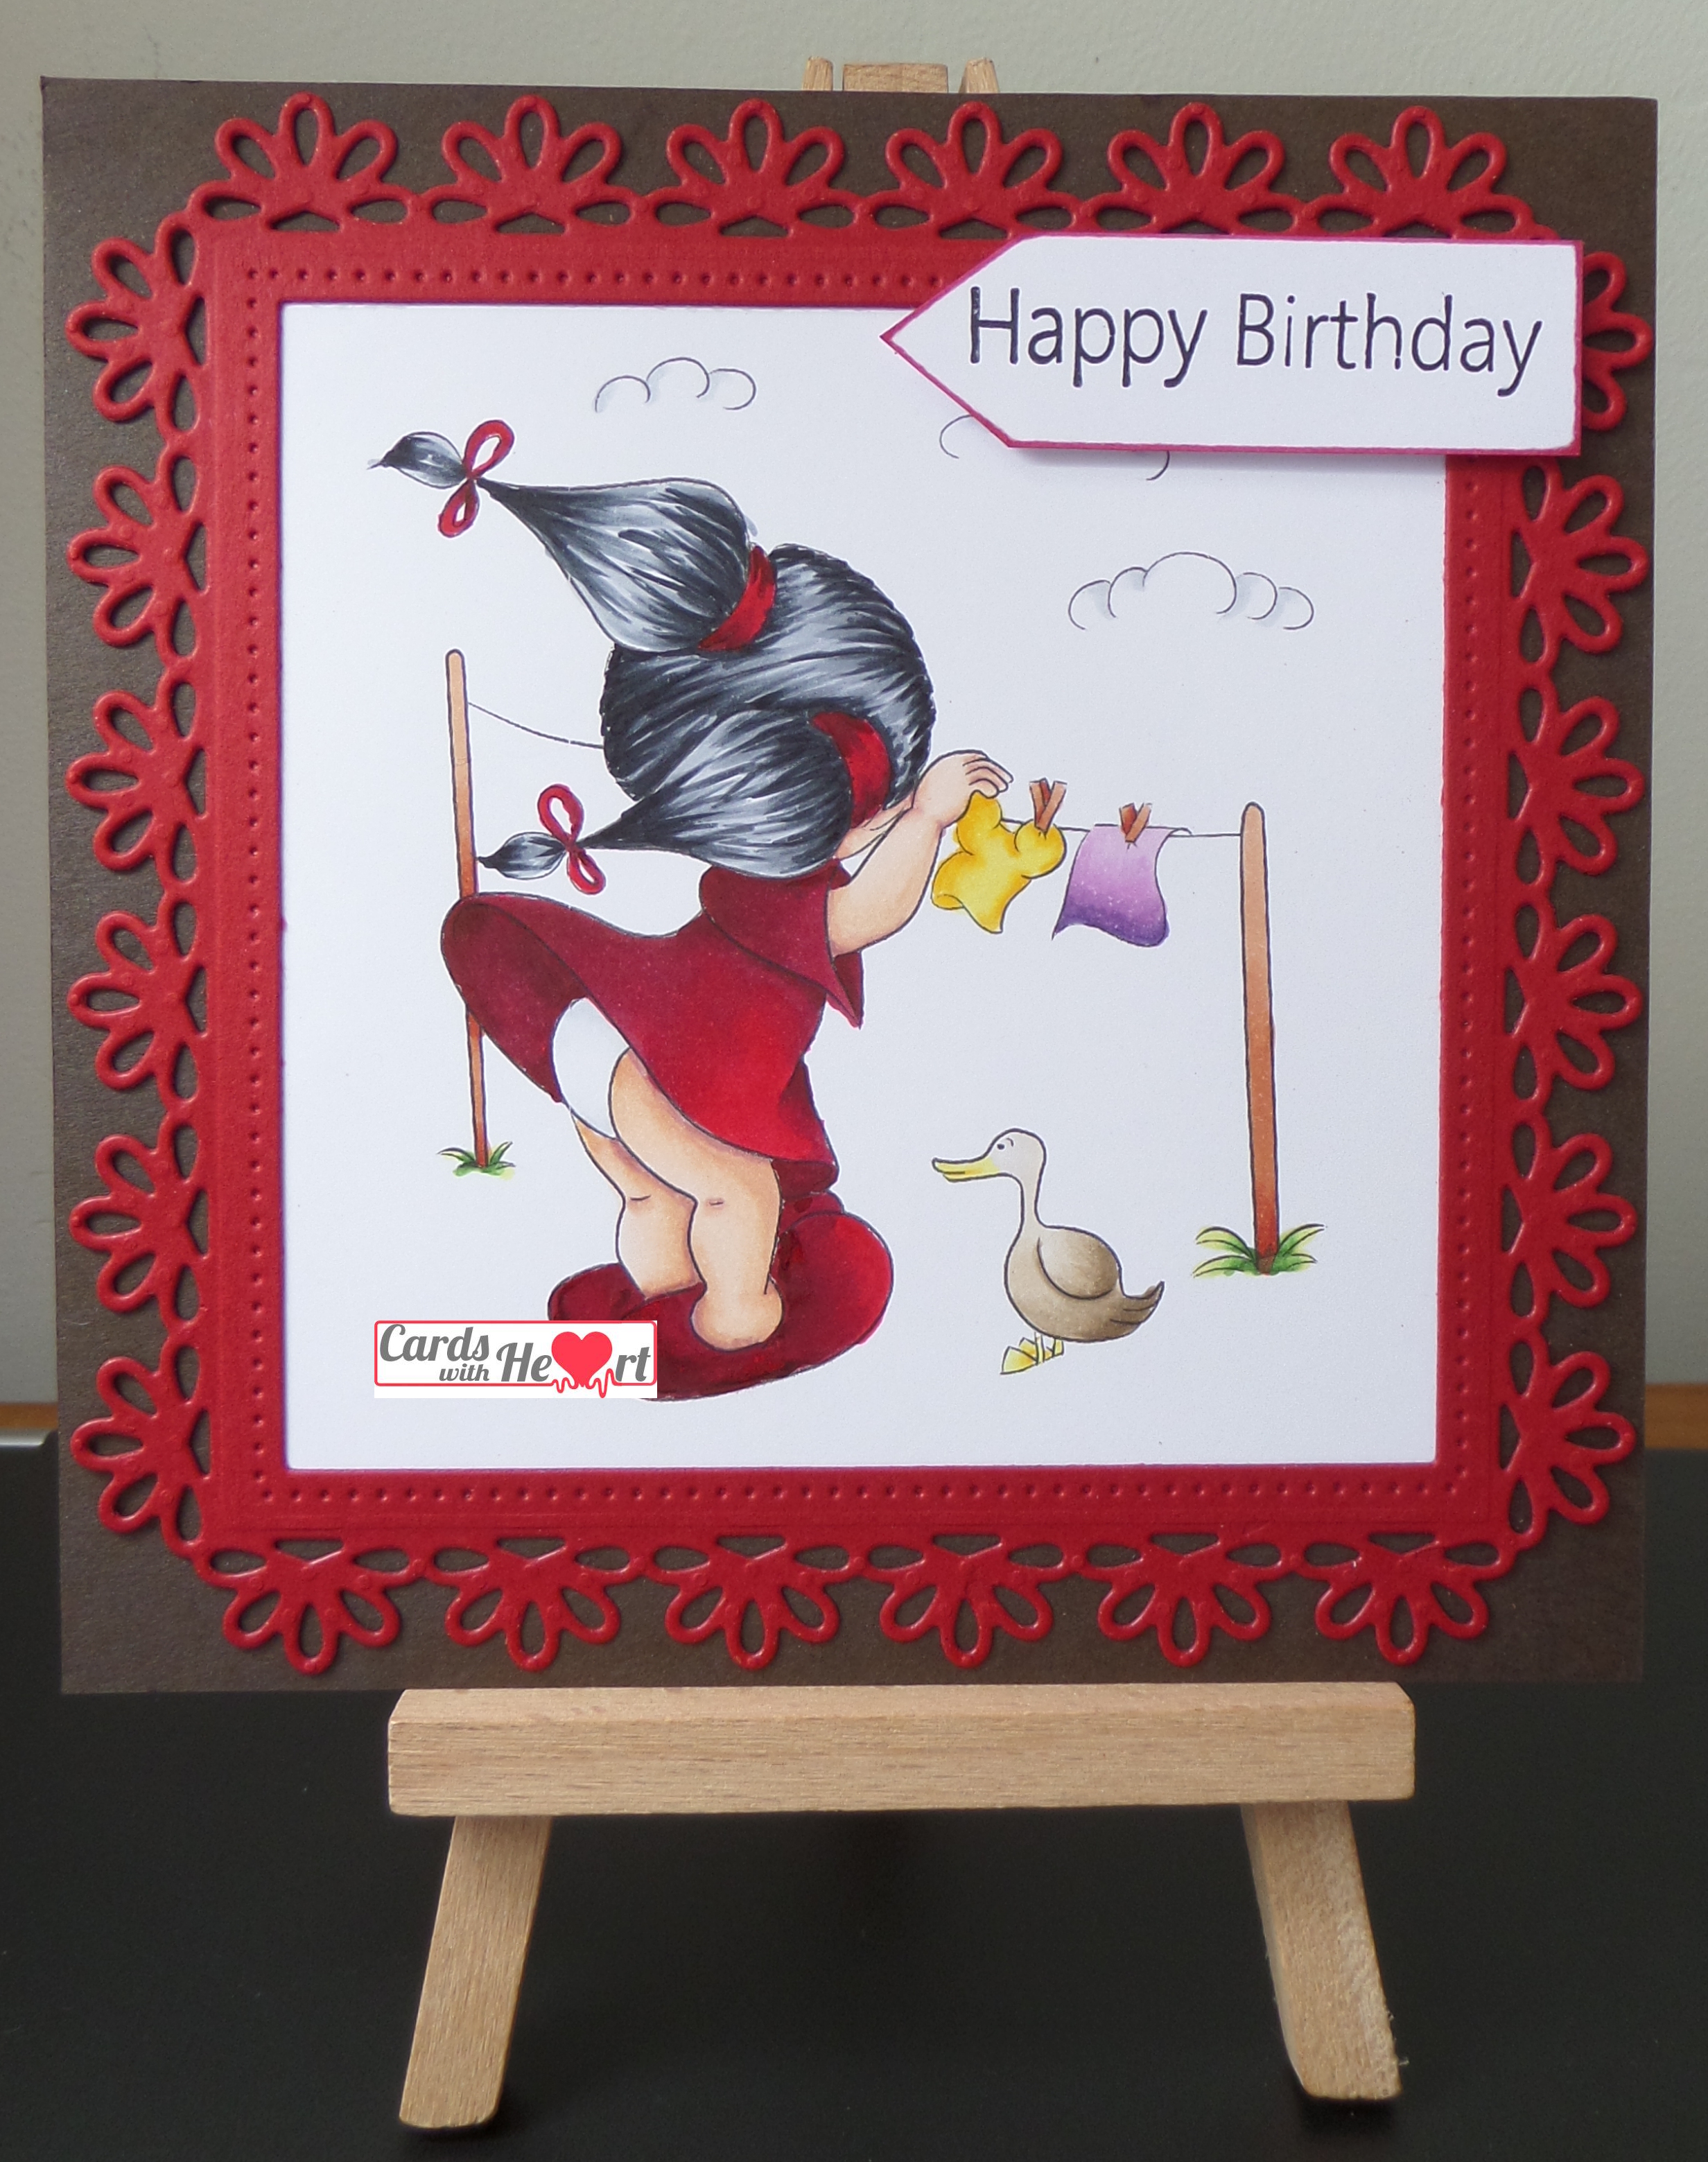
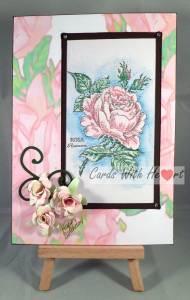
My card to go with this has to have a rose on it and I have tried to make it look like a Rebecca Claire but could not quite get the exact shading.
Materials used: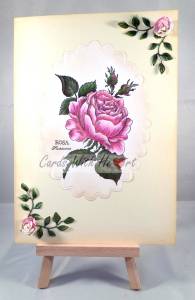 PSX stamp - Rosa
black archival ink pad
polychromo pencils
sketching paper
tea dye distress ink
dark cream card
A5 white card blank
Britannia dies leaf strip
x-cut scalloped oval dies
paper roses from stash
green Copics
shimmer white paperMethod:I stamped out the image onto sketching paper and coloured it in with polychromo pencils. I cut it out and embossed it with the scalloped oval die then used a blending tool to blend tea dye distress ink around the edges and up as far as the image. I covered the front of the card blank with dark cream paper and blended the edges with tea dye ink. I cut out 4 sets of leaves from the shimmer white paper and coloured them with Copics. I attached my image to the centre of the card and the flowers and leaves to the top right and bottom left corners.With the dark cream card and the tea dye ink I was trying to get a vintage feel like the coloured book plates in old books.
If you have made it to the end of my rambling well done! Please do go over to the Path of Positivity and have a look at what the DT have done by way of inspiration. It may be a little late for this month but why not put it on your list for next month.
Thanks for dropping in. Take care.
Pippa
I would like to enter my card into the following challenges:
Path of Positivity - Resiliency
Brown Sugar #169
Art By Mi Ran #43
Crafting With Friends #9
Creative Fingers #96
Simply Papercraft #16
Beccy's Place - October
2 Creative Chicks Showcase #3
Sweet Stamps - October
Inspiration Destination #57
If You Give A Crafter A Cookie #30 ( I have picked out the colour from the picture and the idea of recovery with the story of the rose)


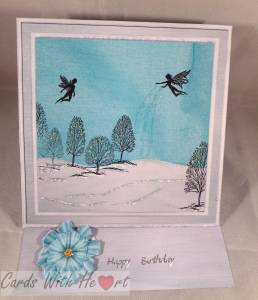
 With such a striking cover I went with the colours for my card and got out my very old acrylic stamps. It was good to get back to physical stamps rather than digi stamps for a change.
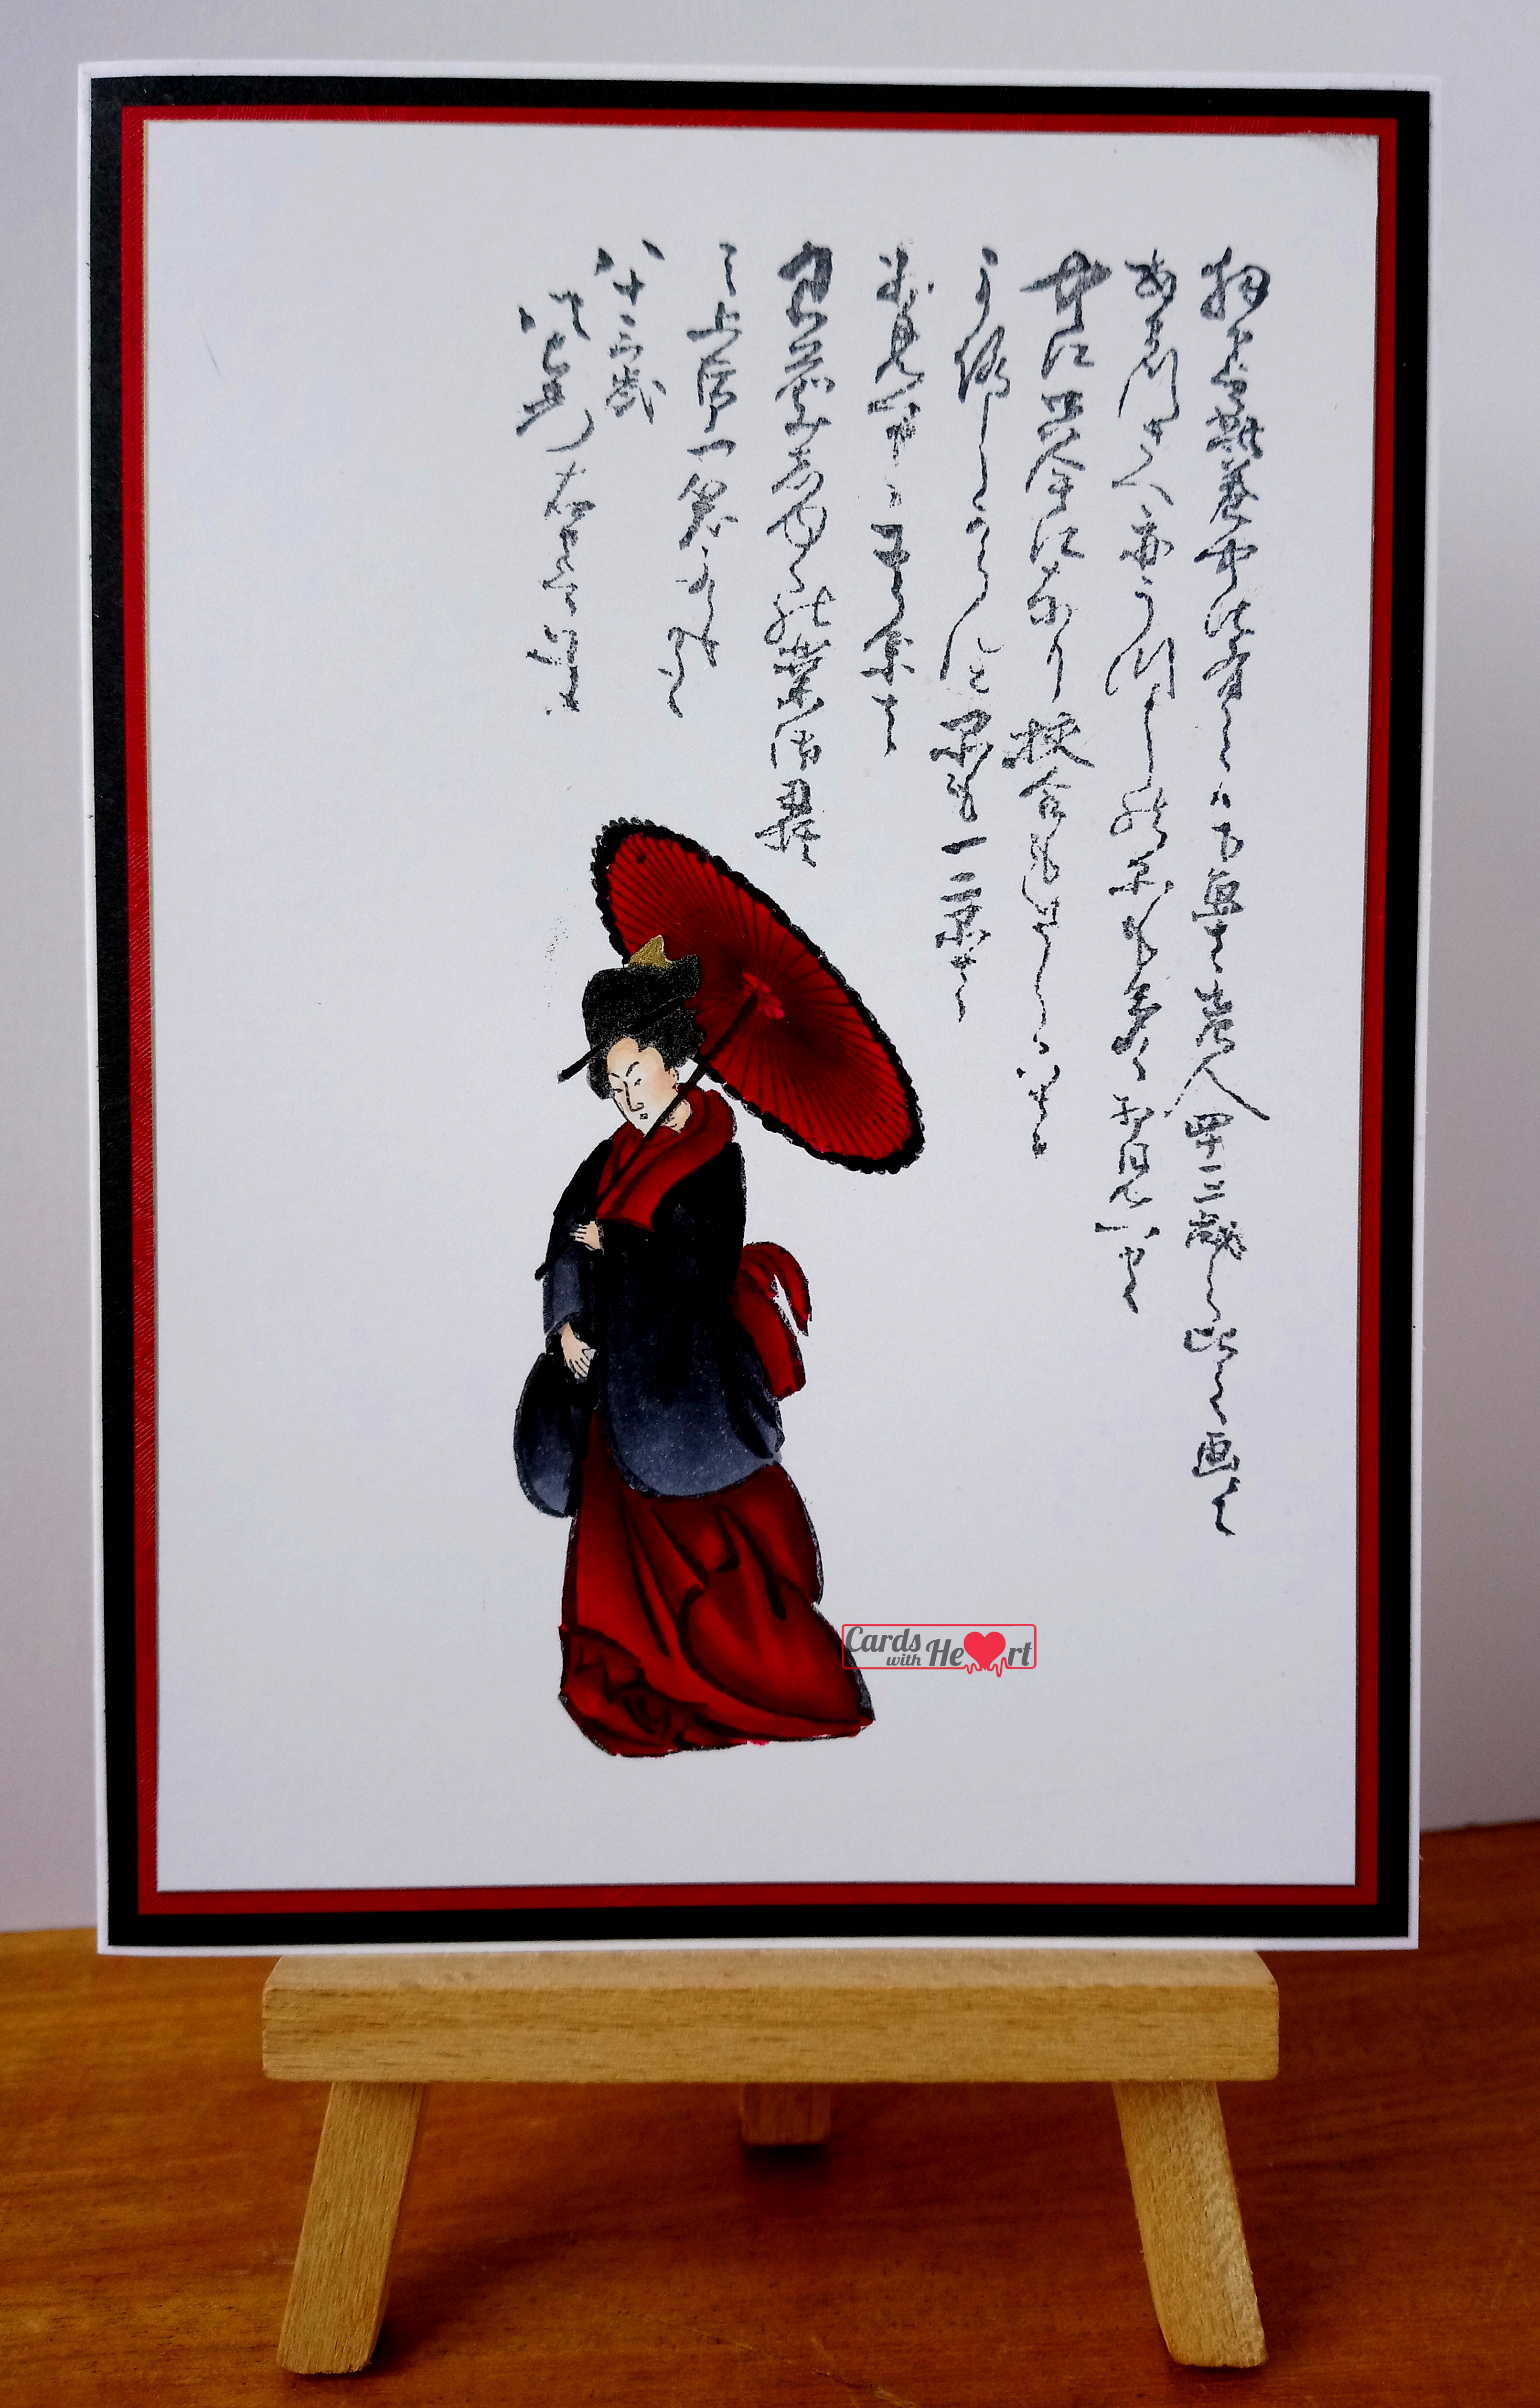


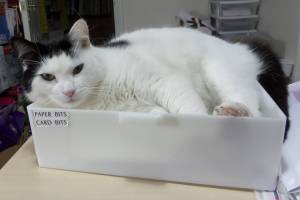 Finnegan 'helping'[/caption]