That time of year is rapidly approaching now with Advent just around the corner. Have I made the cards? Have I bought the presents? Am I ready? Don't be daft!
Anyway to take my mind off all the things I have not done, I have been working on anther challenge, this time the monthly one at From the Heart Stamps. Like Deedee's challenge it is another progressive one, if you enter you automatically get sent the image for the following month. The image this month is a lovely simple Christmas one and it fits the bill for a few challenges.
Materials used:
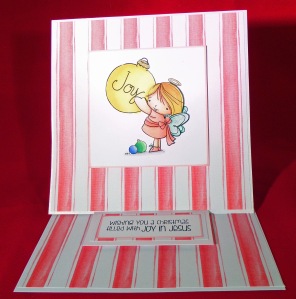
From the Heart Stamps - Angel Joy (faithful friends)
Spectrum Noir and Copic pens
Wink of Stella Clear
White stamping card
gold pen
Centura Pearl White card
patterned paper and left over snippets
Method
I used the centura pearl card to make a 14.8 cm square easel card base. I matted a 14.5 cm square piece of patterned paper to a 14.8 cm square of centura pearl card and attached this to the fold on card front. I printed out the image 4 times at the size I wanted then coloured them in with the pens.
[caption id="attachment_835" align="alignleft" width="260"] Close up of angel[/caption]
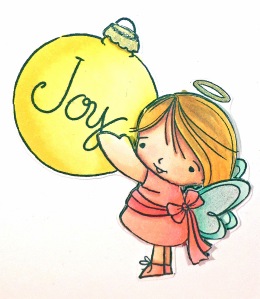
I cut the base image into a square and ran a pink Spectrum Noir pen around the edges. I used a second image and cut out most of the angel and the top of the large bauble which I stuck over the top of the first image using gel glue. I then stuck the topper to the front of the card. I printed out the sentiment and cut it to size. After running the same pink pen around the edges I matted and layered it onto patterned paper and centura pearl card. I lined the inside base of the card with patterned paper and added the greeting using 3d foam pads as the card stopper.
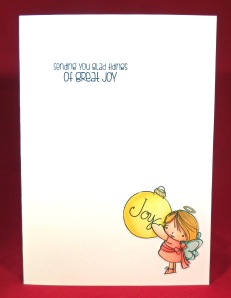
The remaining two images were cut out and decoupaged then added tothe front of a white A5 card blank which already had the sentiment printed onto it. Both angels then had wink of stella applied to their wings.
I think these two cards will cover a few challenges so off now to check the requirements. I know they fit the bill for Rudolph Day and as it is Sarn's final one I really want to get over there.
I hope your preparations for Christmas are going better than mine! Thanks for taking the time to visit. Take care.
Pippa
I would like to enter my cards into the following challenges:
Easel card: From the Heart Stamps Monthly Challenge
Outlawz Friday Coloring Challenge - Anything goes with optional Christmas twist
A5 card: Less is More Challenge - Week 199 Jingle all the way
Outlawz Monday Greetings Challenge - Anything goes
Both cards: Rudolph Day Challenge
Friday, 28 November 2014
Thursday, 27 November 2014
Deedee's Challenge
I know it's been a while and I did say I was going to try to keep up with the Less is More challenge but life got in the way! Today has seen a flurry of activity in the craftroom trying to make amends for the 'dry' patch. Spurred on by the realisation that the end of November is only a few days off I have rustled up a couple of entries for progressive challenges that end on Sunday. If you enter you automatically get sent the free digi for the next challenge, so you can see why I did not want to miss out.
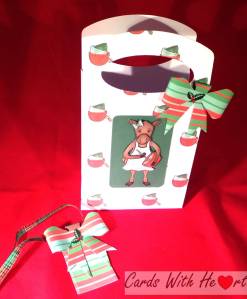
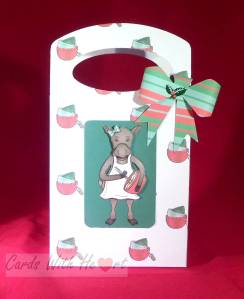
The first one I tackled was for Deedee's challenge. I really like the fact that the images come in coloured and line drawing versions. Being pressed for time I chose to use the coloured version for my make.
Materials used:
white printing card
Deedee's Digi Mix it up
2 holly brads
snippet of ribbon
X-cut bag die
Method:
I used a designer software programme to make the paper for the bag taking the stacked bowls image, reducing the size and repeating it across the whole A4 sheet. I printed out two sheets of my created paper, 1 sheet of Deedee's stripped paper and 1 sheet of the cooking moose with repeated images on it (I used the same programme to put one image onto a green background.
I used the x-cut die to cut out my bag from my designed paper and also cut the tag and 2 bows from the stripped paper. I cut out the moose images and used four of the extra images to 3d decoupage the base image on the green background. I made up the two bows, 1 I attached to the front of the card with a holly brad and the other I attached with another holly brad to the top of the tag. Finally I threaded a piece of ribbon through the loop at the top of the bow on the tag.
Sorry the photos are not good, still trying to work out the lighting. I am not a photographer so any tips would really be appreciated.
Thank you for dropping in. Take care.
Pippa
I would like to enter this card into the following challenges:
Deedee's Digis: November Digi of the Month Challenge
Pixie's Snippets Playground - week 152
Thursday, 13 November 2014
Making decisions
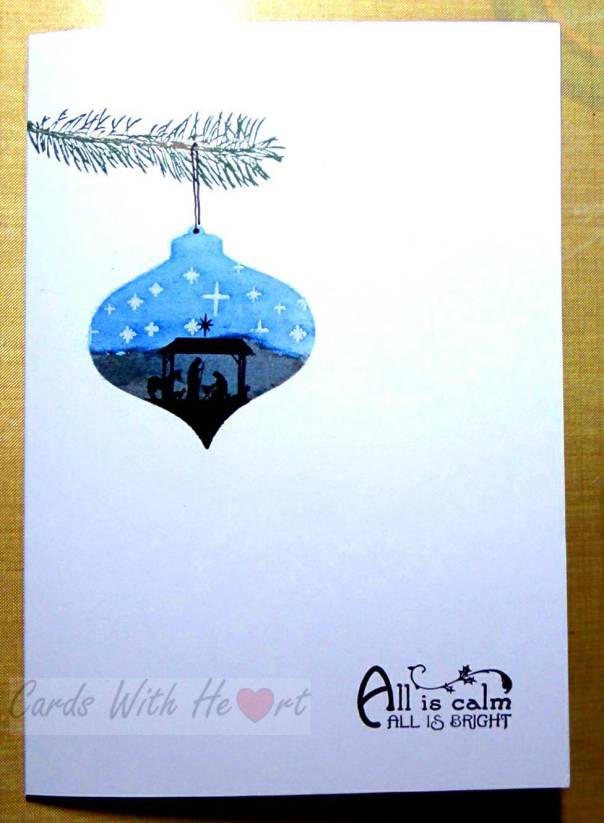
I have discovered a whole wealth of crafty challenges out there that I would love to participate in but unfortunately this week and the next couple of weeks are just too full and busy already. It is a shame because I have some ideas I would love to try. Hopefully it will calm down a bit, although with the all too rapid approach of Christmas I somehow doubt it! I have decided that there are a couple of my favourites that I just have to keep going, no matter what, and Less is More is one of them. This week the theme is 'Starry, starry night' (I have been humming 'Vincent' all week!) The added challenge is that it is one layer. So here goes.
Materials used:
pine branch stamp: Dimension stamps
star and sentiment stamps: Creative Crafting magazine
nativity stamp: Clarity
bauble die: Spellbinders
memento ink: rich cocoa, northern pine
adirondack ink: pitch black, denim, archival black
versamark pad
clear embossing powder
stencil brushes
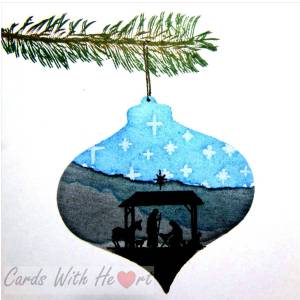
[caption id="attachment_815" align="alignright" width="300"] A closer look[/caption]
Method:
I stamped the pine branch at the top of an A5 white card blank using northern pine and rich cocoa. I then made an aperture mask of the bauble and used it to stamp the stars through with versamark and emboss with clear powder. Keeping the mask in place I then used denim and pitch black to stencil in the sky and ground. I stamped the nativity with archival black then darkened the bottom tip of the bauble with pitch black to make it look like a continuation of the stamp. I then stamped the sentiment at the bottom with black archival ink. Finally I added the hanger with a black miron pen and buffed up the stars with a tissue.
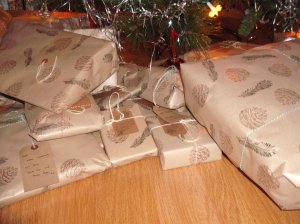
The design is a variation of one I used a couple of years ago for our Christmas card. In fact I have used both the pine branch and the little nativity a number of times now. The pine branch stamped on brown parcel wrapping paper along with the pine cone from the set makes great wrapping paper.
I am off now to see what wonderful cards have already been submitted for the Less is More challenge.
Thank you for visiting. Take care.
Pippa
I would like to enter my card into Less is More One Layer Week - Starry, starry night! week 197
Tuesday, 11 November 2014
Word Art Wednesday
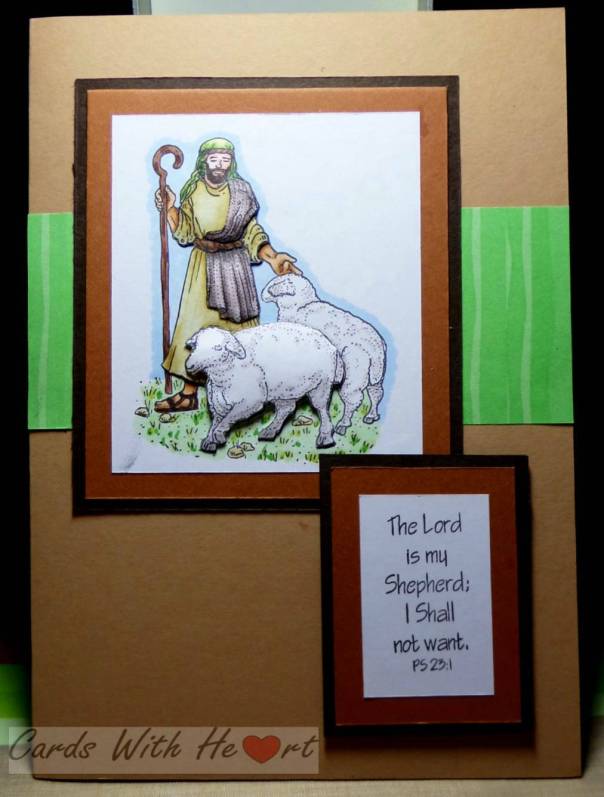
A long-standing member of our congregation at church is leaving soon and moving closer to her family so I was asked to make a card for the church members to sign. The design I eventually settled on also qualifies for the Word Art Wednesday challenge.
[caption id="attachment_808" align="alignright" width="291"] A closer view of the shepherd[/caption]
Materials used:
Shepherd and verse stamps (origin unknown)
tuxedo black memento ink
stamping card
A5 kraft card blank
mid and dark brown card
snippet of green stripy paper
Spectrum Noir and Copic pens
Method:
I stamped the shepherd out three times and coloured the images in with the pens. One image I trimmed and matted and layered as the base of my topper, the others I cut different pieces out of to 3d decoupage on top of the base image.
I stamped out the verse and matted and layered that to match the topper. I placed a snippet of green paper behind the topper and then arranged the other items how I wanted them before sticking them to the card front.
Thank you for dropping in. Take care.
Pippa
I would like to enter this card into;
Word Art Wednesday Challenge 157
Pixie's Snippets Playground Week 150
Monday, 10 November 2014
Autumn Colours
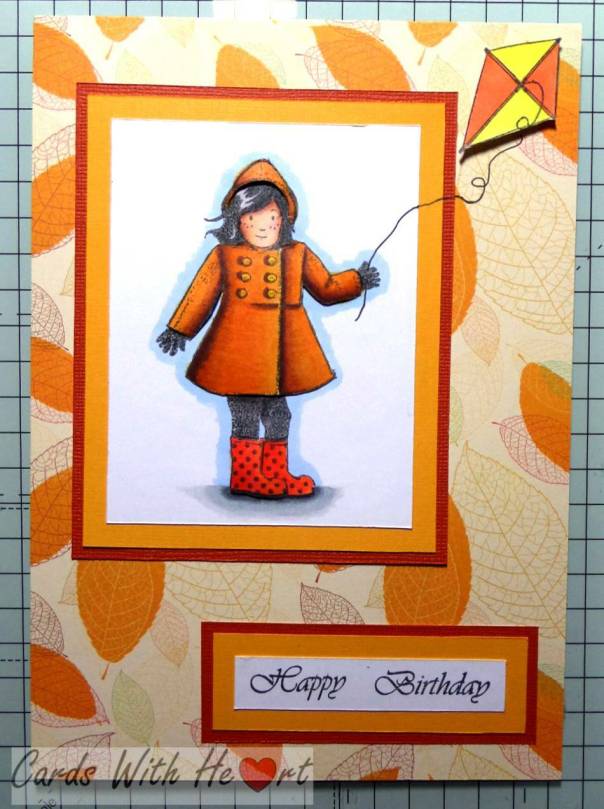
Today's card is one I did for the Outlawz Monday Greetings challenge. I was so late getting it done that I had to enter it before I had blogged it! The theme this time was Autumn Colours.
Materials used:
girl and kite stamps from Creative Stamping magazine
greeting stamp
A5 white card blank
tuxedo black mememto ink
coloured card
leaf backing paper
white stamping card
spectrum noir pens
black micron pen
copic pens
[caption id="attachment_803" align="alignright" width="221"] Closer view of the girl[/caption]
Method:
I stamped out the girl twice and the kite once. Using copics for the skin and spectrum noir pens for the rest I coloured all the images. I trimmed one image down to make the base then cut out the hat, coat and one boot from the other image and attached them with 3d gel glue. I also cut out the kite.
I matted the main image onto yellow and rust card to make my topper. I stamped the greeting onto white card then matted and layered it with bits of card left from matting the topper.
I used the patterned paper to cover the card blank and then glued my topper and greeting to the front. I attached the kite using gel glue and then drew in the missing string with a black micron pen.
Fortunately America is behind us in time so I did manage to get my entry in before the challenge closed. The new challenge for this week is up now so hopefully I can get that one done quicker!
Thanks for stopping by. Take care.
Pippa
Friday, 7 November 2014
More or Less
I am really cutting it fine this week with my Less is More Challenge but it has been one of those weeks. This weekend the church has a flower festival, a concert commemorating WW1 in music and verse and the Remembrance Sunday services. I have been putting together the PowerPoint for the concert, not easily done as the running order kept changing! Next weekend is the church's Christmas Fair and I have been busy making gift bags and boxes for my stall. Also it was back to school this week so the usual planning has had to be fitted in and a couple of meetings as well! With all that going on is it any wonder that I managed to order the wrong ink for my printer (it is now completely dry!) and fall of a table!
So taking out a moment of calm I have made my entry for this week's Less is More challenge, I hope you like it.
Materials used:
Deedee's Digi Stamps - Happy Trails
Printing card
A5 white card blank
Vintage Photo distress ink
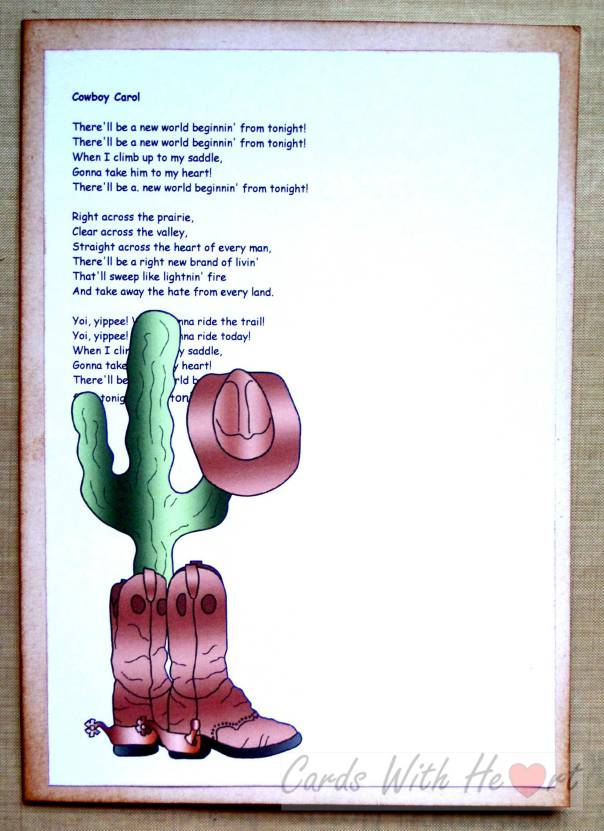
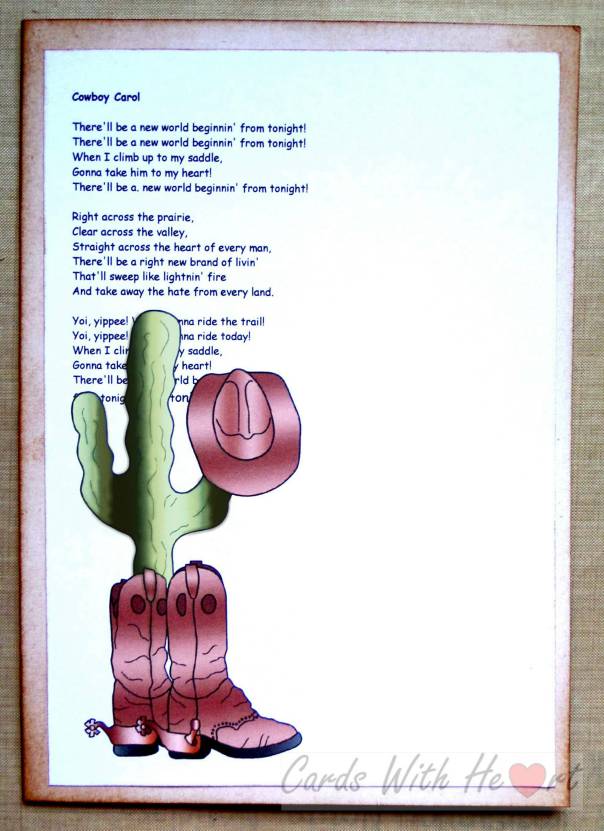
type lyrics for the Cowboy Carol
Husbands printer! (Mine is dry remember!)
Method:
I needed a really quick card today so I used the coloured images rather than colour in the line images myself. The cactus is not as tall as that but with the boots in front of it I could make it higher on the page. Having arranged my words and images on the page I printed them out and trimmed them slightly smaller than the card blank.
Using the distress ink I inked around the edges of the card blank with a brush and also used a piece of cut and dry foam to ink the edge of the layer, which I then stuck to the front of the card blank.
The theme for the Less is More challenge this week is none traditional Christmas, no red or green, so I am hoping to get away with the green cactus (it's not really a Christmas green!) So fingers crossed.
Here is the card again but this time I have tried to recolour the cactus so it is not so green. I was going to make it browner but with the brown hat and boots it was too much.
Thanks for visiting. Take care.
Pippa
I would like to enter this card into Less is More's Non-traditional Colour Christmas Card
Subscribe to:
Posts (Atom)