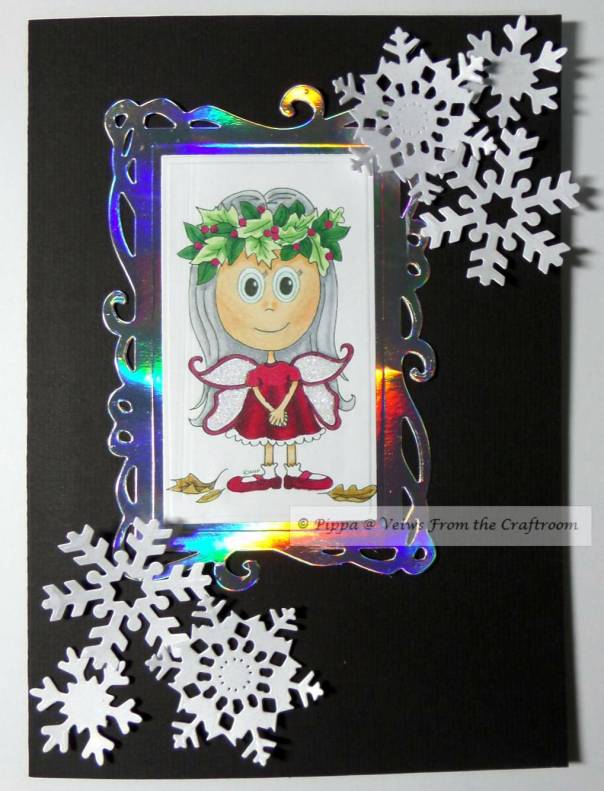
Kit and Clowder are running a competition with a free digi stamp, what more could a crafter want? The idea is to say which your favourite season is and colour in the fairy appropriately. My favourite season is winter.
Materials used:
Fairy Fall image by Amy Doodle Stamp Co
white card
black A5 card blank
snippets of silver mirri card and white card
Die'sire Nouveau Stamping Frame die
mixture of Spellbinders and x-cut snowflake dies
crystal glamour dust
iridescent spray and sparkle
Spectrum Noir Pens
Method:
I printed out the fairy onto white card four times (it's good to have a spare or three to practice colours on!) Having coloured her in with the pens I used the Die'sire die to cut her out along with a silver frame and several snowflakes in white. I sprayed the snowflakes with Spray and Sparkle and left them to dry.
I mounted the image onto the frame and then attached to the card blank. I then used the glamour dust on her wings to give her a bit of sparkle. Finally I attached the snowflakes using gel glue.
Because she is a winter fairy I have dressed her in Christmas red and made her headdress a holly one. I have tried to keep her skin pale (not a lot of sun in the winter so not much tan.) The leaves on the ground are winter brown rather than green and her hair is grey for the end of the year. I have not added a sentiment yet because I am not sure if she is a Christmas or Birthday Winter Fairy.
Thank you for dropping in. Take care.
Pippa
I would like to enter this card into the following challanges:
Kit and Clowder Fall Fairy Colouring Competition
Pixie's Snippets Playground
Monday, 29 September 2014
Thursday, 25 September 2014
Rocking and rolling
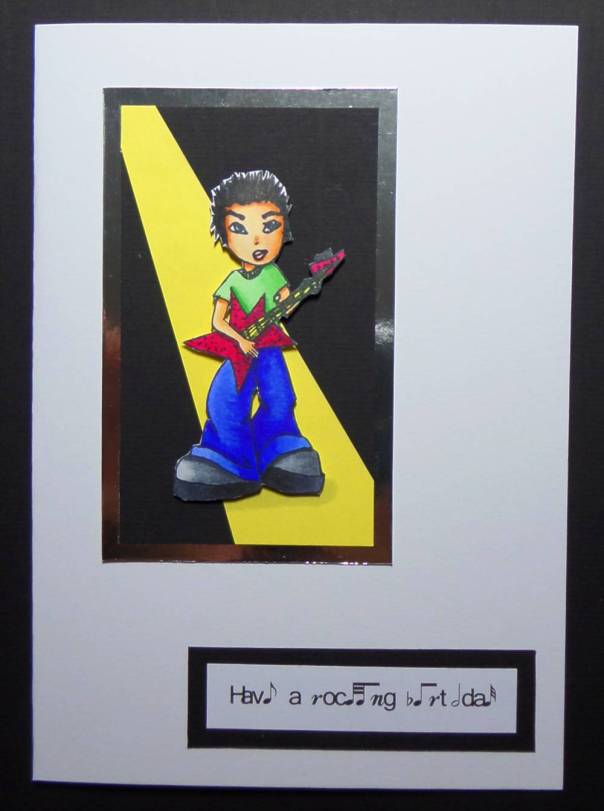
The theme this week at Simply Less in More is 'Face the Music and Dance'. With a son-in-law that plays the guitar I had to go for the rocker!
Material used:
guitarist stamp - not sure where it's from
A5 white card blank
snippets of black and silver card
snippet of yellow paper
Neenah card
computer generated sentiment
Spectrum Noir pens
memento tuxedo black ink pad
Method:
I stamped the guitarist onto the neenah card and coloured him with Spectrum Noir pens before cutting him out. I made up the mat with black and silver card adding yellow paper to look like the light beam from a spotlight. I printed out the sentiment and matted it onto black card. Using 3d foam pads I attached the guitarist to the mat then attached the topper and sentiment to the front of the card blank.
Thank you for popping in. Take care.
Pippa
Wednesday, 24 September 2014
Autumn is here
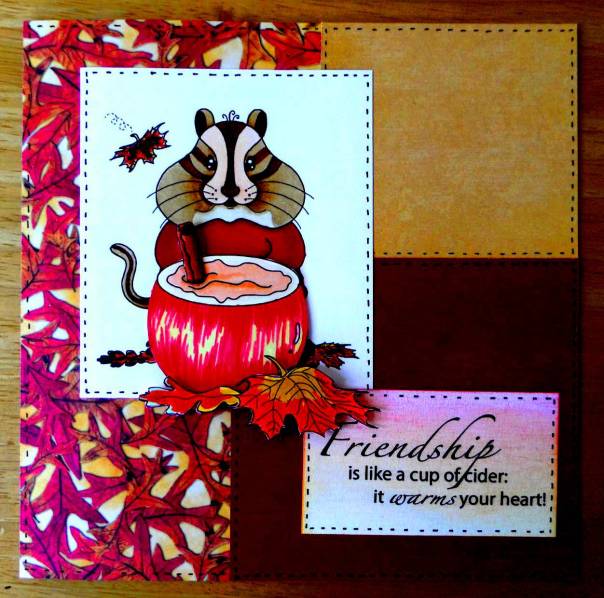
This month's image for DeeDee's Digi of the Month Challenge is a cute chipmunk and a cider apple cup. I decided that I wanted my chipmunk to have a big apple instead of a small one so combined the two images.
Materials used:
DeeDee's Digi images: Fall warm up
Snippets of patterned and plain paper
Spectrum Noir pens
Distress inks: scattered straw, dried marigold and barn door
Black micron pen
8" square card blank
Neenah card stock
Method:
I printed out the two images onto the Neenah card, having first digitally masked off the apple being held by the chipmunk and resizing the large apple to fit my design. I then coloured the images with the Spectrum Noir pens, cut the main image into a panel and decoupaged the large apple, leaves and cinnamon stick onto the design. I cut the sentiment into a panel and coloured with the distress inks and stencil brushes.
I used the snippets of paper to cover the front of the card blank then used the black micron pen to add faux stitching to the card blank and the panels. Finally I added the panels to the front of the card blank.
This card also gave me the chance to play with my pens a bit more, I am still learning how to get the best out of them. I wanted to try to make the apple look two tone as most Somerset cider apples are, not sure if I have been totally successful in that, though for some reason the photo has made it look a lot brighter!
Having used snippets in this card I think I will head over to Pixie's again, it's a lovely sunny afternoon after a wet start so a run round in the snippets playground would be ideal!
Thanks for popping in. Take care.
Pippa
I would also like to enter this card into The Outlawz Greeting Card Challenge
Friday, 19 September 2014
Using up the scrap
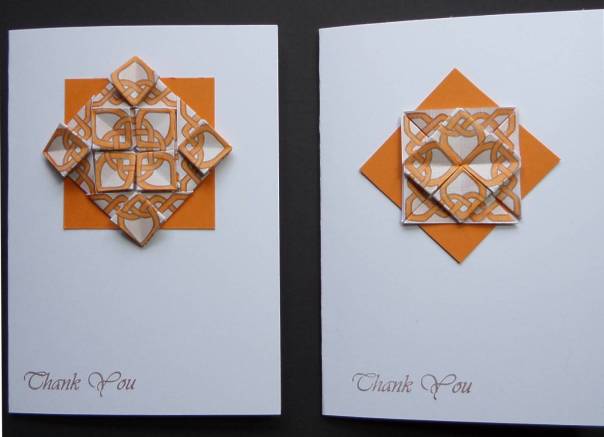
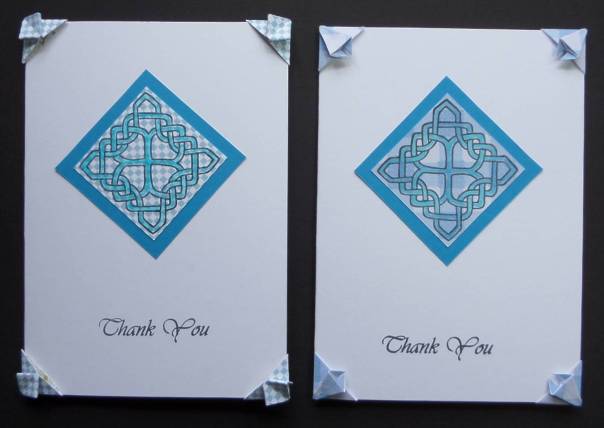
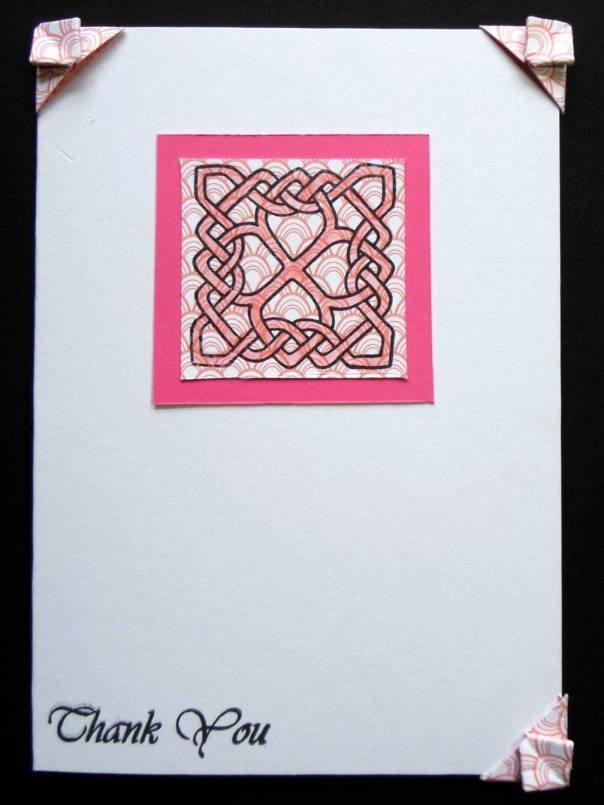
It has been quite a while since I last went to play in the Snippets Playground, so I have decided that it is high time to rectify the situation. It just so happens I have just the cards.
Materials used:
lots of snippets of patterned paper
memento tuxedo black ink pad
Celtic knot stamp, Clarity Stamps
sentiment stamp, magazine freebie
Spectrum Noir pens
white card stock
Method:
First I stamped the Celtic Knot onto the different squares of patterned paper. I then cut some smaller squares to teabag fold for the corner decorations. I coloured in the knot design with the pens. Then came the fun part, arranging all the bits to make different cards.
Thank you for visiting.
Pippa
Wednesday, 17 September 2014
Pass the bottle, please
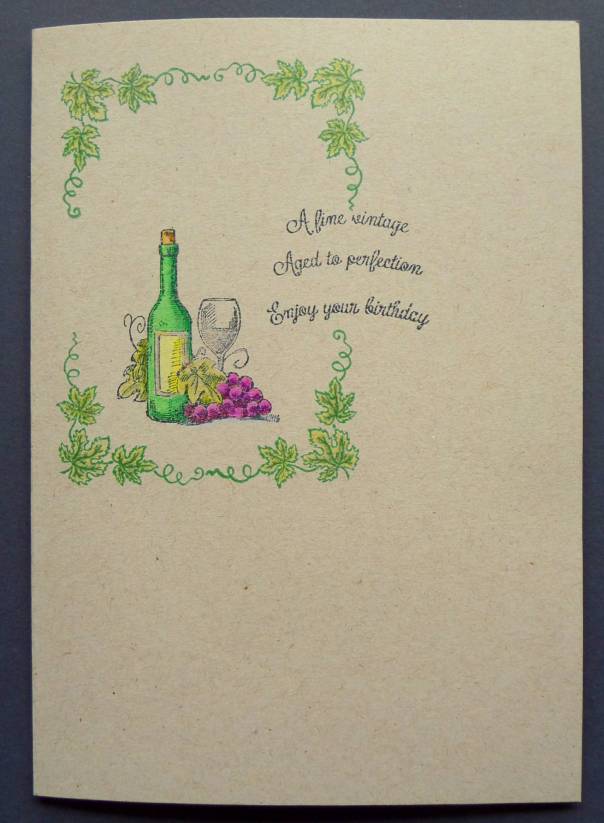
It's time for a bit of Less is More again and this week it is a single layer with the theme of beverages. So rather than the obvious tea, coffee, hot chocolate route I decided to hit the bottle!
Materials used:
Stamps from Creative Stamping magazine
Memento ink pads: Tuxedo Black and Cottage Ivy
Neenah Desert Storm card stock
Spectrum Noir pencils
Method
I used the Desert Storm to make the card blank, then stamped the bottle, glass and grapes picture onto the front. I framed it using the vine leaves stamp and Cottage Ivy ink and added the sentiment. Finally I coloured the image in using Spectrum Noir Pencils.
Just lately the Less is More challenge is the only one I have managed to keep up with. I really must do better!
Thank you for visiting. Take care.
Pippa
Thursday, 11 September 2014
Mmmm, Chocolate!
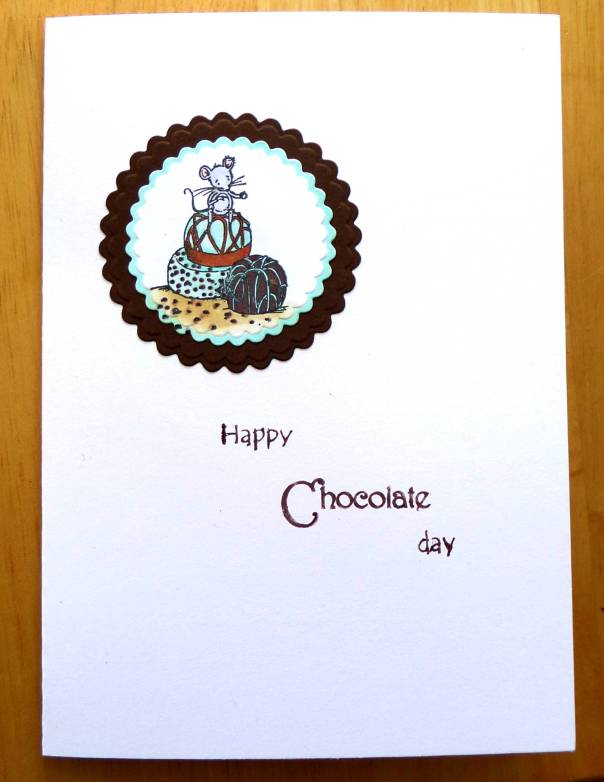
Over at Less is More this week there is a colour challenge; chocolate and mint. I have been meaning to have a go at this little mouse image for a while and this seemed the perfect time to do it!
Materials used:
Docrafts mouse and chocolates stamp
words from various greetings stamps
White and brown card stock
x-cut scalloped circle dies
Spectrum Noir pens and pencils
brown sugar loaf pen
Memento Tuxedo Black and Rich Cocoa ink pads
Method:
The mouse was stamped onto white card with the black ink and coloured in with the Spectrum Noir pens and pencils before cutting out with a scalloped circle die. The cut image was embossed and then the edge coloured with a green pen.
A slightly larger scalloped circle was cut from the brown card stock as a mat for the mouse image. The completed topper was then stuck to the front of a white card blank made from an A4 piece of card.
The different words and parts of words were inked with the brown pen and stamped onto the card blank underneath the topper.
Thank you for popping in. Take care.
Pippa
Thursday, 4 September 2014
Time flies!
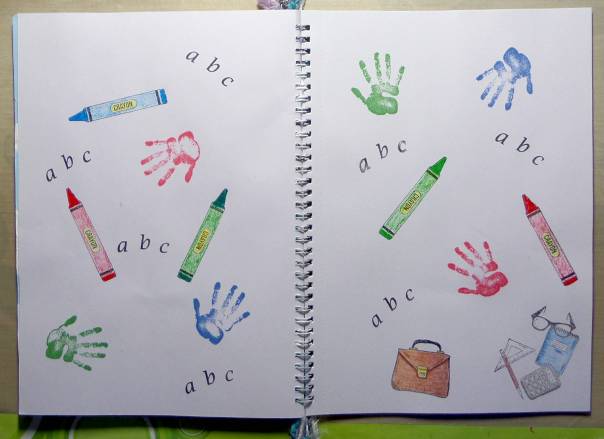
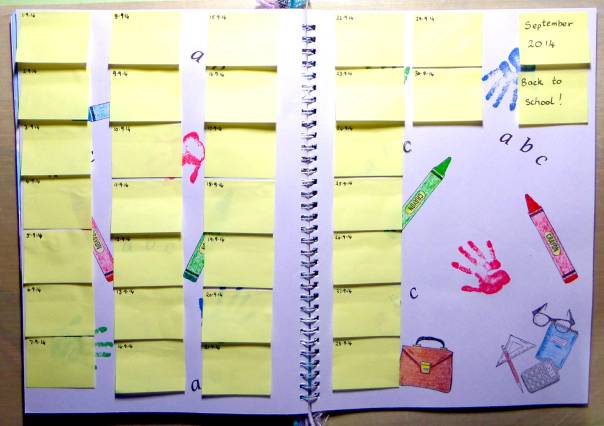
It does not seem like yesterday that I was breaking up for the summer holidays and now I am back at school again. Also another month has started so time to do my September page. I went with the 'Back to school' idea and used post-it notes for the journalling dates, leaving them stuck to the page only at the top. Anyone who works in a school will understand the use of post-its; they are everywhere in the classroom and very useful.
Materials used:
stamps from Creative Stamping magazine
Clarity letterbox kit
memento tuxedo black, lady bug, cottage ivy, and Danube blue ink pads
wax crayons
Spectrum Noir pencils
Method:
I used the stamps to make the background on my page, arranging the a b c from the letterbox kit on one mount. The crayons I coloured in with the wax crayons and the other images with the Spectrum Noir pencils. Finally I used post-it notes for the days of the month putting extra glue on top of the sticky part.
I have surprised myself at getting this one done in the first week! Sometimes a quick page is needed to meet deadlines.
Thanks for dropping in. Take care.
Pippa
Wednesday, 3 September 2014
Getting it done early!
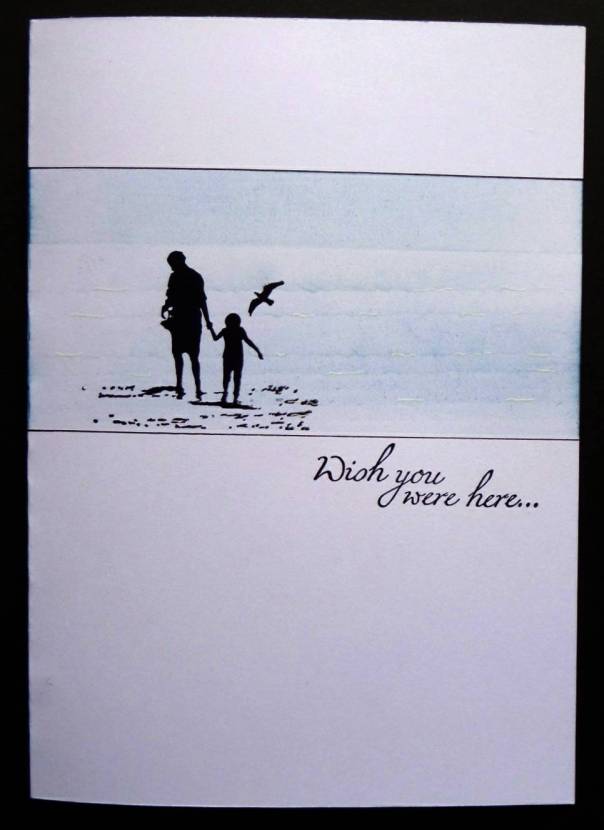
I have just finished my entry for this weeks challenge at Less is More. Ok maybe not that early but early for me! This week the theme is 'I do like to be beside the seaside'. Actually I do like to be beside the seaside, we live only about 5 miles from the coast!
Materials used:
Inks: Archival jet black
Adirondack juniper
Adirondack cloudy blue
Adirondack stonewashed
Stamps from Creative Stamping magazine
white gelly roll pen
A4 white card blank
Method:
I used low tack masking tape and scrap paper to mask off a panel near the top of the card. With a stencil brush, torn paper and the blue inks I created the background, trying to make the sea part look as if it is rippled with small waves. I then stamped the figures and the words with the jet black ink and ran a micron pen across the top and bottom of the border. Finally I used the white pen to highlight the tops of some of the waves.
Today was the first day of school for the children in my class so it does seem odd making a seaside scene when the summer holidays are over! At least we had a fairly good summer this year, unlike the last couple of years which have been horrendous. Oh well only another six and half weeks until half term!
Thanks for popping in. Take care.
Pippa
Subscribe to:
Posts (Atom)