Tuesday, 26 August 2014

And still it rains!

Greetings from a very soggy, and cold, Somerset.  In weather like this all you can do is find a warm, quiet spot and play!  So today I have linked two challenges together, it's the only way I will get them done before term starts.

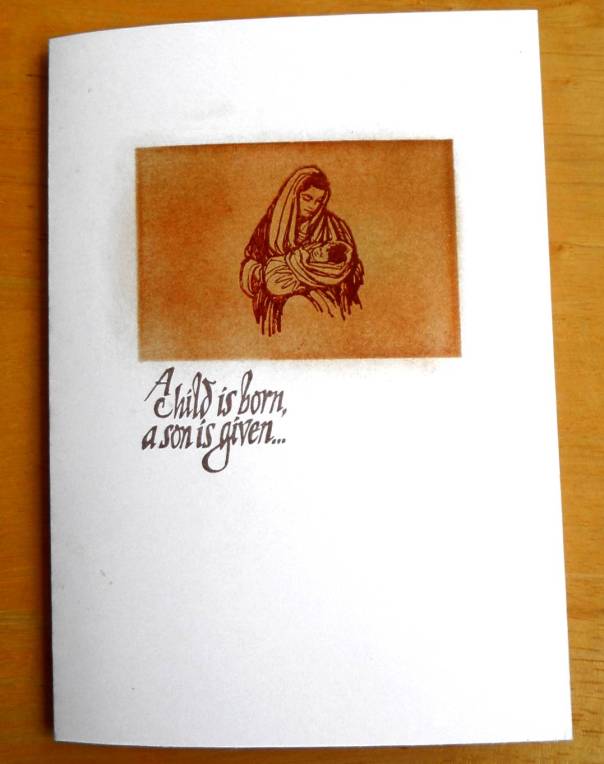
Over at Less is More there is a sketch challenge so I thought I would use the sketch to make a couple of cards for Rudolph Day over at Sarns.

20140826145520_SAM_0724

Materials used:
Mary and Jesus acrylic stamp (I think it is from Dimension Stamps
Unto us a child is born... stamp from Sampendous
Stamps Away Patchwork Template stencils
Distress Inks: tea dye, vintage photo, old paper
Archival Ink: sepia
Memento Ink: rich cocoa
TheovaCard from Clarity


Method:
I made an A5 card blank from the card then using the stencil and the distress inks made a background for my stamping. I then used the archival sepia to stamp Mary and Jesus and rich cocoa to stamp A child is born . . .

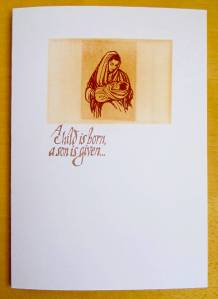
Sarn asks for two cards so here is the other one I made.

20140826145509_SAM_0723

Actually I made this one first using two stencils to make the background, but I was not happy with it so tried with just one which I think has worked better.

Thanks for popping in. Take care.

Pippa

Monday, 25 August 2014

Just monkeying around!

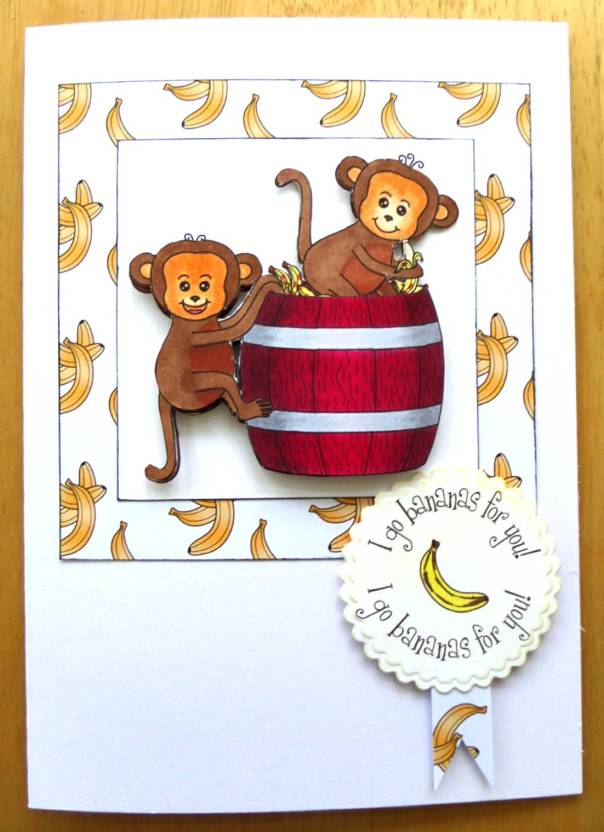
After a lovely holiday in the wilds of Scotland - no internet and intermittent phone signal - it's back to the inevitable washing, ironing and trying to catch up and, of course, soggy Bank Holiday Monday weather.  Having been away for most of August it is going to be a mad scramble to complete some of the challenges I had my eye on but I did not want to miss this one, so it is first out of the blocks.  It is the wonderful Deedee's Digi of the Month Progressive Challenge.  This month the images she has provided are of monkeys, I chose to do the one with the barrel of bananas.

20140825105118_SAM_0708

Materials used:
Deedee's Monkey Business digi collection
white card
Neenah card
Spectrum Noir pens
X-cut scalloped circle die
Adirondack Butterscotch ink pad


Method:
I printed out the image 3 times, the sentiment and the backing paper. Using Spectrum Noir pens I coloured the images then cut them out and 3d decoupaged them. I matted the base image onto backing paper then onto the front of the card blank. I used the die to cut out the sentiment, coloured the banana then brushed it lightly with Butterscotch ink. I cut a 'ribbon' from a piece of left over backing paper and glued it to the sentiment before attaching it to the card.

Thanks for visiting.  Take care.

Pippa


Monday, 4 August 2014

See you on the flip side

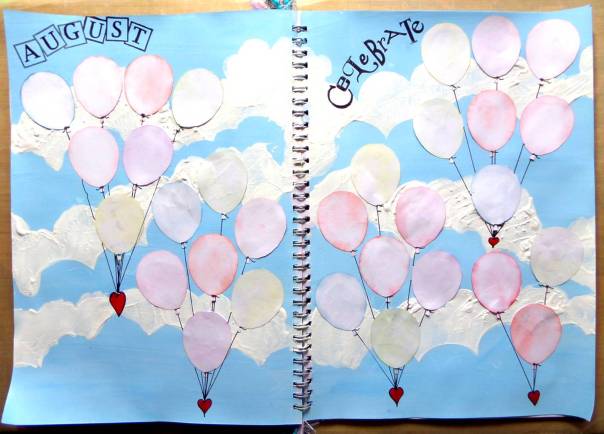
August is our holiday month, working in a school we are still tied to school holidays and the most expensive time to go away!  Anyway we will be off for a couple of weeks or so and this will be my last post for a while. My final offering before the break is August's page for my Art Journal Calendar. I know, I've managed to get it in really early for a change, the deadline of getting it done before we go away galvanized me into action!

Apart from holidays, August is a busy month for celebrations. A lot of family members have birthdays this month, including yours truly , and it is our wedding anniversary - biggish one next year.  So the theme for the August pages had to be Celebrate.
SAMSUNG CAMERA PICTURES

Materials used:
Clarity Stamps: Letterbox Kit, Word Chain - Celebrate

Clarity Cloud stencil
Adirondack Black inkpad
white gesso
blue acrylic paint
red Spectrum Noir pen
various distress inks
glossy accents
black fineliner pen

Method:
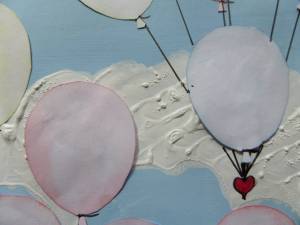
I mixed a little blue acrylic paint with some white gesso and painted the pages. When they were dry I used the stencil and plain white gesso to add clouds. Being impatient for the clouds to dry I heated them with my heat gun and discovered that they bubbled and made the paint even more textured.


[caption id="attachment_674" align="aligncenter" width="300"]SAMSUNG CAMERA PICTURES Close up of the clouds showing texture[/caption]

I used a clip art balloon outline and printed out 31 balloons then cut them out. I edged each balloon with distress inks and distressed the middles too.

Using the black ink I stamped August and Celebrate onto the pages before arranging the balloons in groups of 7. When I had got them arranged to my satisfaction I stuck them onto the page then added the strings and the hearts by hand. I coloured the hearts with the red pen then added glossy accents on them to give them a bit of shine.

So now on with the holiday and the celebrations to fill the pages!

Thanks for popping in. Take care.

Pippa

Oh yes, if you were wondering where the numbers are, I added very, very small ones to the balloon knots after taking the photos!
Saturday, 2 August 2014

Cooling off!

Boy has it been hot lately and, if the weather forecast is to be believed, set to continue that way for August.  Good news for those of us going on holiday in the UK this summer.

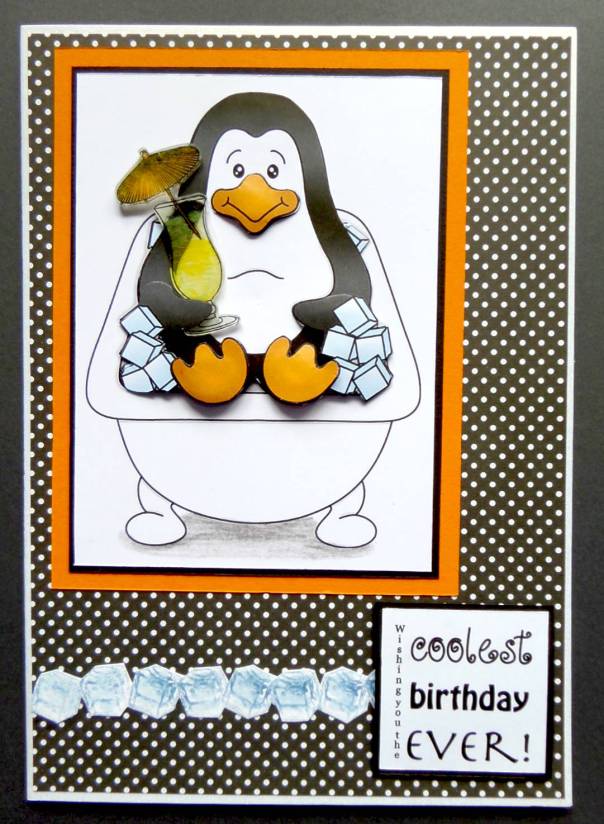
So in the heat what better way to keep cool than to find a shady craftroom and a digi penguin to play with.  I am only just beginning to explore the world of digi stamps but with space becoming more of an issue as we consider what happens when my husband retires and we have to leave the vicarage, this could be the answer.  The kit I have used came from Deedee's Digis and is the one for the July challenge.  If you enter the challenge you automatically get sent the kit for the next month's challenge free!  This is my first attempt so it will be interesting to see how it all works.

I do have a bit of a problem, the same one as for Hunkydory Kits, somehow it does seem a bit of a cheat using just an image.  The kit does come with just the line drawing so that you can colour your own but I ran out of time!  Maybe next time I will do some colouring.  This time I eased my uneasiness by adding some stamped elements!

20140802131324_SAM_0398


Materials used:
Deedee's Digi Kit - So Cool
Grey, yellow and orange Spectrum Noir Pencils
Black and orange card
Papermania black and white spotty paper
Shrink plastic (frosted)
Ice cube, glass and cocktail umbrella stamps from Dimension/Nina


Method:
I printed out the greeting once and the penguin image four times, used one image as the base and then used the remaining three to 3d decoupage it. I used the grey pencils to add some shadow under the bath. Using the stamps I made the glass from shrink plastic and the row of ice cubes from card and coloured them with the pencils. I mat and layered the penguin and the greeting then stuck all my elements to the front of an A5 card blank.

In the end I quite enjoyed myself with this so I might even have a go next month!

Thanks for popping in.  Take care.

Pippa

I would like to enter this card into Deedee's Digi of the Month Challenge