Wednesday, 14 November 2012

Weekend trip to Narnia

I would like to dedicate this post to the wonderfully inspirational Barbara Gray of Clarity Stamps who has introduced me to brayering.  Lately I have been watching her on Create and Craft www.createandcraft.tv whenever I can, which is not often enough!

This weekend I have been practicing with  my brayer and came up with a couple of ATC's.
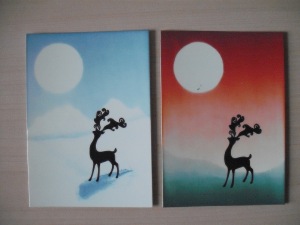


I used Adirondack Denim only for the blue one and big and juicy mountain meadow for the red and blue/green one.

The deer stamp is from the set that comes with Creative Stamping magazine.


I then decided to have a go at something a bit bigger and make a card.  So here are the steps I followed in the process!
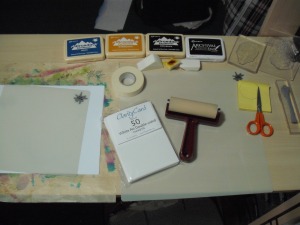
Collecting the'ingredients'


First I gathered all the bits and pieces I thought I might need.
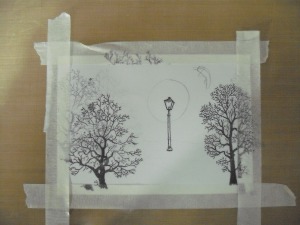


Plan of design


Then I made a rough plan of the design I was aiming at on a piece of copier paper.
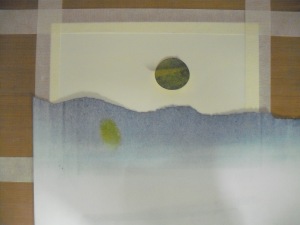


The moon mask and snow line in place


I taped my A6 piece of Clarity card to my work mat using low tack stencil tape.  I then cut a moon mask from a post it note using an X-Cut 1' circle punch and positioned it on  my card where I wanted the lamp light to be before adding the background with Adirondack Pitch Black and Denim inks and a brayer.  The Pitch Black just makes the sky at the top darker and more dramatic.  The snow line is achieved by using a piece of torn paper and moving it down to add a couple of layers.
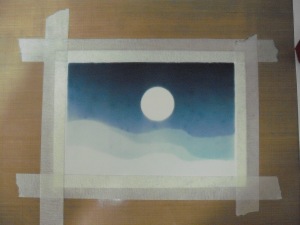

All brayered and the mask removed


Putting in the lamp light


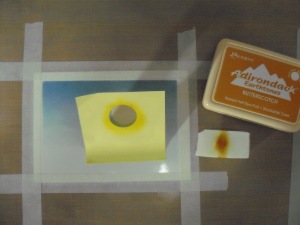
Next I used another post it with a circle cut out to make an aperture which I placed over the white circle on the card and coloured using Adirondack Butterscotch and a make-up sponge.
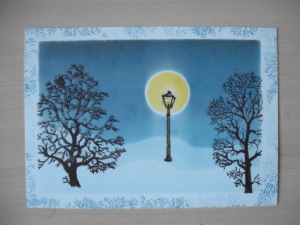
Tree stamped edge


The lamp and trees are stamped with Adirondack Archival Black ink.  The lamp post is from the Train Create-a- Scene set by Creative Expressions and the trees are from the Pilkington Wood set.

I then removed the tape from the edges of the card and experimented with two finishing borders.  The first one has a fern-like border stamped using ink straight from the Splodge mat on the tree stamps, the second one just has a free hand wiggly line drawn with a fine black pen.
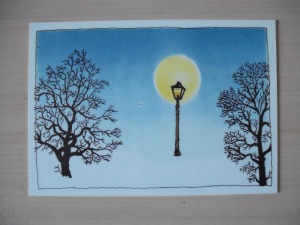

Black fine line pen edge


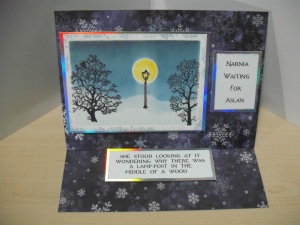
.I printed out the words on my computer using a free Narnia font download from the internet. The words and the picture are matted onto silver mirri card and then mounted on an easel card blank made from a snowflake patterned card from Craft Creations http://www.craftcreations.com using 3D foam pads.

Finally I added some ultra fine glitter to the trees and the tops of the snow piles to look like frost.
Thursday, 1 November 2012

Hunkydory Weekend

Last weekend I actually managed to spend some time in my craft room making a few cards for upcoming birthdays.  I have only recently discovered Hunkydory's wonderful card making kits and have invested in two large collections.  The images on the toppers are beautiful and the coordinating card fantastic.  Here are the cards I put together this time around.

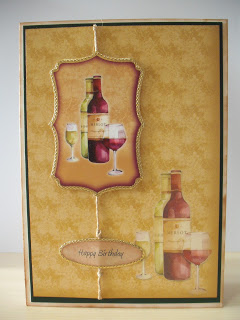
Birthday Card


For this card I used the backing card with a topper and greeting die cut.  The backing card is matted onto green Adorable Scorable card and I have run a piece of plain twine behind the die cuts.


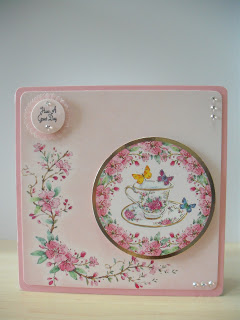
An Unbirthday Card


This card again uses a piece of the backing card and a die cut topper.  The greeting is stamped onto a punched circle of card and mounted ontop of two paper flowers that have been inked with Spun Sugar distress ink.  The card base is made from pink card.  I have added little gems to the greeting and the two right hand corners. 


A Bon Voyage Card

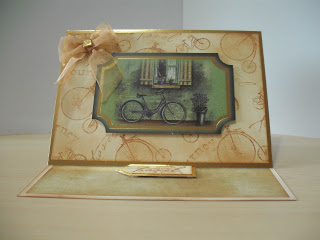
This card I made for friends who are doing a 280 mile  long cycle ride in Uganda in aid of LINK Community Development.  This time the background is stamped with a variety of bicycle stamps and words using Vintage Photo distress ink.  I added a bow of organza ribbon with the head of a gold square brad on the centre knot. 


New Home Card


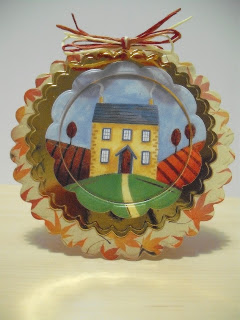
I cut a shaped card from the Hunkydory backing card using an X-cut scalloped circle die.  I also cut a smaller gold circle and embossed the edge and cut the topper with a smaller circle still. The topper was die cut in the centre so I mounted the edge using foam pads and put the centre flat on the gold mat.  I tied a bow of three lengths of different coordinating coloured paper string at the top.


Birthday Card


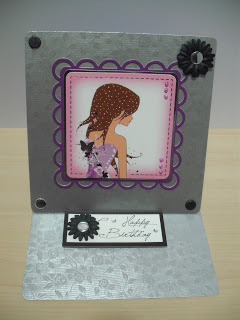
For this card I made the base from white card then used an embossed silver board for the mats.  The topper is mounted on coordinating purple Adorable Scorable card cut with a die.  The corners have faux card candy brads with the top right forming the centre of a black paper flower.  Another flower is added to the greeting easel stopper.  The pearl gems in the two right hand corners of the topper have been coloured pink with a Spectrum Noir pen.


It was great to have some time to play again and I hope you like the results.